
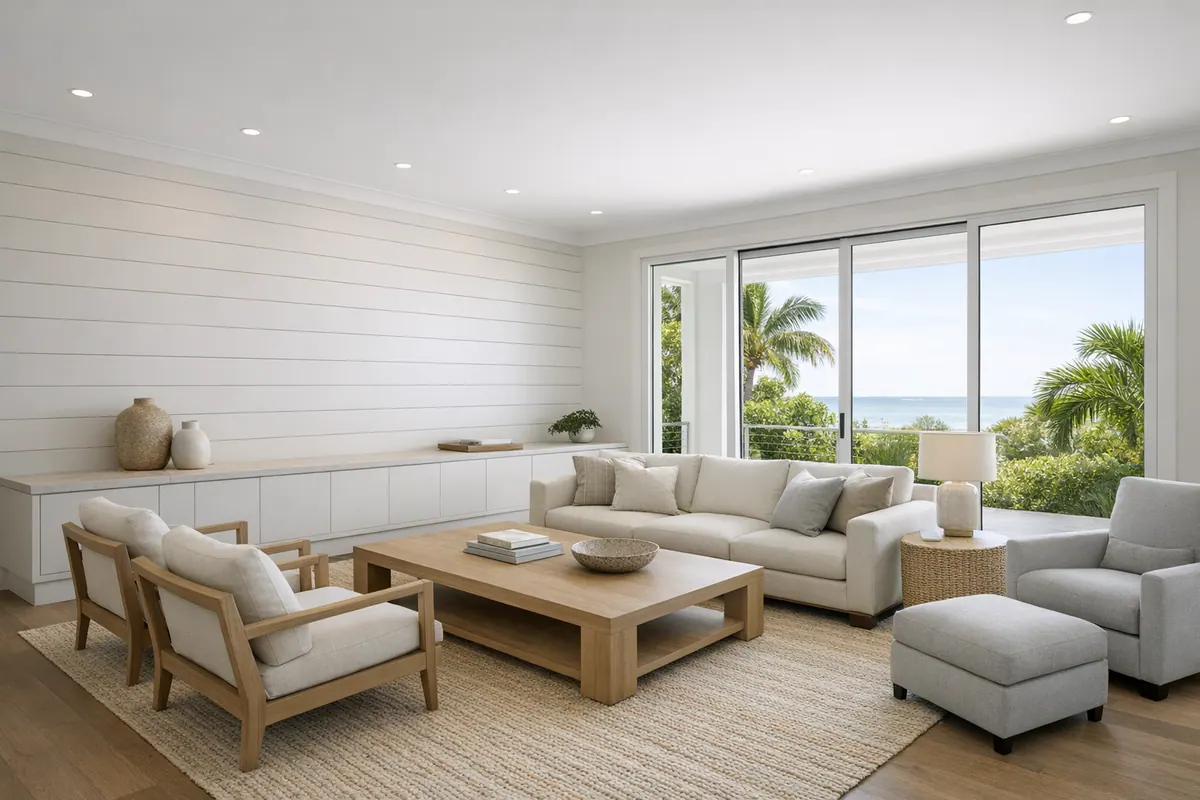
Refined Shiplap for Casey Key Coastal Interiors
For an elevated coastal interior, shiplap should read as quiet architectural paneling, not a farmhouse motif or a stand-in for exterior siding. The effect comes from restraint: a broad, uncluttered wall field, slim and consistent reveals between boards, and a soft painted finish that lets the room's light, furnishings, and views remain the focus.
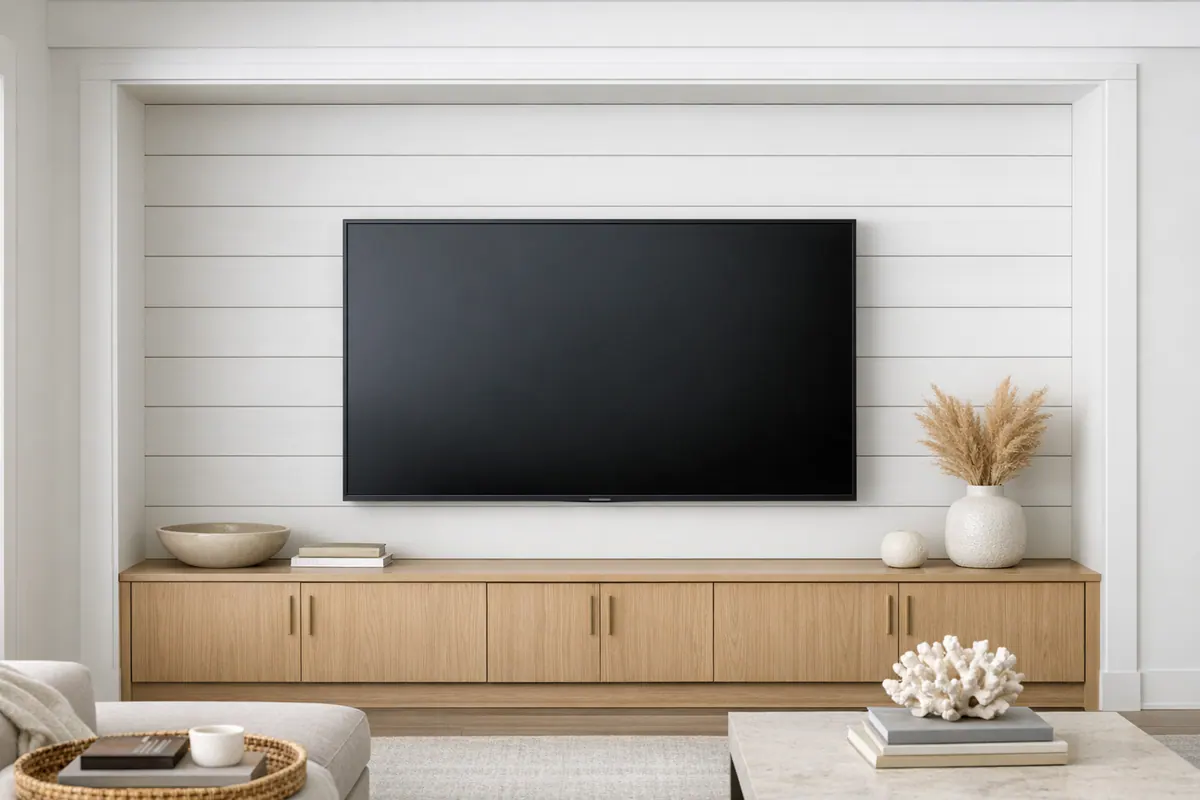
A considered shiplap installation in Casey Key begins with proportion and placement. Wide horizontal courses can settle a living room or bedroom wall; a more delicate ceiling layout can add texture without lowering the visual height of the room. One intentionally wrapped alcove, entry wall, or ceiling plane often feels more composed than applying paneling indiscriminately throughout the house.
The distinction is visible at every edge. Decorative panel installation simply covers a surface. Finish carpentry plans the paneling around the architecture: courses land cleanly at door casings and windows, reveals stay even across the wall, outlet locations are coordinated, and transitions into adjacent drywall or millwork look deliberate. Crooked lines, irregular gaps, exposed cut ends, and trim applied as an afterthought make even an expensive room feel unfinished.
For coastal shiplap in Casey Key, the most polished palettes are usually restrained, warm whites, pale sand tones, muted blue-grays, or a finish matched closely to surrounding trim. The goal is texture with calm, not contrast for its own sake. Material and room-condition choices matter too, especially where indoor humidity varies; those decisions deserve to support the desired finish rather than force the design toward a generic look.
Choosing Shiplap Materials for Interior Coastal Conditions
The material should suit the room before it suits the paint color. In a consistently conditioned bedroom, living area, or hall, paint-grade MDF shiplap offers an exceptionally smooth, uniform face for an opaque finish. Its lack of visible grain helps long wall runs read as one composed surface. It is less forgiving in locations exposed to repeated dampness, leaks, or pronounced swings in indoor moisture, particularly where cut edges and joints could be affected.
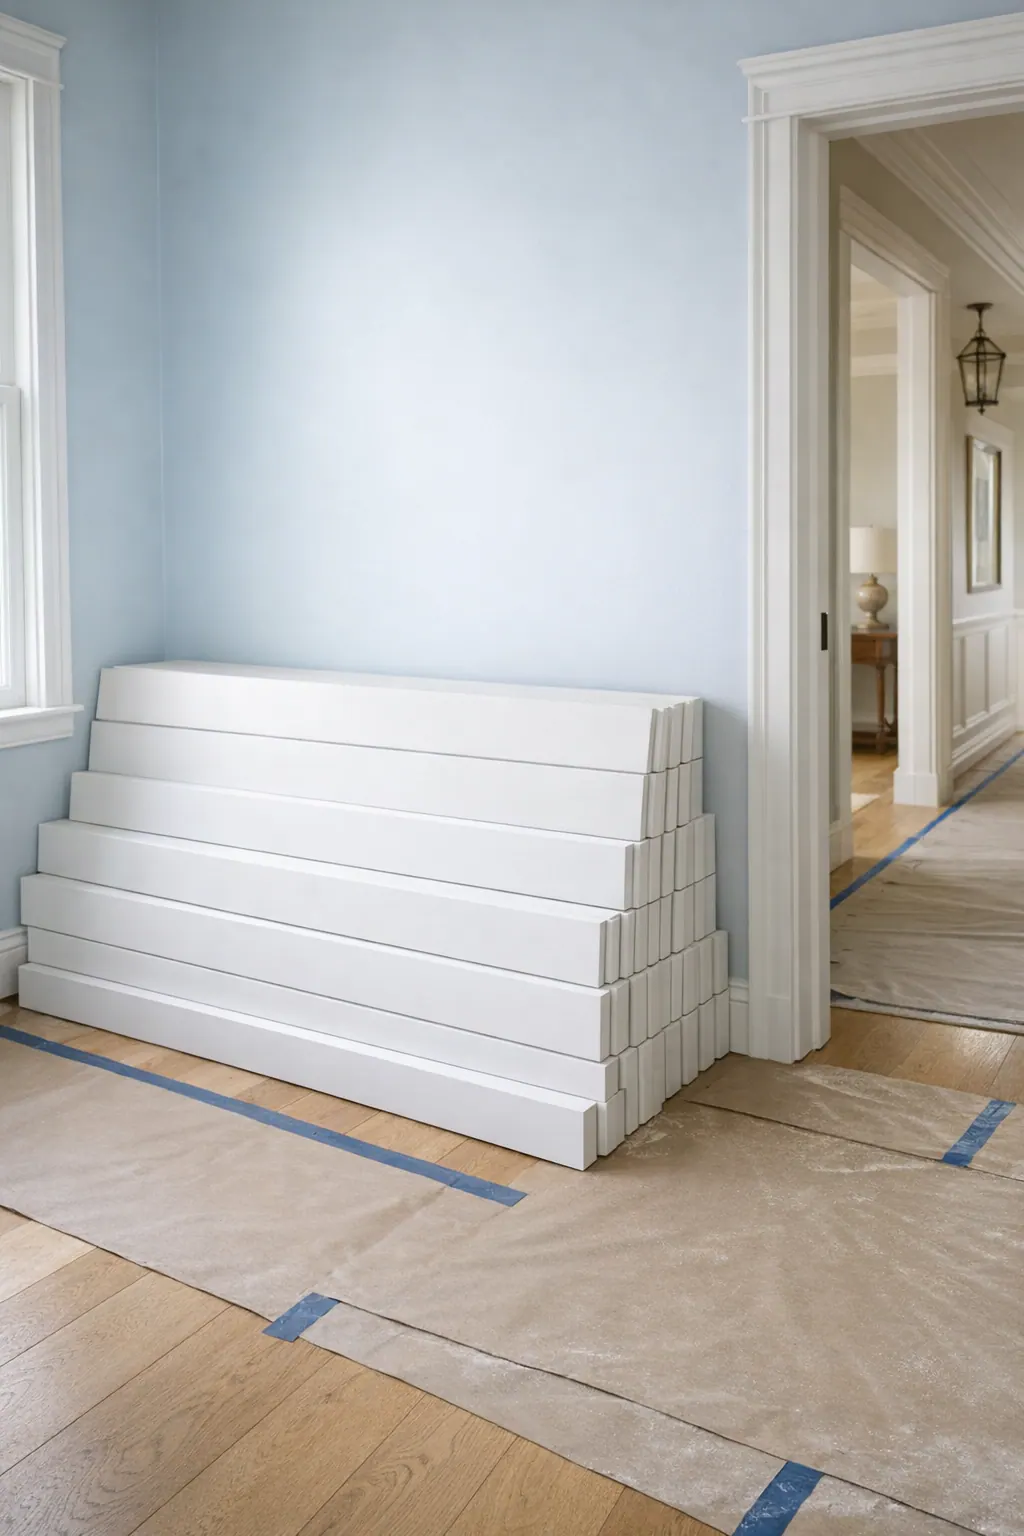
Solid wood shiplap brings natural grain, depth, and the option of a clear or lightly tinted finish. It can also be painted, although grain and seasonal movement remain part of its character rather than defects to erase. That makes wood a considered choice for a den, bedroom, or sheltered ceiling where a more organic finish is wanted; it calls for a layout that anticipates movement instead of forcing every joint into a rigid, seamless appearance.
Tongue-and-groove paneling uses an interlocking edge rather than an open shiplap lap. The connection creates a crisp, controlled reveal and can be especially appealing overhead, where a clean linear field matters. For bath-adjacent rooms, entries, or areas with greater humidity variation, moisture-resistant wall paneling may be the more practical category to explore. These alternatives prioritize a stable painted surface, but their finished appearance still depends on precise profile samples, clean edge treatment, and trim that does not telegraph movement.
The wall behind the paneling matters as much as the face material. A dry, flat substrate lets boards lie in one plane; uneven walls can turn consistent reveals into wandering shadows. Interior climate control, acclimation before installation, appropriate allowance at transitions, and a finish plan for seams, cut ends, and future touchups remain necessary with every option. Material selection reduces particular risks, it does not remove the need for thoughtful detailing and ongoing care.
Where Shiplap Works Best: Feature Walls, Full Rooms, and Ceilings
Placement gives the paneling its purpose. An entry feature wall can create a composed first view without overtaking the home; a wrapped alcove gives a reading nook or bar a finished architectural boundary; and a media wall can organize a large screen within a quieter, more intentional field. In bedrooms and living areas, full-room paneling works best when it supports the room's scale rather than competing with art, windows, or furnishings. The strongest shiplap walls in Casey Key tend to stop at logical corners, cased openings, or a planned trim line, not halfway through a sightline.
Board direction changes the room's read. Horizontal courses visually extend a narrow wall and create a relaxed, low-slung rhythm that suits broad living spaces. Vertical courses draw the eye upward, making them a useful choice behind a bed, in an entry, or on a shorter wall where added height is welcome. Wider boards feel calmer and more contemporary because there are fewer lines across the surface; narrower boards add finer texture and a faster visual cadence. A slim, consistent reveal keeps either layout tailored, while oversized gaps can make the wall feel busy and overly casual.
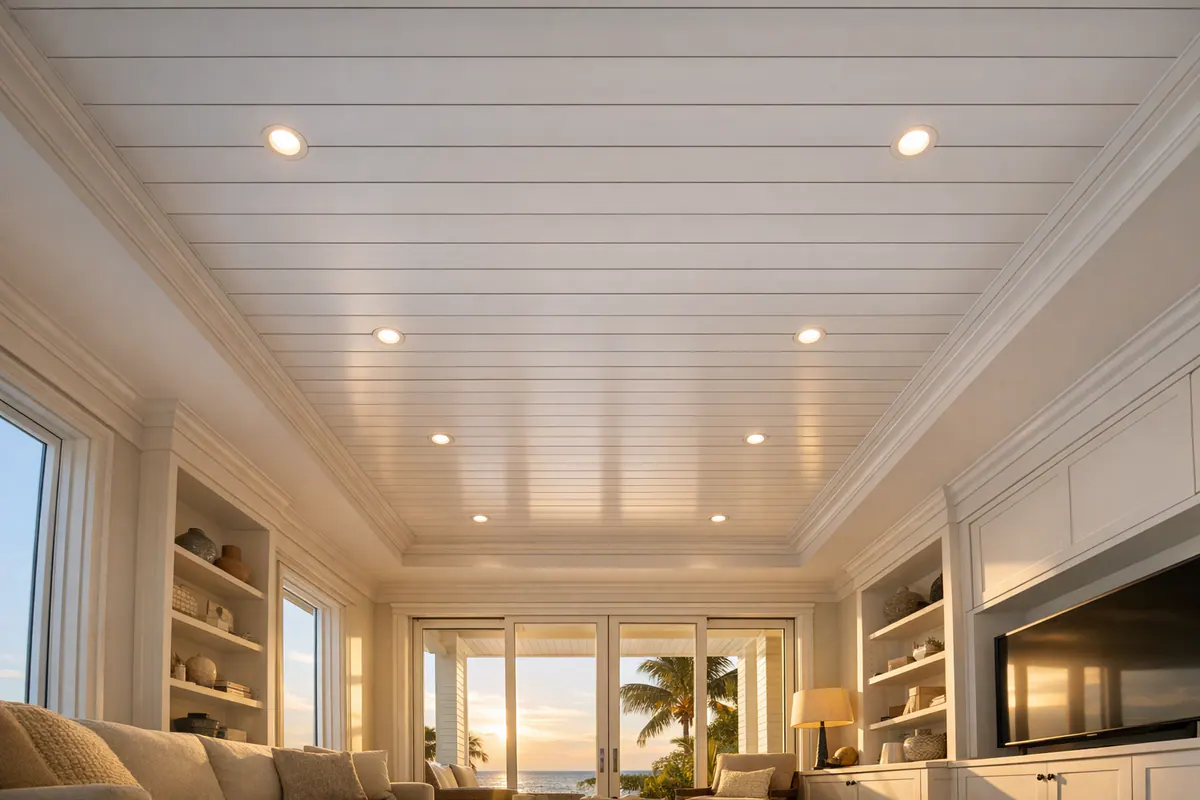
A shiplap ceiling installation deserves its own layout rather than an afterthought carried up from the walls. Board runs should be chosen in relation to the room's longest sightline, window orientation, and any beam pattern. Before work begins, recessed lights, vents, speaker locations, electrical boxes, and access panels need to be set into the composition so cuts do not land awkwardly at board edges or interrupt a reveal. On a shiplap ceiling in Casey Key, clean transitions at perimeter trim, beams, and adjoining drywall are the difference between a continuous ceiling plane and a collection of competing details.
The Finish-Carpentry Details That Make Shiplap Look Custom
What reads as effortless after paint is usually decided before the first board is fastened. Wall flattening brings the surface into a consistent plane so the courses do not follow humps, dips, or a bowed corner. A finish carpenter Casey Key homeowners trust will locate studs, add blocking where a board end or trim detail needs solid support, and establish a perfectly level starter course. That first course governs every line above it; if it drifts, the shadow lines will drift with it.
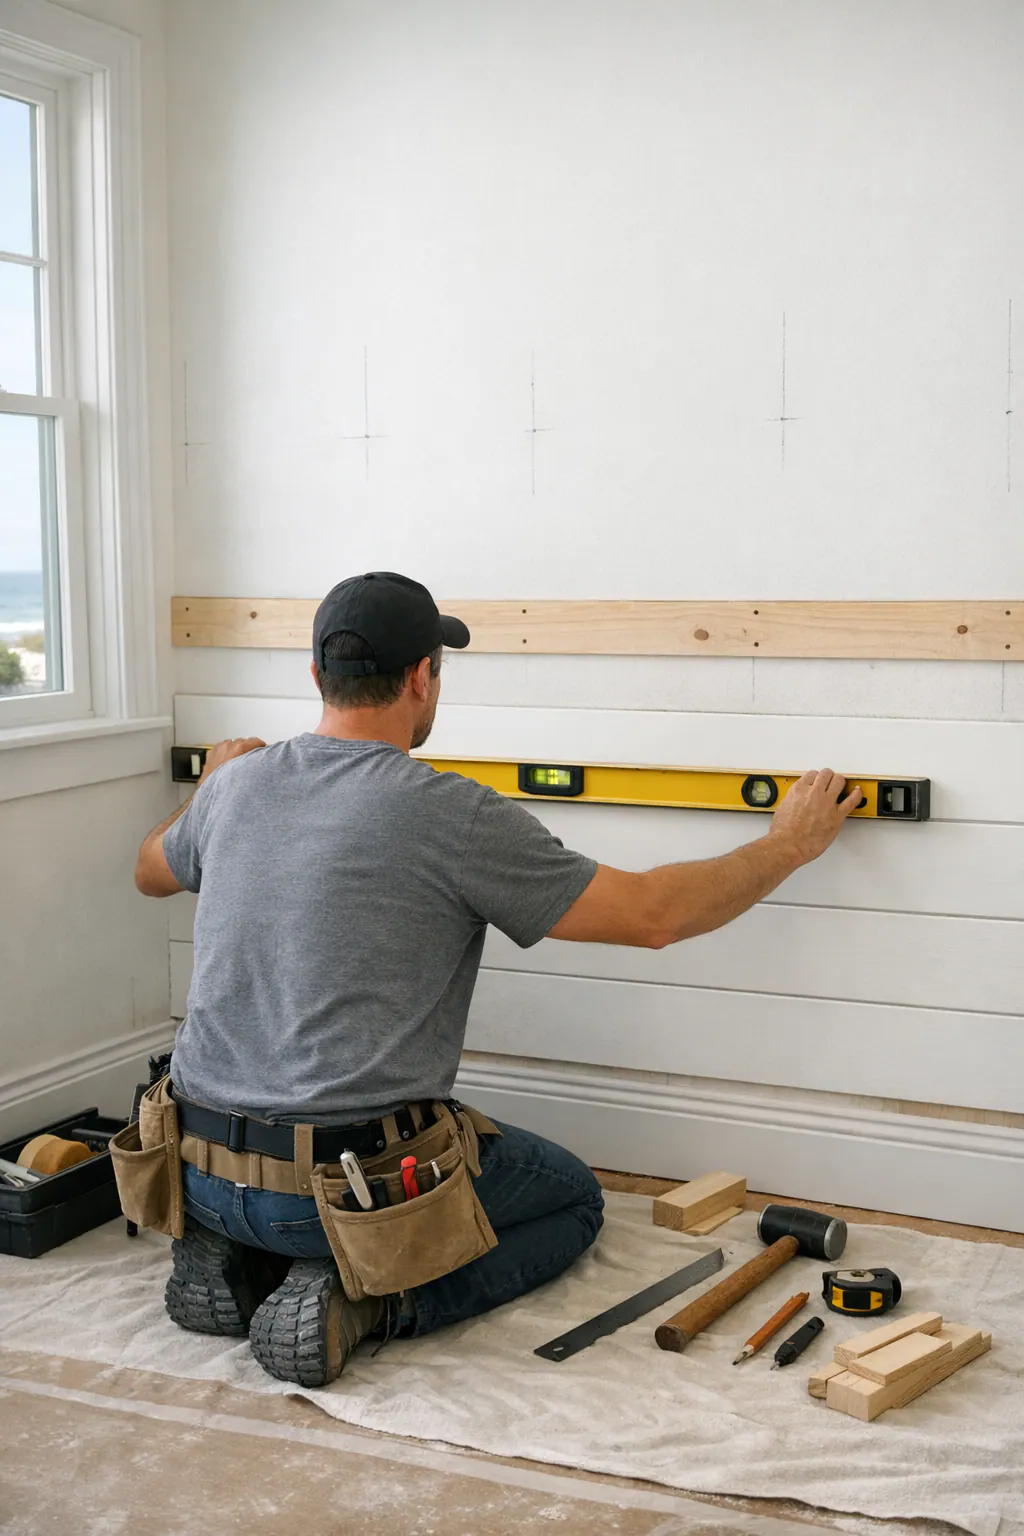
Layout also has to account for what interrupts the field. Windows, doors, outlets, and focal points should be measured into the board pattern before cuts are made, so a narrow sliver does not appear beside a casing or a reveal does not collide with an opening. At an outside end, a mitered return wraps the panel edge back to the wall, hiding the exposed board profile and giving the installation a finished furniture-like edge. At baseboards, crown, and door casing, the choice should look intentional: paneling may tuck cleanly to a trim line, die into a purpose-made stop, or receive new trim sized to frame it.
Caulk has a useful but limited role. A fine paintable caulk joint can soften the meeting of trim and wall where a seamless painted transition is the goal. It should not be used to erase the slim, even reveals that define the paneling itself; filling those lines turns a composed surface into flat boards with inconsistent seams. Basic panel installation often exposes the opposite approach: boards pressed onto an uneven wall, end cuts left visible, gaps that widen and narrow, and trim forced on afterward to disguise a weak termination. Custom wall paneling Casey Key homes deserve is judged close up, at the corner, beside the casing, and along each uninterrupted line of shadow.
Profiles, Paint, and Design Choices for a Modern Coastal Result
Once the edges and shadow lines are resolved, profile and finish determine whether the paneling recedes gracefully or becomes the room's theme. Nickel-gap paneling uses a deliberately slim, square reveal between boards; it creates a precise linear rhythm that suits clean-lined interiors. Traditional shiplap tends to show a deeper, more pronounced joint, which can bring welcome character but may read busier across a large wall or ceiling. View full-size profile samples in both daylight and evening lighting: a reveal that feels subtle beside a window can look much darker under directional recessed lighting.
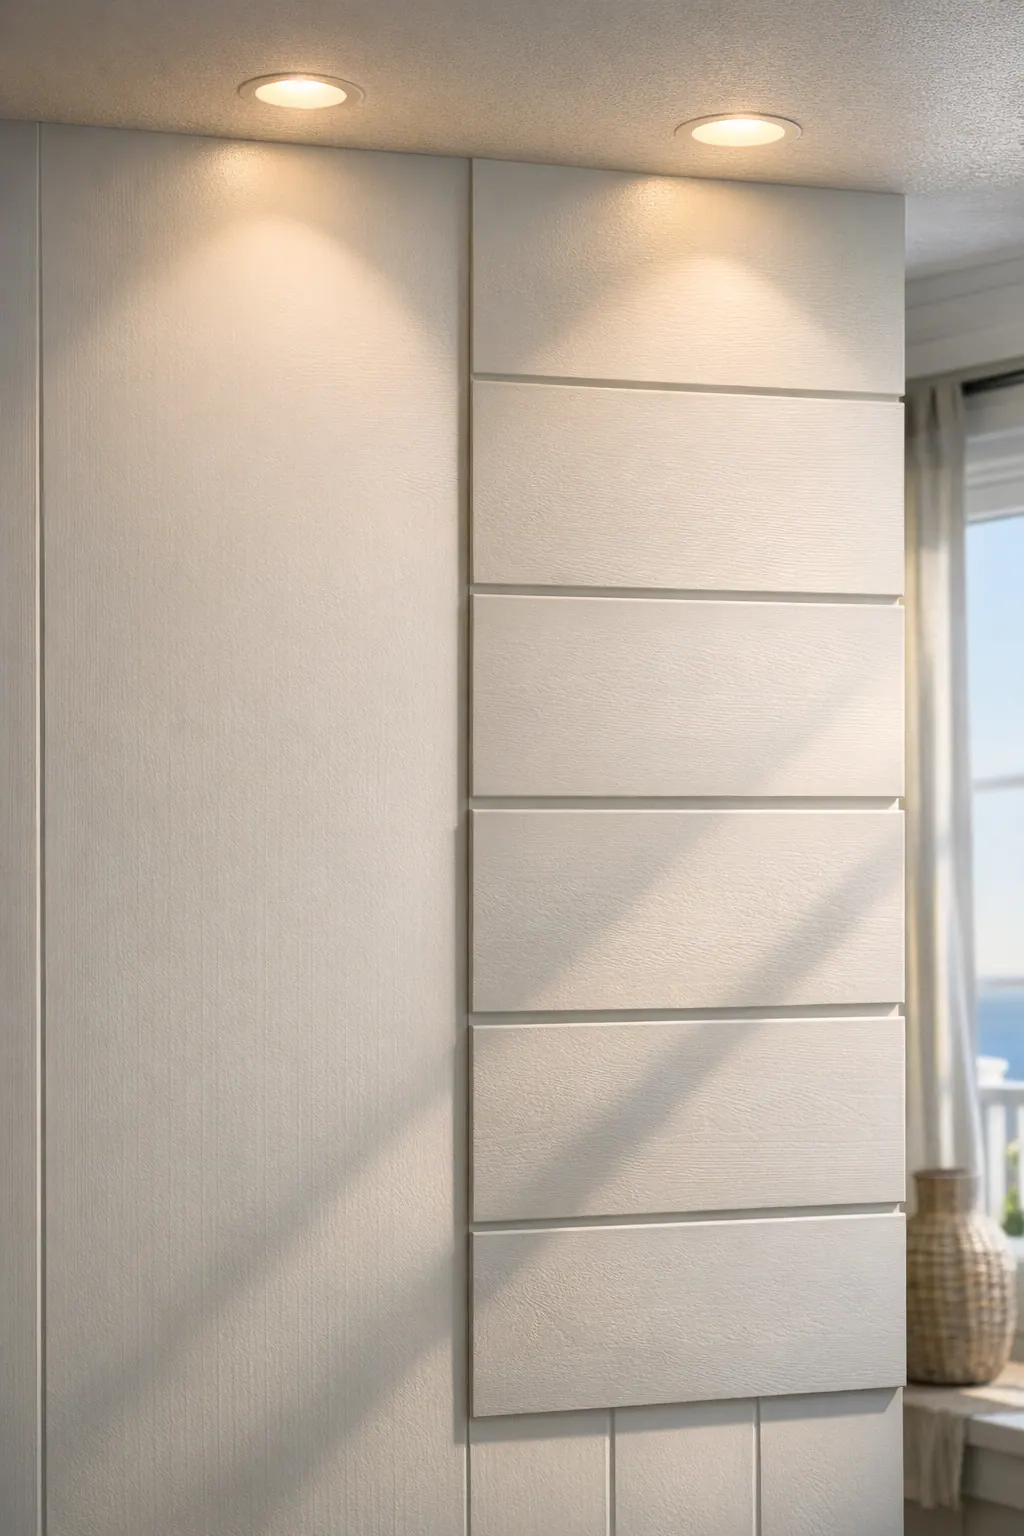
Board width and direction should support the room's proportions. Narrower courses introduce more rhythm and can feel tailored in a smaller hall, powder room, or detailed ceiling. Wider boards create a calmer field with fewer lines, provided the reveal remains restrained. Horizontal runs emphasize length; vertical paneling draws the eye upward and can give a low or compact space a more elongated feel. Neither direction is automatically more modern, the strongest choice relates to window proportions, nearby millwork, and the principal view through the room.
A smooth paint-grade finish in a warm white, pale sand, or closely related trim color keeps painted shiplap walls architectural rather than decorative. Low-contrast color lets the reveal provide texture without turning every joint into a stripe. Clear-finished or lightly toned wood can add warmth to a ceiling, alcove, or smaller focal area when its grain is selected to look calm and consistent. Heavy brushing, distressed paint, strong knots, and overly wide gaps push the result toward a themed farmhouse look. Comparing finish samples for sheen, undertone, grain visibility, and reveal depth makes that difference apparent before the wall becomes permanent.
How a Premium Shiplap Installation Is Planned and Executed
A successful project begins with a written visual plan, not boards arriving at the house. For a Casey Key shiplap installation, that scope should name the selected material and profile, board direction, stopping points, trim interfaces, finish responsibility, and exclusions. It should also identify ceiling lights, vents, speakers, access panels, and wall-mounted items before layout is finalized, so the panel field is composed around them rather than cut apart afterward.
After assessing the room and measuring in the field, the installer should present a layout for approval: where full boards begin, how narrow end pieces are avoided or balanced, and how courses meet windows, doors, and corners. Substrate corrections come before installation, followed by a fastening plan suited to the panel product and support behind it. Acclimation, perimeter allowances, fastener placement, and finishing steps should follow the selected product's requirements and the room's conditions, not a one-size-fits-all habit.
- Ask to see how the paneling will terminate at baseboards, crown, casings, beams, and adjoining drywall. A clean planned transition is stronger than a last-minute strip of trim used to hide an uneven cut.
- Clarify which seams remain open as intentional reveals and where fine paintable caulk joints belong. Caulk can refine a painted trim intersection; it should not fill the panel pattern.
- At the final walkthrough, inspect reveals from several angles and under the room's installed lighting. Courses should remain aligned, cuts should sit cleanly at openings, trim should feel secure, and paint touch-ups should be complete without obscuring the shadow lines.
That sequence gives a shiplap installer in Casey Key a clear standard: measured composition, controlled installation, and a finished surface that looks integrated with the home rather than applied over it.
Plan Custom Shiplap That Belongs in Your Casey Key Home
Bring the decisions into the room early. A consultation is most useful when wall paneling, a shiplap ceiling, recessed lighting, built-ins, or a specialty paint finish must share the same visual field. For example, a ceiling plan can place fixtures on intentional board centers, while millwork elevations can establish whether the paneling dies into a casing, returns into a niche, or continues behind a cabinet.
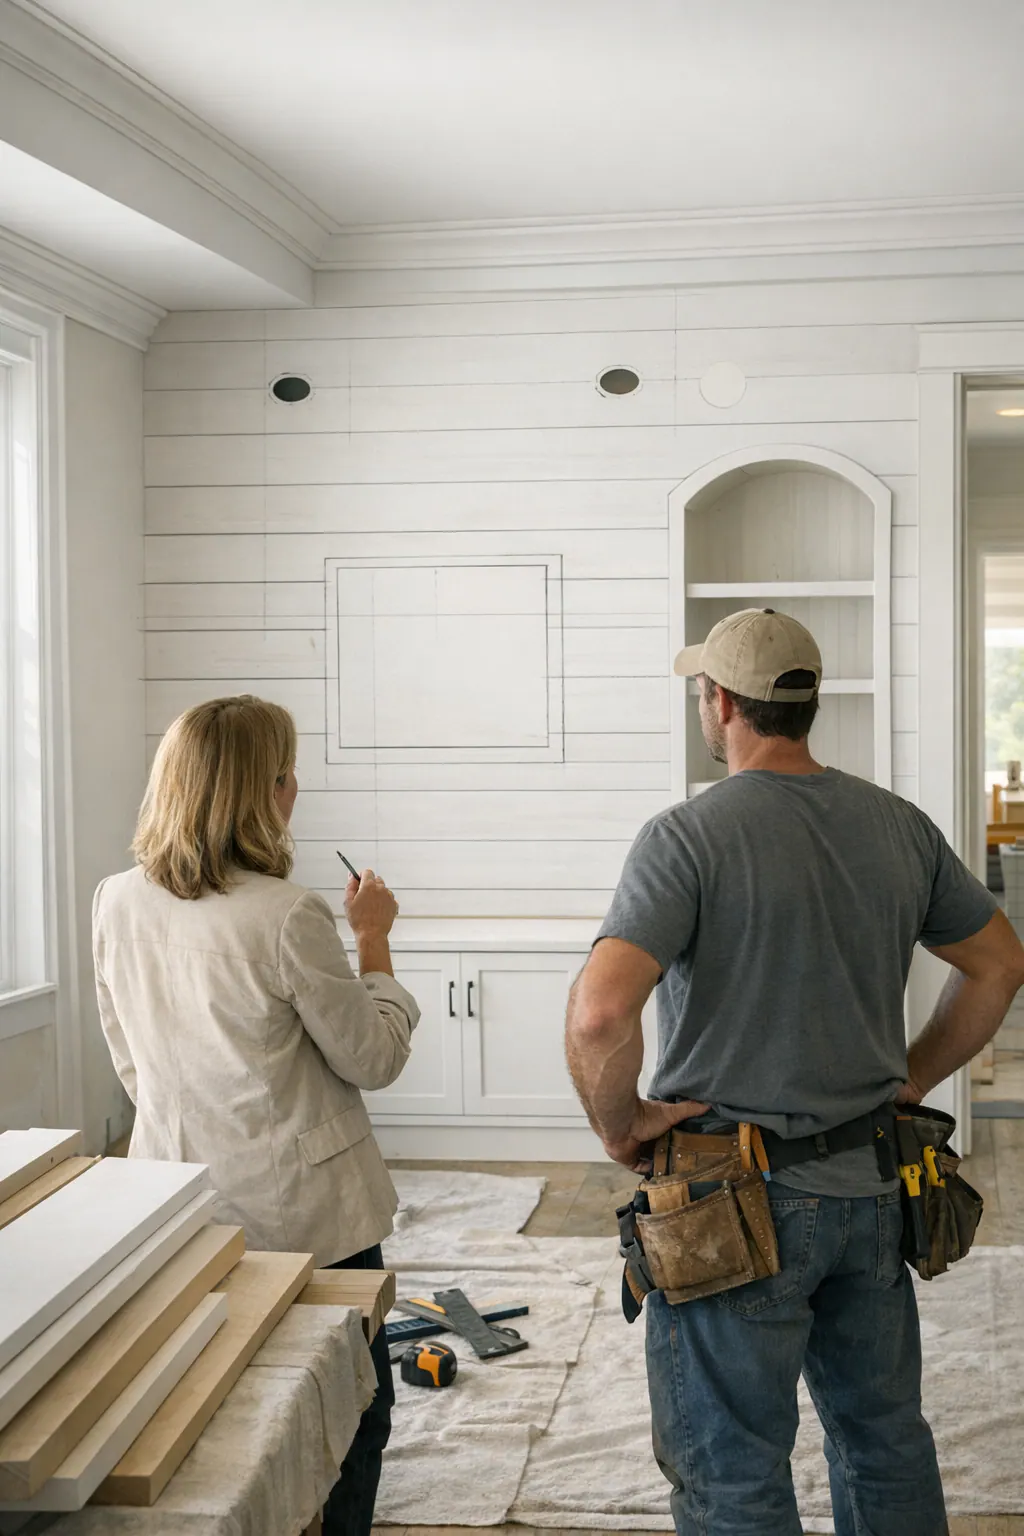
Homeowners, architects, and designers planning custom shiplap installation in Casey Key can bring inspiration images, room dimensions, finish samples, and a realistic renovation sequence. Include photos of existing windows, beams, vents, and openings; these details reveal whether the intended look calls for a simple paint-grade field or more involved integrated trim work.
A finish carpenter can then evaluate the composition as a whole, not merely price boards by the wall. The goal is a scope that accounts for the paneling, its interruptions, and its final finish, so the completed surfaces feel native to the home's architecture. Reach out to begin a detailed conversation about your walls, ceilings, and the details that will make them belong.
Plan the next step
Compare the broader Shiplap Installation service.
Review the Casey Key, FL service area for local planning context.
When you are ready, request a free estimate with the rooms, trim goals, city, and available photos.
FAQs
What makes shiplap look modern in a Casey Key coastal home?
Modern coastal shiplap uses broad, uncluttered wall fields, slim consistent reveals, and soft painted finishes such as warm white, pale sand, or muted blue-gray. Avoid distressed paint, strong knots, deep gaps, and overly rustic profiles that create a farmhouse look.
Can shiplap be installed on ceilings in humid coastal homes?
Yes, shiplap can be installed on ceilings when the material suits the room conditions and the layout accounts for humidity, acclimation, and perimeter allowances. Recessed lights, vents, speakers, electrical boxes, and access panels should be positioned before installation so cuts do not interrupt the reveal pattern.
Do shiplap walls need expansion gaps in Florida?
Yes, shiplap installations need appropriate allowance at transitions to accommodate indoor moisture changes and seasonal movement. Acclimating the material before installation, keeping the substrate dry and flat, and following the selected product’s requirements help maintain consistent reveals.
Is MDF or solid wood better for shiplap in coastal Florida?
Paint-grade MDF is best for consistently conditioned bedrooms, living areas, and halls because it provides a smooth, uniform surface for opaque paint. Solid wood is better when visible grain, a clear finish, or a lightly tinted finish is desired, but its layout must allow for seasonal movement and it should be used in sheltered areas.
What should I look for in a finish carpenter for shiplap installation in Casey Key?
Choose a finish carpenter who provides a written plan covering material, profile, board direction, stopping points, trim interfaces, lighting, vents, and wall-mounted items. The installer should flatten the substrate, establish a perfectly level starter course, coordinate cuts around openings, and show how paneling will terminate at casings, baseboards, crown, beams, and drywall.