
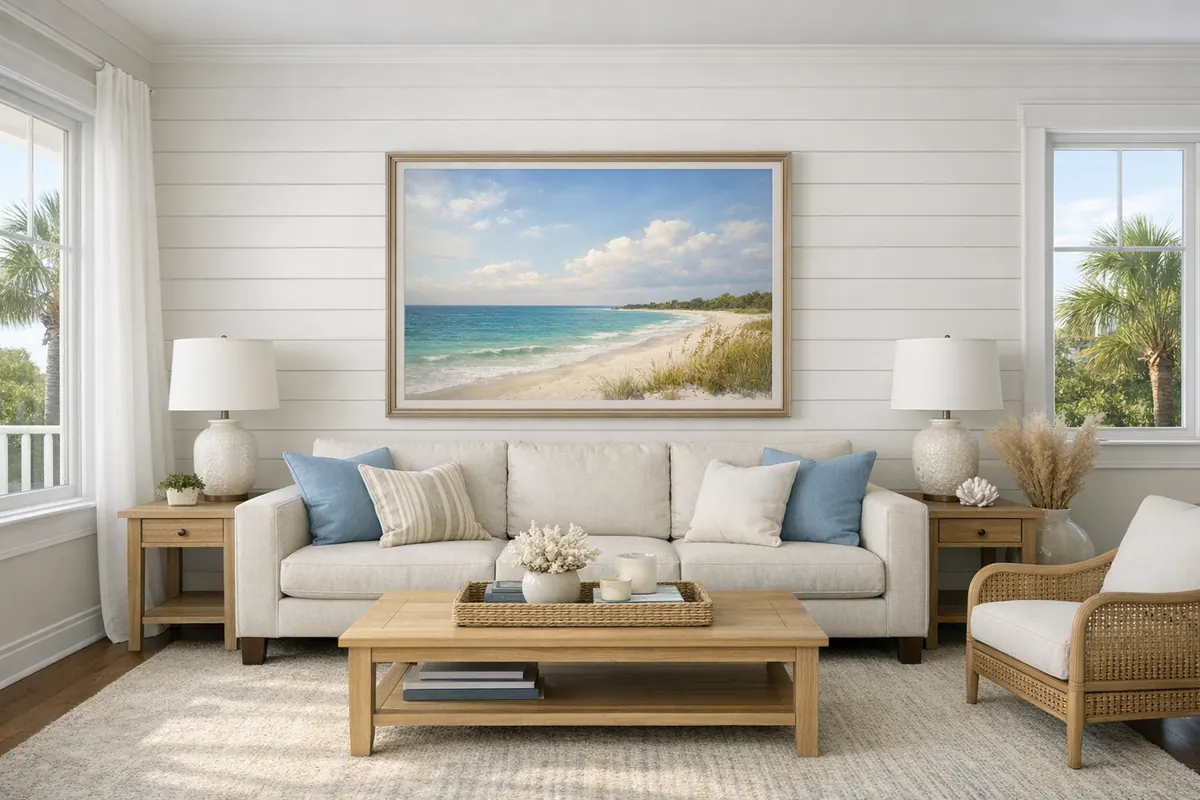
For shiplap installation Englewood FL homeowners can treat as a custom interior finish, the best result starts with the room, not a one-size-fits-all board choice. A painted living-room feature wall, a welcoming entry, bedroom paneling, dining-area detail, or a covered interior ceiling can each use the same clean horizontal rhythm while calling for different layout, trim, and finish decisions.
Shiplap uses overlapping board edges that create a visible recessed line. Tongue-and-groove boards interlock edge to edge for a more continuous panel surface, often making them a strong visual fit when a ceiling calls for a tighter, more tailored look. The choice affects the shadow line, the way joints read, and how the finished surface meets corners, windows, and existing trim.
Florida humidity makes material selection, acclimation, wall condition, and room exposure part of the design conversation. Boards need a suitable fastening strategy and consistent alignment, while a paint-grade installation depends on intentional joint treatment, selective caulking, and a coating system matched to the panel material and interior conditions. Fireplace-adjacent shiplap can be attractive as part of a larger feature wall, but its layout must preserve the listed requirements for the specific fireplace, insert, or stove. Thoughtful planning keeps the coastal look crisp rather than letting small gaps, uneven lines, or mismatched trim take over the finished room.
Where Shiplap Works Well, and Where It Needs More Planning
A dry, protected interior wall gives shiplap its easiest path to a polished result. A painted feature wall behind a sofa or bed, full-room paneling in an entry or dining area, and a bedroom accent wall all offer visual impact without asking the boards to manage frequent water exposure. In these spaces, shiplap walls Englewood homeowners choose can be laid out to center on a focal point, carry cleanly around openings, and finish neatly into baseboards and casing.
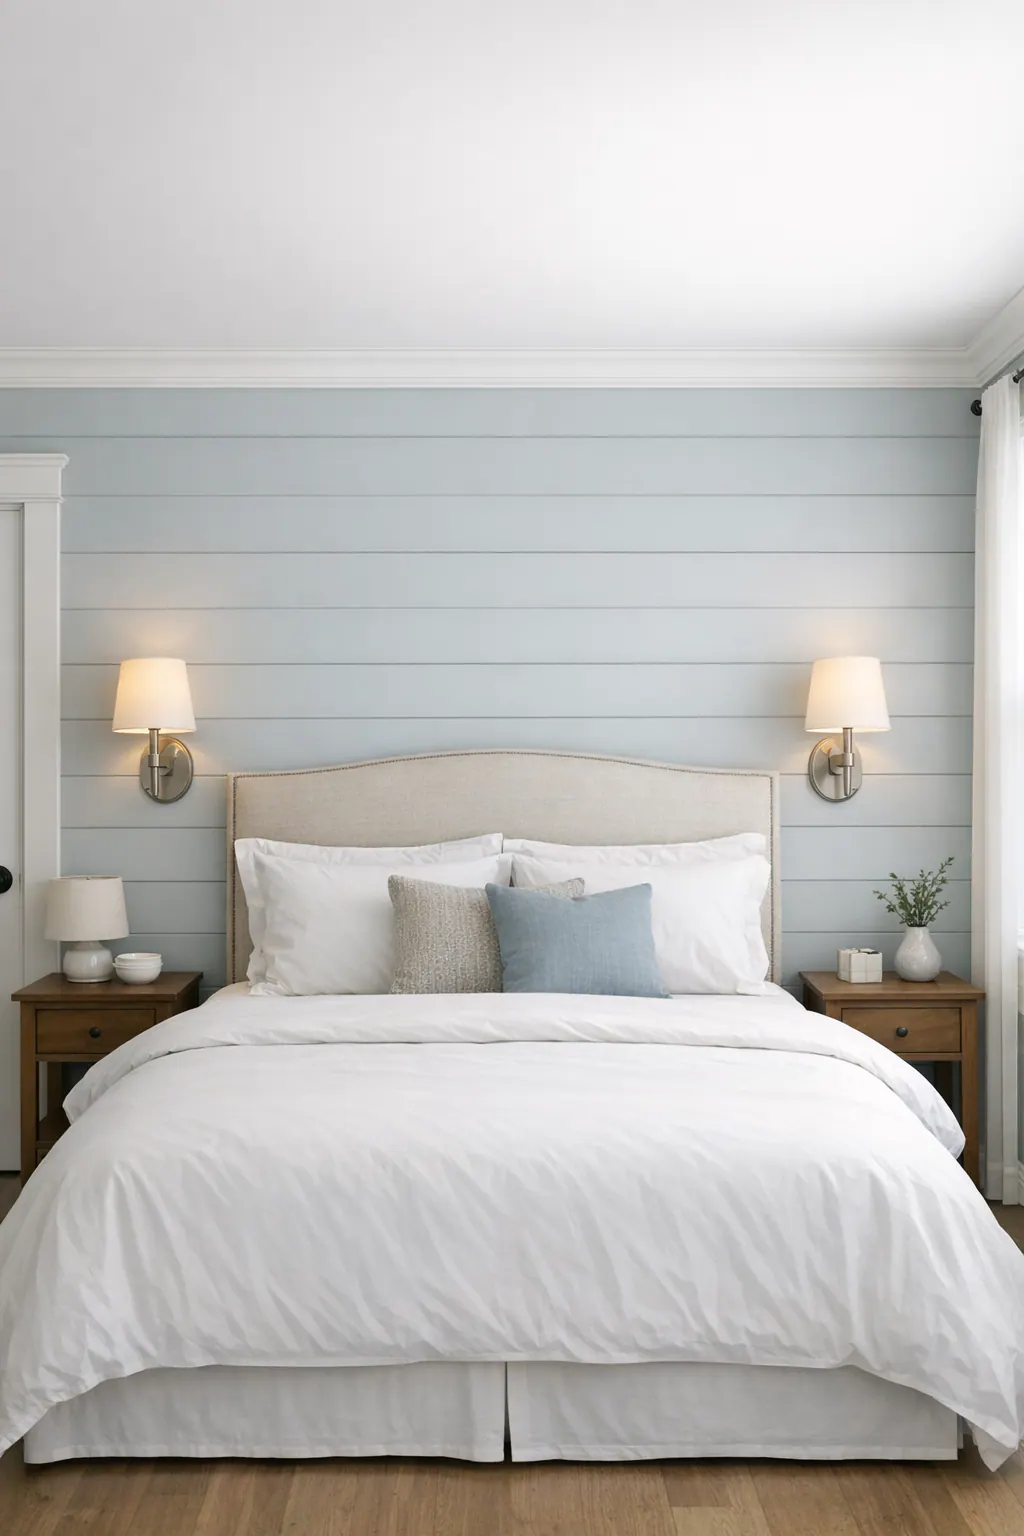
Bathrooms and laundry rooms require a different decision. Decorative paneling can work on a wall away from the tub, shower, sink splash zone, or appliance leaks, but it is not itself a waterproofing system. Persistent dampness, unsealed cut edges, and water that reaches board joints can undermine a paint-grade finish. Material choice, sealed edges and penetrations, room ventilation, and deliberate detailing matter more here than they do in a dry bedroom or dining room.
Exterior and heavily exposed locations deserve even more planning. Wind-driven rain, direct sun, changing humidity, and water behind the boards call for an exterior-rated wall assembly rather than interior decorative paneling applied outdoors. A covered porch ceiling may be a separate, more protected use case, but it still needs materials and finishing selected for its actual exposure, not simply the look of an interior wall.
That distinction helps keep custom shiplap Englewood projects purposeful: use paneling to add texture and proportion in protected rooms, then treat wet and exposed areas as moisture-management details first and decorative surfaces second.
Choosing Shiplap, Nickel-Gap, or Tongue-and-Groove Paneling
The joint line is the visual decision that most changes the finished character of a paneled wall. Traditional shiplap has overlapping edges and a deeper shadow line; nickel-gap boards create a deliberately narrow, even reveal; and tongue-and-groove paneling interlocks at the edges for a more continuous surface with a finer seam. In design conversations, all three may be called "shiplap," but the profile affects both the look and how the installation accommodates seasonal movement.
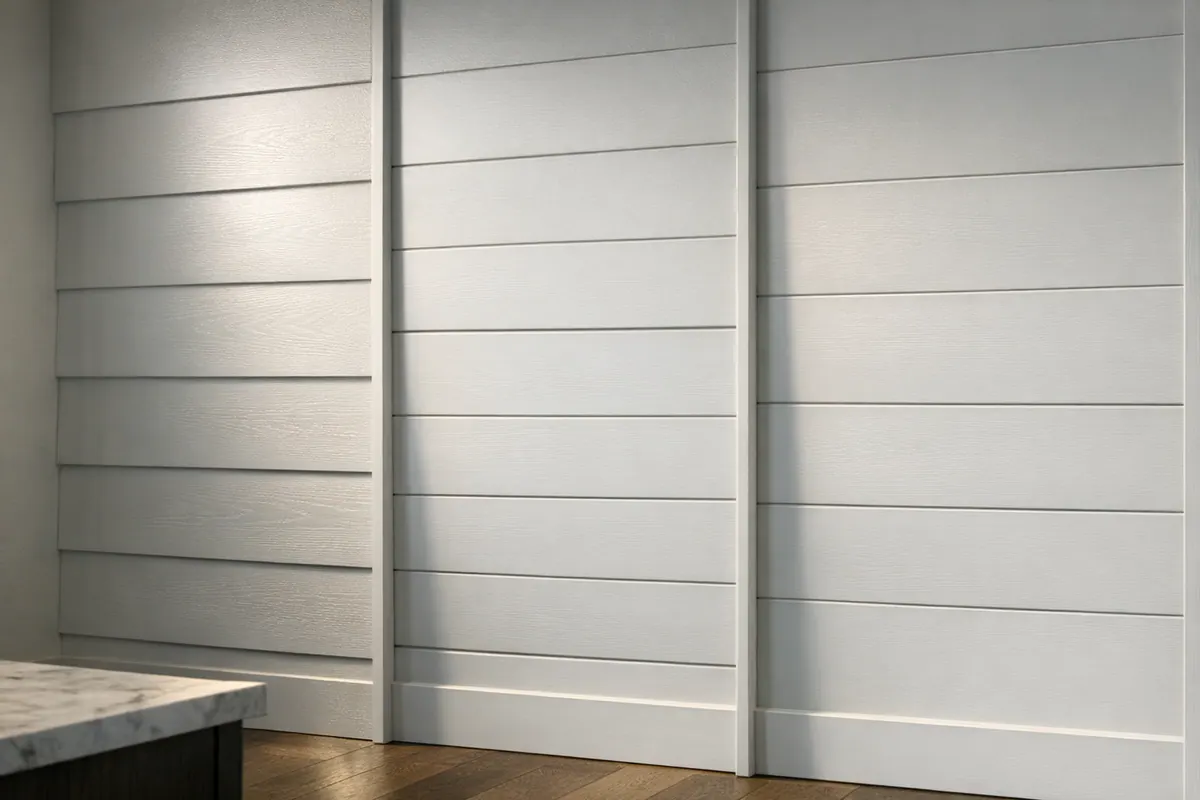
For a crisp, painted feature wall, primed wood boards can be an appealing starting point: they retain the character of real wood while reducing some finish-prep work. Solid wood can expand and contract as indoor conditions change, so the layout needs room for that movement rather than relying on caulk to hide every joint. A clean coastal look can come from horizontal nickel-gap, vertical tongue-and-groove, or traditional lap boards; the paint color, board width, trim transitions, and consistent reveals often matter more than the profile alone.
MDF shiplap is smooth, stable-looking, and especially paint-friendly in a dry, conditioned interior such as a bedroom, living room, or dining space. Its limitation is moisture: swelling at an unprotected edge or joint can spoil the finish. It is generally a weak choice where repeated humidity, splashes, or dampness are likely.
For areas with greater humidity exposure, moisture-resistant engineered boards may offer a more practical paint-grade option than standard MDF, provided the complete product is suited to the room and its cuts, edges, and penetrations are finished carefully. Neither engineered paneling nor wood boards eliminate the need to control water exposure.
For tongue and groove Englewood projects, acclimating the selected boards to the interior setting before installation helps the material begin closer to the conditions it will live in. The installation plan should also account for expansion at room edges, a sound backing or framing strategy, and trim that covers perimeter allowances without pinching the boards. That combination gives coastal shiplap its orderly lines without treating a painted finish as a fix for movement or moisture.
What Professional Shiplap Installation Should Include
A polished installation begins before the first board goes up. The installer should assess the drywall for bows, loose areas, pronounced seams, and out-of-plumb corners, then map the studs or establish a suitable backing plan. Fastening boards into framing gives them reliable mechanical support; a line of boards that looks straight but has unsupported ends or visibly follows a wavy wall is a weak result.
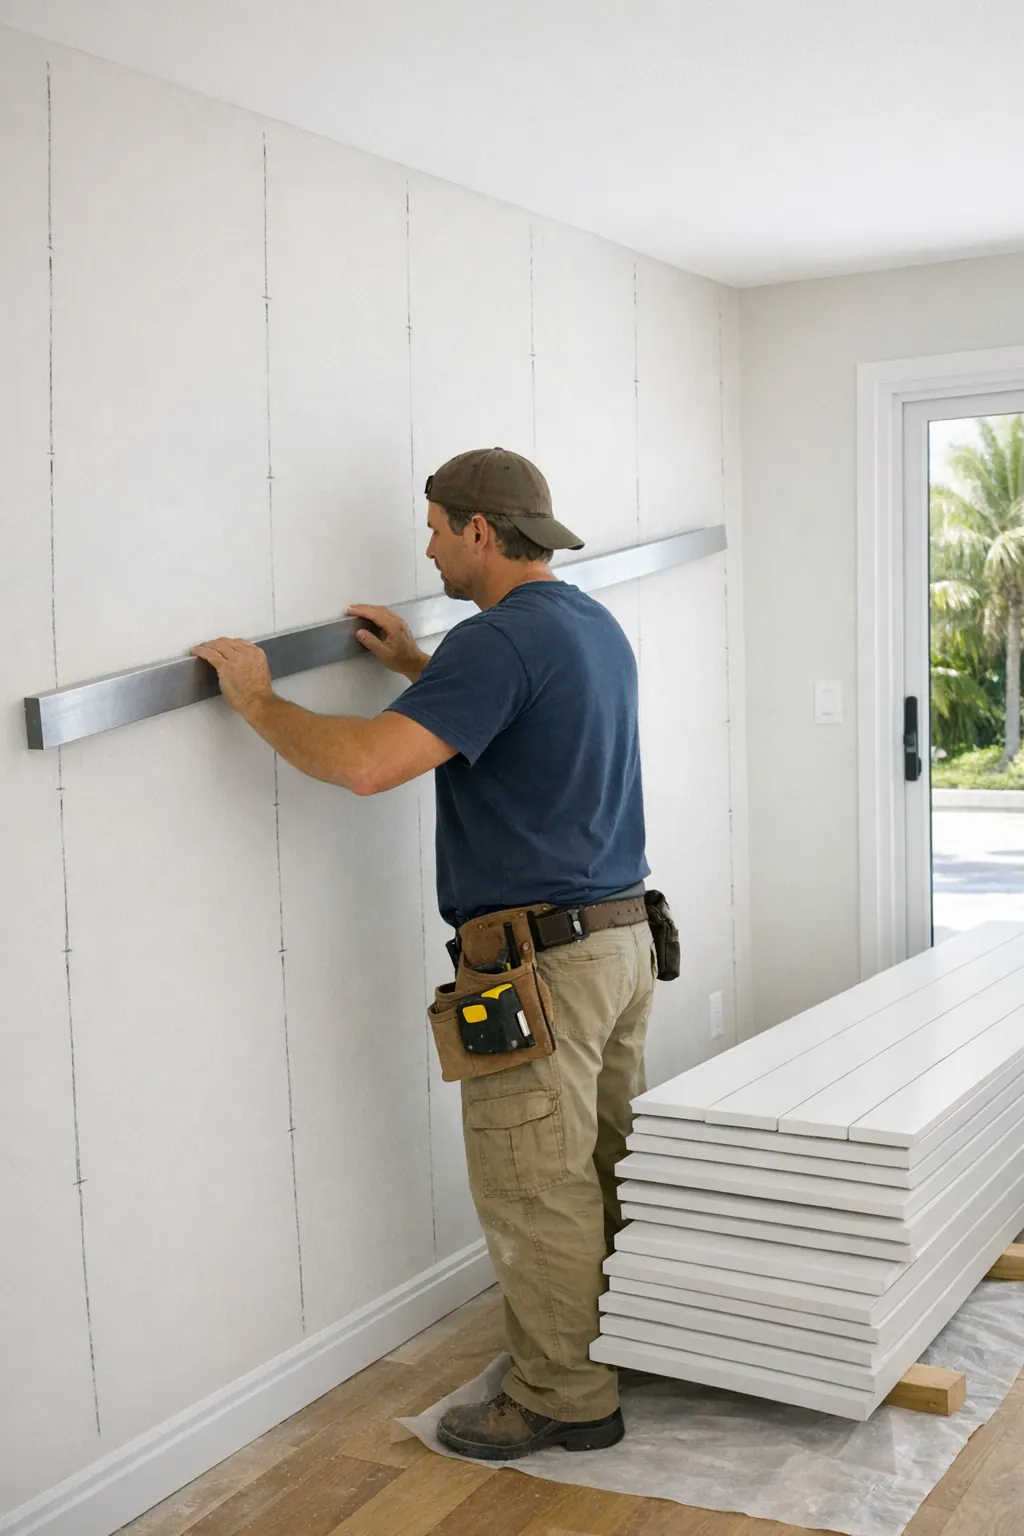
Furring strips can be useful when a wall needs a flatter plane, when the layout needs a fastening surface in a specific location, or when minor wall irregularities would otherwise telegraph through the paneling. Construction adhesive may help stabilize individual boards on an appropriate substrate, but it is an assist, not a replacement for sound mechanical fastening. A shiplap contractor in Englewood, FL should be able to explain which approach fits the wall rather than treating every drywall surface alike.
Layout is where the finished wall earns its crisp rhythm. Board direction should suit the room's proportions and focal point, while end joints should be planned and staggered instead of forming a distracting vertical ladder. Consistent gaps matter just as much: intentional reveals should remain even from the first course to the last, rather than tightening near a corner or widening around an outlet. Clean cuts and deliberate returns around windows, doors, receptacle boxes, baseboards, crown molding, and casing keep trim transitions from looking patched together.
In Florida homes, boards should be acclimated to the interior environment before installation, and perimeter allowances need to remain available behind trim rather than being locked tight with caulk. For a paint-grade finish, paintable flexible caulk belongs at selected trim-to-wall and trim-to-paneling transitions where a small finished seam is desired. It should not fill the shadow lines that define shiplap or disguise poor board alignment. Properly filled fastener holes, sanded repairs, sealed cut edges where appropriate, and a coating system suited to the chosen substrate give the final surface a more uniform appearance.
Coastal Shiplap Ceilings for Living Areas and Bedrooms
A paneled ceiling changes the room from above, turning a plain horizontal plane into a quiet architectural feature. In living rooms, bedrooms, and hallways, coastal shiplap can add texture without taking over the furnishings when the boards, trim, and paint color are kept intentionally simple. A soft white, pale sand, or muted blue-gray finish helps reflect light; satin gives a gentle sheen, while semi-gloss creates a more wipeable, more reflective look that can make ceiling seams more noticeable.
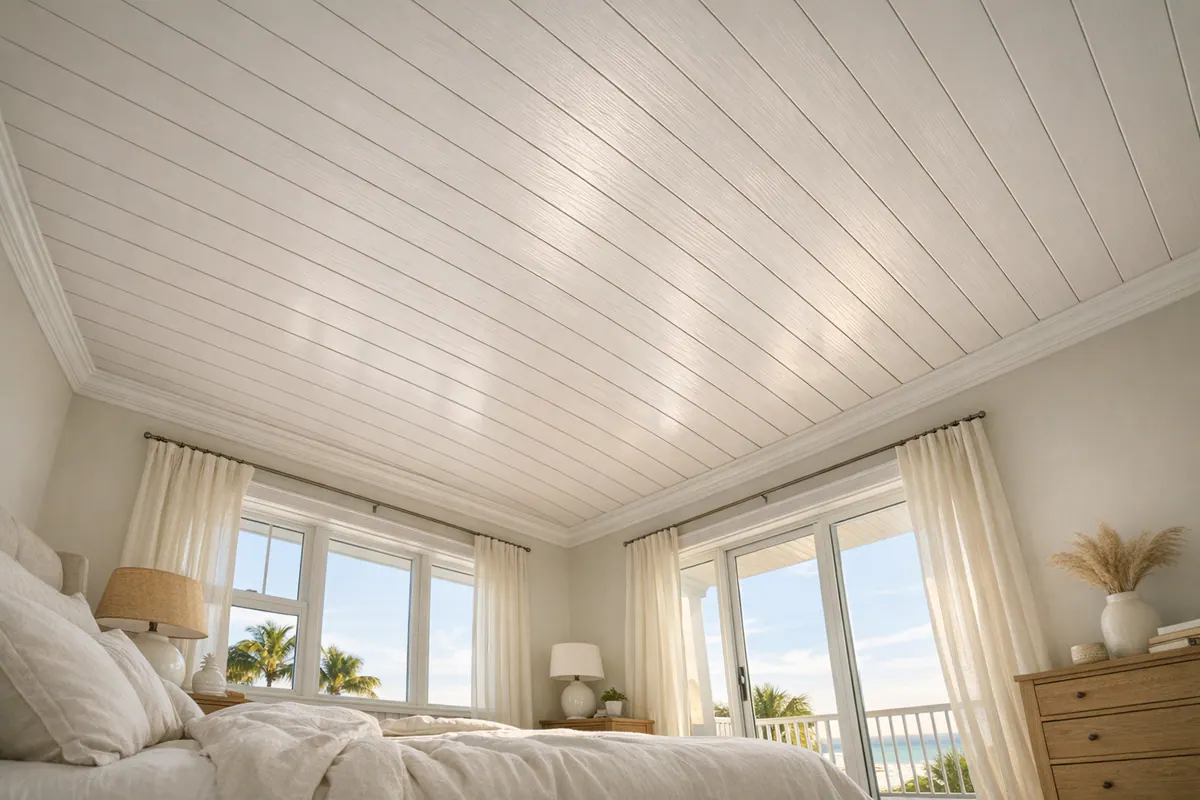
Ceiling work needs its own layout plan. On a flat ceiling, boards can run with the room's long dimension to emphasize length, or across a narrow room to make it feel broader. On a vaulted or sloped ceiling, the ridge, peak, and transitions become the visual reference points; balanced board widths and planned seams keep one side from looking like an afterthought. Perimeter trim covers the movement space at the edges and creates a clean meeting point with walls, beams, or crown details without filling the panel gaps that give the ceiling its rhythm.
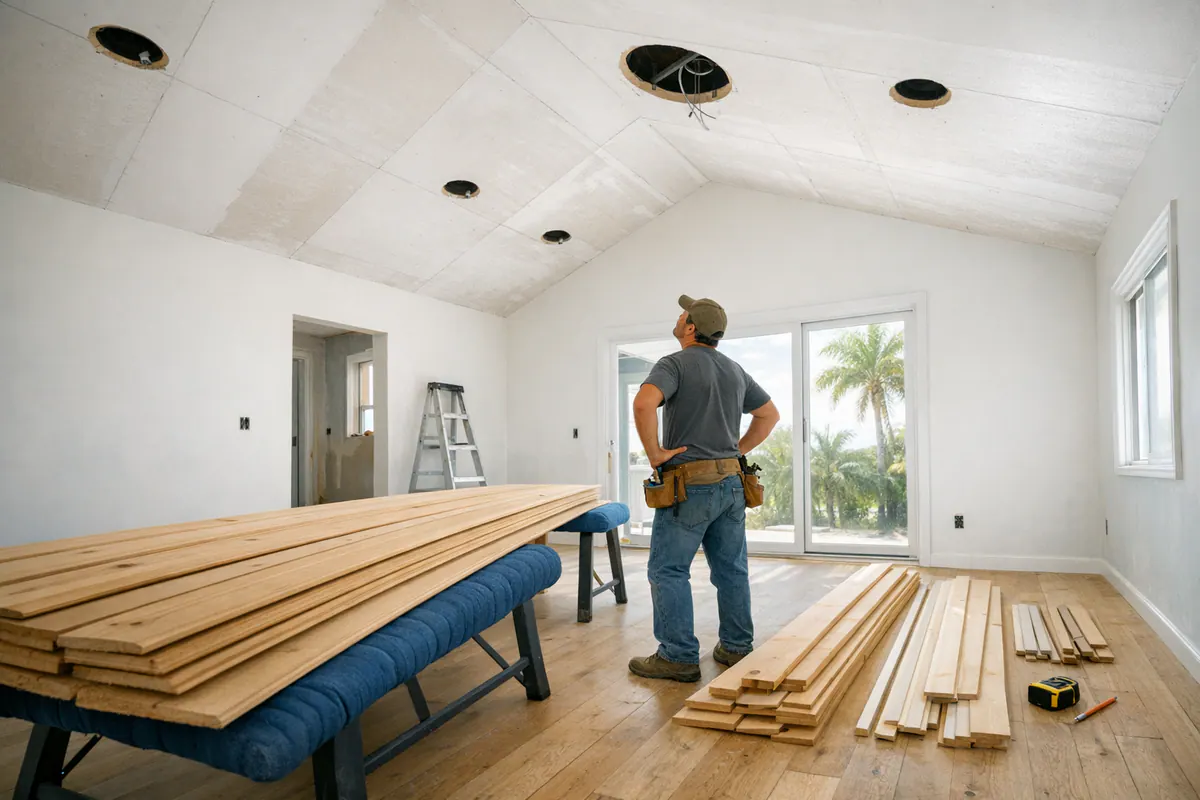
A shiplap ceiling in Englewood should be securely fastened into ceiling framing or an appropriate backing strategy, rather than relying on a finish surface alone. Recessed lights, ceiling-fan boxes, supply vents, speakers, and access panels should be located and coordinated before boards are cut, so each opening has a deliberate border instead of a collection of tight patches. For a covered area that is open to damp air or wind-driven moisture, the board material, fasteners, edge treatment, and finish need to suit that exposure; an interior paint-grade ceiling approach is not automatically the right choice there.
Shiplap Fireplace Features: Style, Clearances, and Material Limits
A fireplace wall needs a boundary between decoration and the heat-producing assembly. Shiplap can create the broader painted field around a fireplace, while the surround is the zone immediately around the firebox, insert, or stove connection. The surround may need a noncombustible material such as tile, stone, or another specified finish; shiplap is not a universal facing material for that area. A strong shiplap fireplace Englewood design lets the surround do its technical job, then uses paneling beyond it to carry the wall's color, lines, and coastal character.
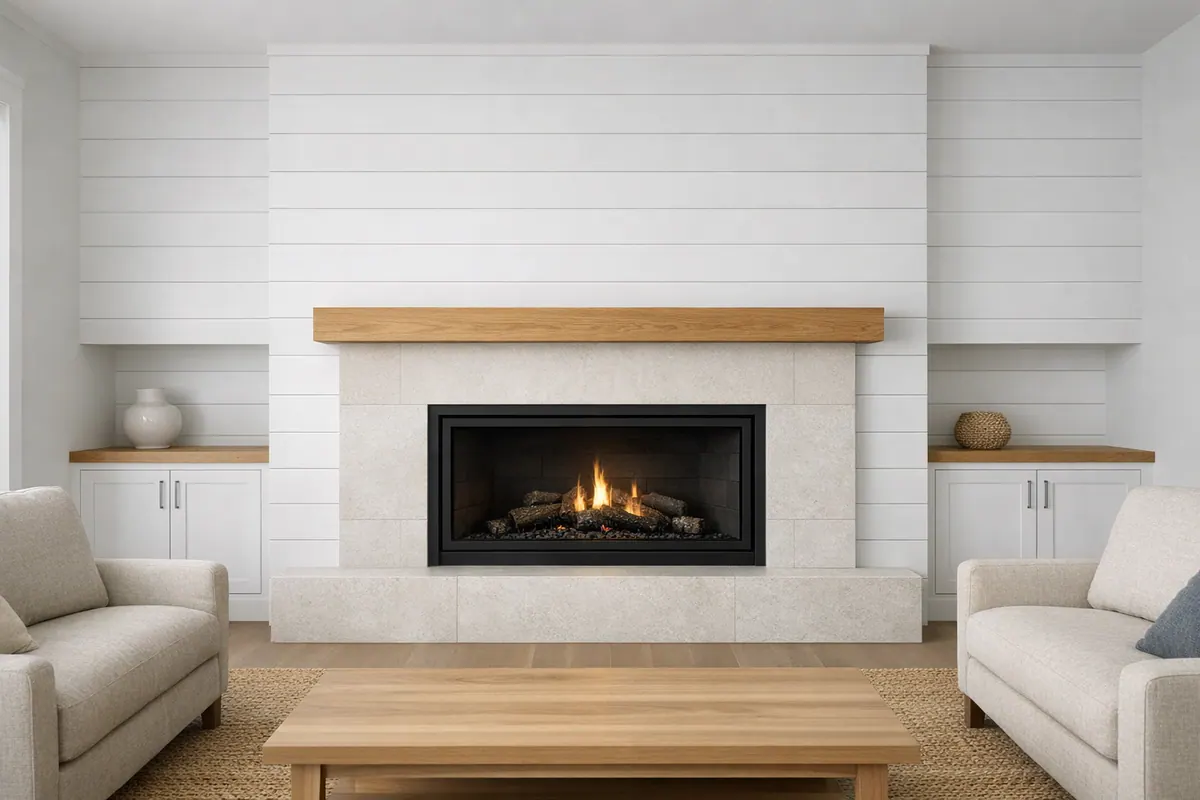
The fireplace type and its heat output shape the material decision. A low-heat decorative electric unit may allow a different field treatment than a wood-burning stove, gas insert, or other appliance that produces substantial heat. Before layout is approved, the appliance's listed installation instructions should establish the required clearances to combustible finishes, the surround dimensions, and any mantel limitations. Those dimensions determine where the shiplap can begin, not the other way around.
Details also deserve a coordinated drawing or field layout: mantel depth and height, the television location, outlet and cable placement, ventilation openings, trim returns, and the transition from noncombustible surround to painted paneling. A television mounted too high to escape heat or a mantel added after boards are installed can compromise an otherwise clean composition. For a paint-grade finish outside the designated clearance area, boards can be aligned around the surround and finished with restrained caulking at trim transitions, while preserving the intended reveal lines between panels.
Planning Your Englewood Shiplap Project
Project cost is shaped less by the label "shiplap" than by the amount of finish work needed to make the room look intentional. Wall or ceiling square footage sets the basic material and labor scope, while board material and profile affect both the purchase cost and the look of the reveal. A simple primed-board accent wall is generally more straightforward than a vaulted ceiling with tongue-and-groove, layered trim, and multiple cutouts.
- Substrate repairs, furring, and uneven walls that need correction before paneling begins.
- Trim returns, windows, doors, outlets, switches, light fixtures, vents, and ceiling-fan modifications.
- Paint-grade prep and finish coats, especially where trim and paneling meet.
- Ceiling height, ladder or scaffold access, and furniture protection or room access constraints.
- Fireplace layouts with a surround transition, mantel, television, or clearance-driven panel boundaries.
For an Englewood FL shiplap installation estimate, share room photos, approximate dimensions, inspiration images, and notes about humidity exposure or fireplace conditions. An on-site evaluation can turn those details into a material, layout, finishing, and access plan tailored to the home.
Plan the next step
Compare the broader Shiplap Installation service.
Review the Englewood, FL service area for local planning context.
When you are ready, request a free estimate with the rooms, trim goals, city, and available photos.
FAQs
What is the difference between shiplap and tongue-and-groove paneling?
Shiplap has overlapping board edges that create a visible recessed shadow line, while tongue-and-groove boards interlock edge to edge for a more continuous surface with a finer seam. Nickel-gap paneling creates a narrow, even reveal between boards.
Is shiplap a good choice for homes in Englewood, FL?
Shiplap works well on dry, protected interior walls in living rooms, bedrooms, entries, and dining areas. Florida humidity makes board acclimation, sealed cut edges, suitable fasteners, and expansion space behind trim important for a durable finish.
Can shiplap be installed over drywall?
Yes, shiplap can be installed over drywall when the wall is sound, reasonably flat, and supported by a proper fastening plan. Boards should be fastened into framing or suitable backing, and furring strips may be needed to flatten uneven walls or create reliable fastening points.
Can you put shiplap on a ceiling?
Yes, shiplap can be installed on living room, bedroom, hallway, flat, vaulted, and sloped ceilings when it is securely fastened into ceiling framing or appropriate backing. Recessed lights, fan boxes, vents, speakers, and access panels should be planned before boards are cut.
What type of shiplap holds up best in Florida humidity?
Standard MDF is best limited to dry, conditioned rooms because unprotected edges and joints can swell with moisture. In more humid interior areas, moisture-resistant engineered boards or properly acclimated wood with sealed cuts, finished edges, and controlled water exposure are better options.