
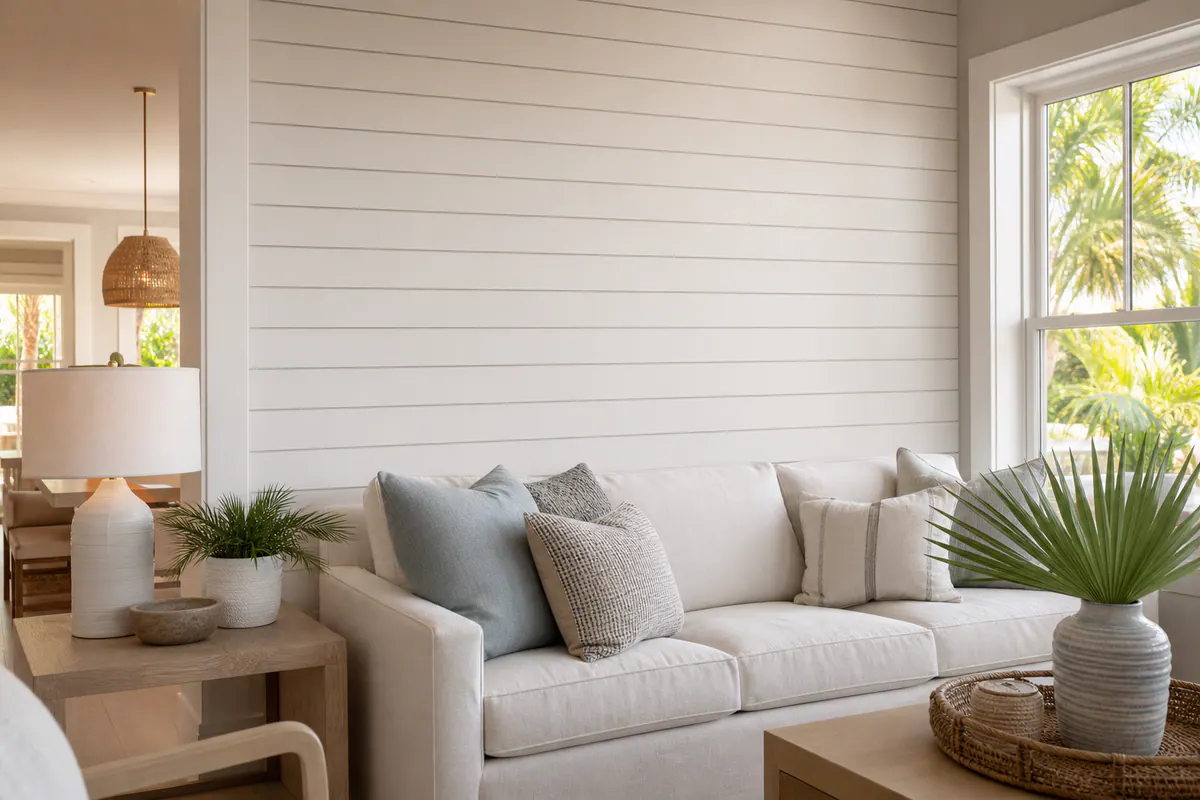
Shiplap can bring structure and softness to a beach-home interior without pushing the room toward a farmhouse look. For shiplap installation in Siesta Key, the refined version is usually defined by an intentional board layout, slim and even reveals, crisp paint, and transitions that relate cleanly to the home's existing baseboards, casing, and crown.
That makes it a flexible architectural finish: a quiet painted wall treatment in a bedroom, a ceiling plane that gives an open living area more definition, or a tailored accent surrounding, rather than crowding, a fireplace feature. Horizontal boards visually widen a space; vertical boards draw the eye upward. The reveal is the narrow shadow line between boards, and keeping it consistent is what makes coastal shiplap feel composed instead of improvised.
Coastal interiors also call for material choices that suit the specific room. Paint-grade wood offers a substantial, traditional finish but needs careful preparation and edge sealing. In locations with more humidity exposure, a suitable moisture-tolerant alternative may be the more practical choice. Flat backing, secure fastening, room for normal movement, and paint-ready joints all matter as much as the board profile.
The result should feel integrated with the home: clean-lined, durable in its detailing, and tailored to the wall, ceiling, or decorative fireplace accent it is meant to elevate.
Where Shiplap Works Best: Walls, Ceilings, and Fireplace Accents
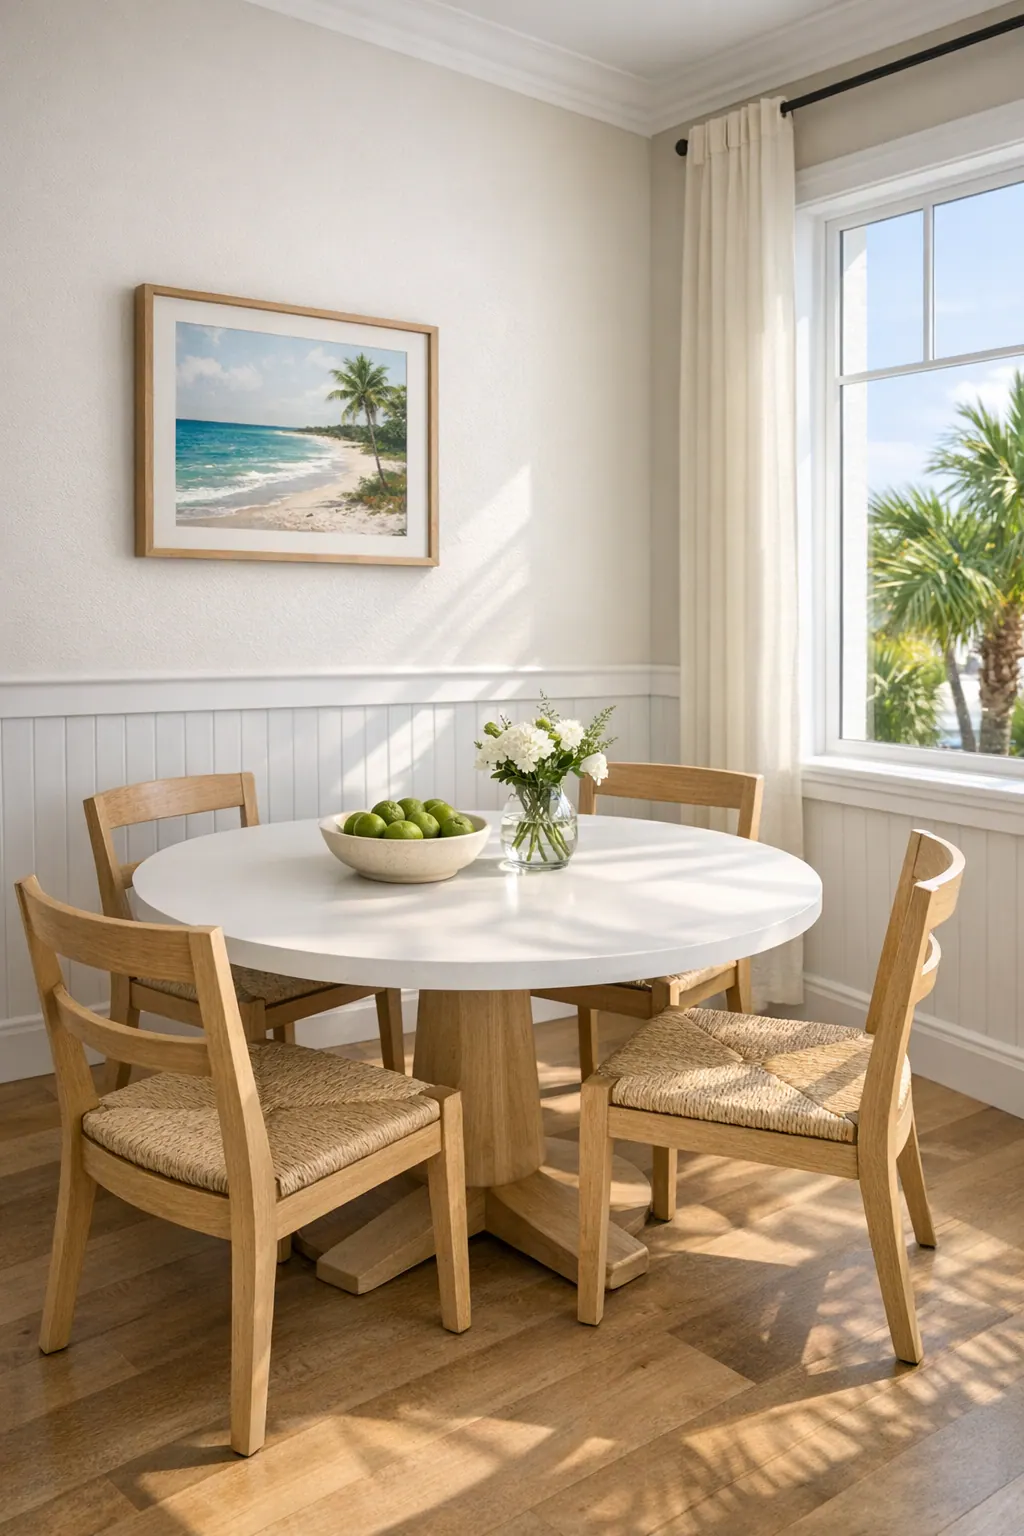
A room's proportions often point to the most effective placement. Full-height shiplap walls can give a primary bedroom, entry, or living area a more finished envelope, while a partial-height installation, such as a tailored wainscot behind a dining table or along a hallway, adds texture without making every surface compete for attention. In an already detailed room, one feature wall is often the stronger choice: it creates a focal point for a bed, console, or artwork and leaves adjacent walls calm.
Orientation changes the visual read. Horizontal paneling emphasizes the room's width and can make a narrow wall feel more expansive; it is a natural fit for long living-room walls and relaxed coastal gathering spaces. Vertical shiplap pulls the eye upward, making it useful on lower ceilings or behind a tall headboard. Neither direction is automatically better, the board layout should support the room's shape, window placement, and existing trim lines.
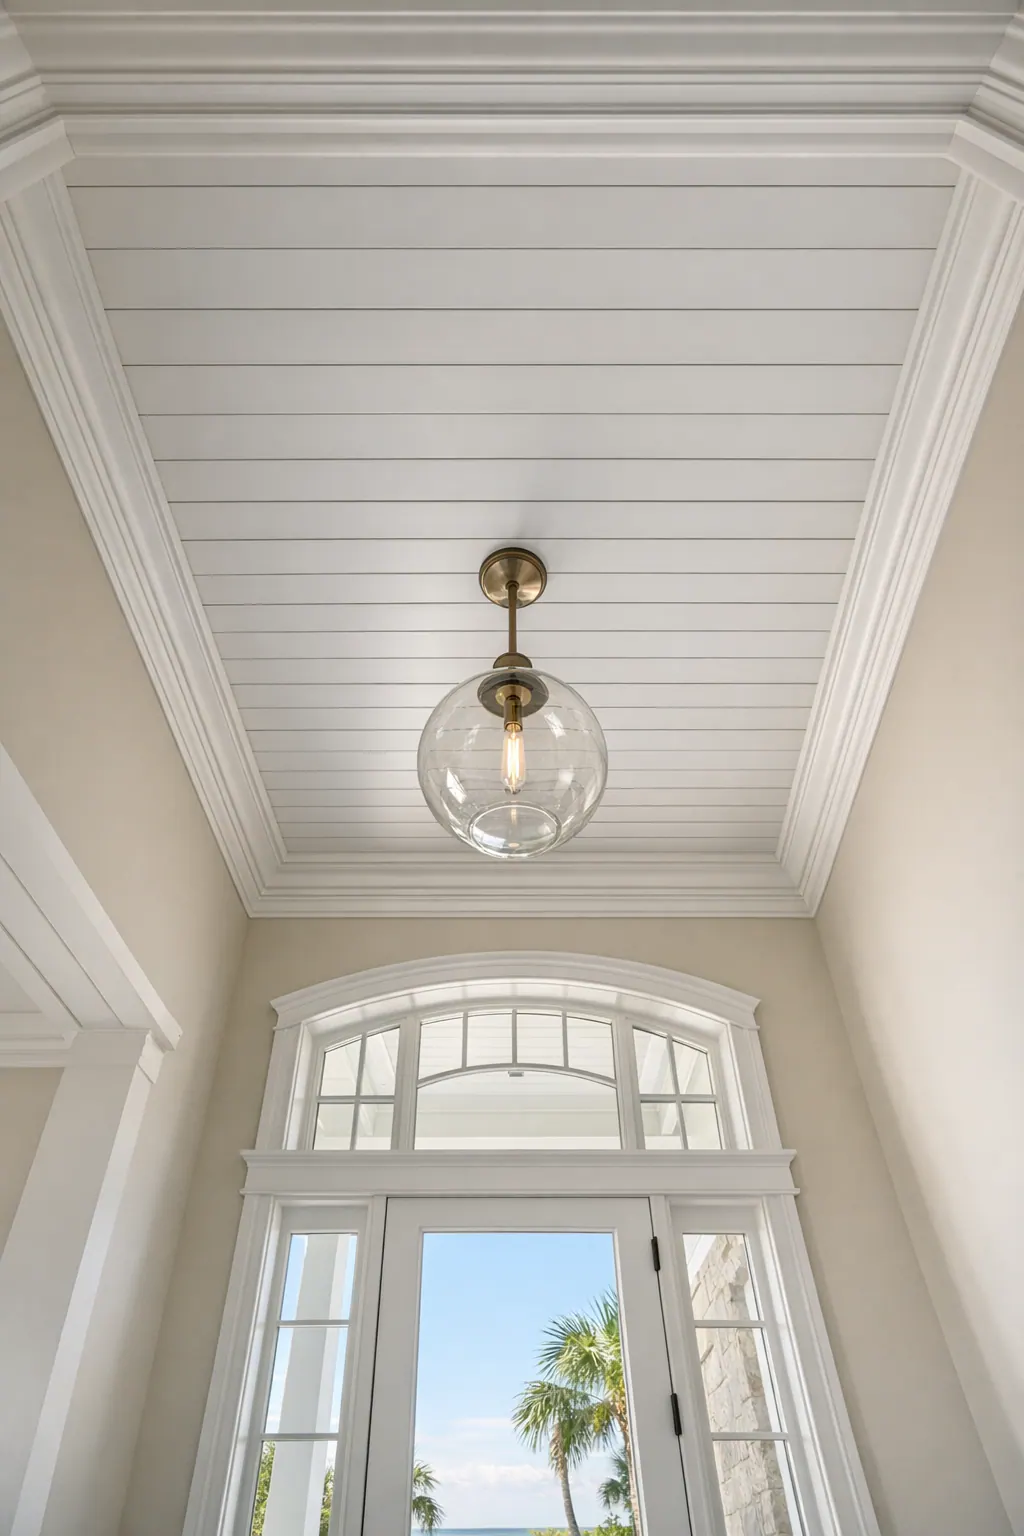
Shiplap ceilings bring subtle rhythm to broad, plain overhead planes. In a vaulted great room, they can make the ceiling feel intentional without adding visual weight to the walls. On a porch-adjacent living area or bedroom ceiling, a light paint color and restrained trim treatment keep the effect airy. Because the ceiling is so visible from across the room, straight courses and clean perimeter transitions matter especially here.
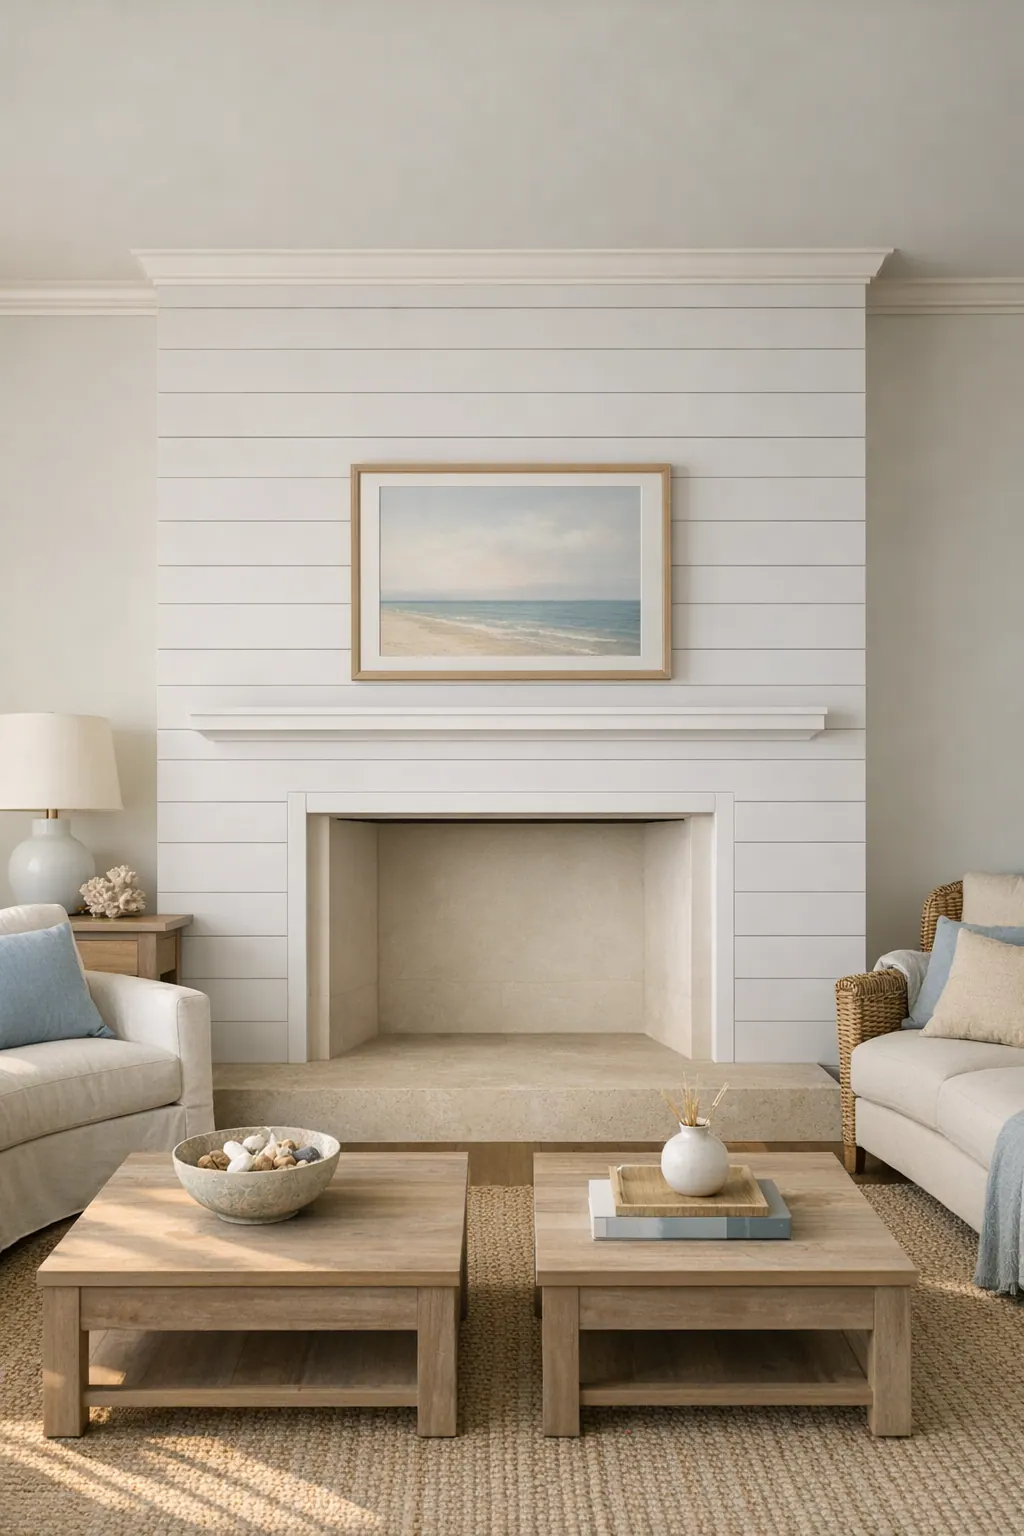
A fireplace shiplap accent wall can frame the room's gathering point while preserving a refined beach-house feel. Limiting the treatment to the chimney breast or the wall surrounding it provides texture without overwhelming nearby cabinetry, stone, or windows. The decorative paneling should be planned separately from the firebox, mantel, hearth, and any heat-related clearances, so the finished composition respects the appliance's instructions and the project's applicable requirements.
Choosing Shiplap Materials for Humidity and Coastal Exposure
Material choice begins with the room's exposure, not just the color on the sample board. A climate-controlled bedroom wall away from exterior openings has different demands than paneling beside frequently opened sliders, a covered lanai transition, or a laundry-adjacent wall where damp air is more routine. The closer a surface is to humid air and changing conditions, the more valuable stable, moisture-resistant materials and deliberate edge treatment become.
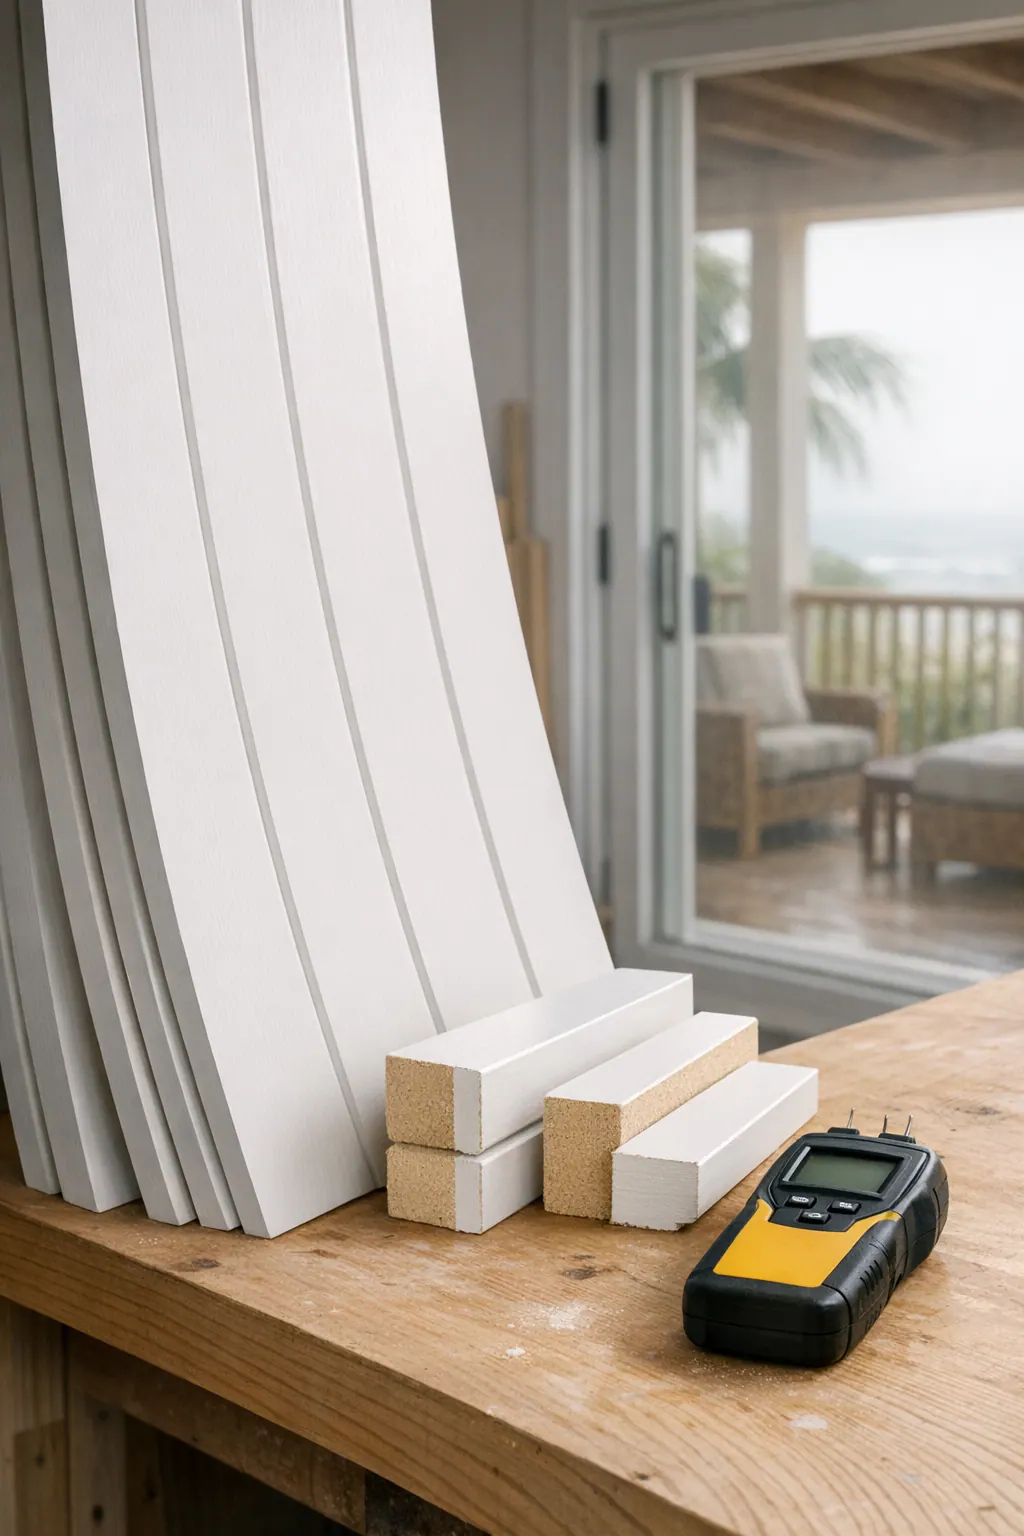
Paint-grade wood offers a traditional, substantial feel and can be a strong choice for dry interior walls and ceilings when the boards are properly acclimated, primed, and painted on all exposed faces and cut edges. It accepts a refined painted finish well, but wood responds to seasonal changes. Consistent reveals, appropriate expansion space at perimeter trim, and a flat, secure backing help the courses continue to look intentional rather than crowded or uneven.
Factory-primed boards can simplify the paint process by providing a prepared face, but field cuts, ends, and any exposed edges still need attention before final coating. For a clean coastal finish, the useful checkpoint is not simply whether a board arrives primed; it is whether the installed assembly leaves no raw, absorbent edges at joints, outlets, returns, or trim transitions.
MDF considerations matter most where humidity or incidental moisture is likely. MDF produces a very smooth painted surface and crisp machined profiles, which can suit a protected interior feature wall. Its weaker signal is an unsealed edge or installation in a higher-risk area near open-air access, moisture-producing rooms, or repeated damp conditions: moisture-sensitive fiberboard can swell or lose its clean profile if water reaches it. In those locations, a different panel material is often the more resilient design decision.
PVC trim and paneling provide another route for areas that need greater moisture tolerance. They are useful for painted details near exterior doors or semi-exposed transitions, though their movement characteristics differ from wood. Allowance for expansion and contraction, fastening that does not distort the board, and a stable substrate remain essential to keeping reveals straight and trim joints tidy.
Not every clean-lined wall needs a traditional shiplap board. Tongue-and-groove uses interlocking edges to align boards, while nickel-gap paneling creates a deliberately narrow, consistent shadow line between them. Either can deliver the same tailored rhythm; the better choice depends on the desired reveal, paint finish, substrate condition, and the room's exposure. Professional shiplap installation in Siesta Key brings those decisions together before the first course is fastened.
What Professional Shiplap Installation Looks Like
A polished installation starts before any boards reach the wall. A finish carpenter assesses whether the surface is flat enough to support an even field of paneling, notes high and low areas, locates suitable backing for secure fastening, and studies the room's existing trim. Layout is planned around the wall rather than started blindly from one corner: board courses, end joints, windows, doors, and focal points should all feel balanced when viewed from across the room.
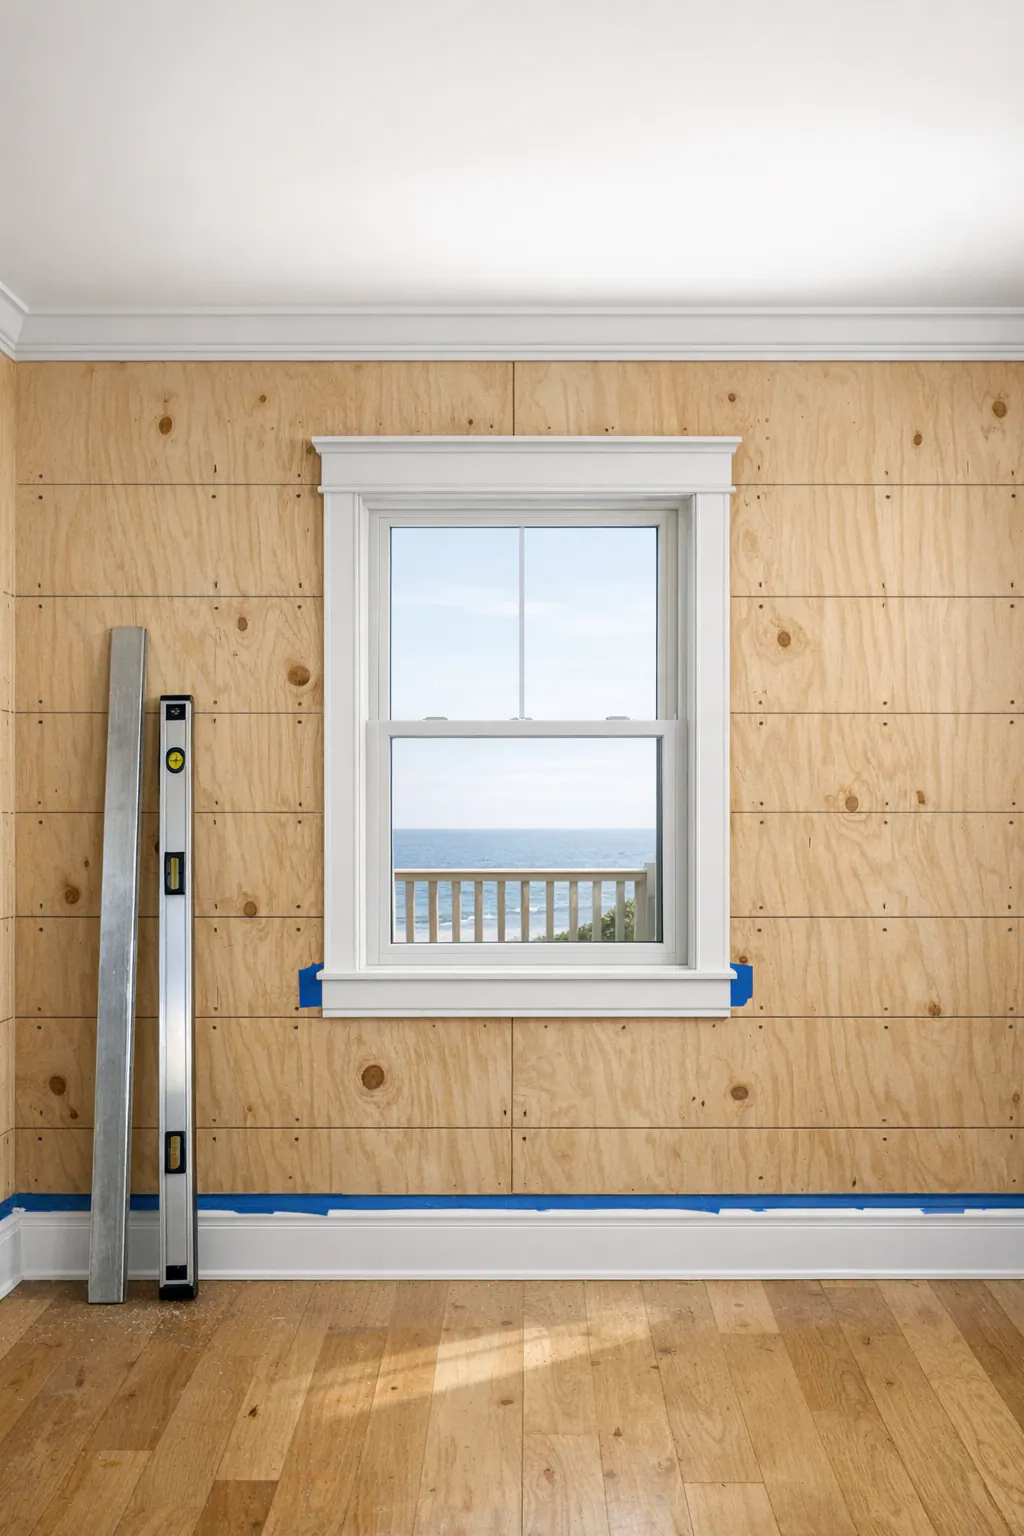
The starter course sets the visual discipline for everything above it. It must run straight and remain true as the installation moves across a wall or overhead plane. Consistent spacing, or clean reveals when the chosen profile creates its own gap, keeps the shadow lines calm and intentional. A weak installation can look acceptable at the first board but drift noticeably by the time it reaches crown molding, a return wall, or a ceiling transition.
Details around interruptions separate basic panel attachment from finish-level shiplap wall installation. Outlet and switch cuts need to be neat enough for cover plates to sit naturally, while boards meeting window casing, door trim, baseboards, and crown require deliberate termination. Depending on the design, trim may frame the panel field, boards may die neatly into an existing profile, or a small perimeter allowance may be concealed by molding. Each approach changes the finished look, so it should be chosen before cuts begin.
Fasteners are placed with the final paint surface in mind, then carefully filled and sanded rather than left as a distracting pattern. Caulk belongs at selected paintable transitions where it creates a crisp visual connection; it should not be used to disguise irregular spacing or poorly fitted boards. Final preparation includes addressing cut edges, patching, sanding, and creating a uniform surface for primer and paint. That patient sequence is why a finish carpenter Siesta Key homeowners trust delivers more than boards on drywall: the wall reads as one composed architectural feature.
Room-by-Room Planning for Siesta Key Shiplap
In a living room or entry, shiplap earns its place when it organizes a long wall, frames a console, or gives a seating area a quiet backdrop. Bedrooms can support a full-height headboard wall or a calm ceiling treatment, while a dining room may need only a lower wall application to add coastal interior trim detail without competing with cabinetry, art, or windows.
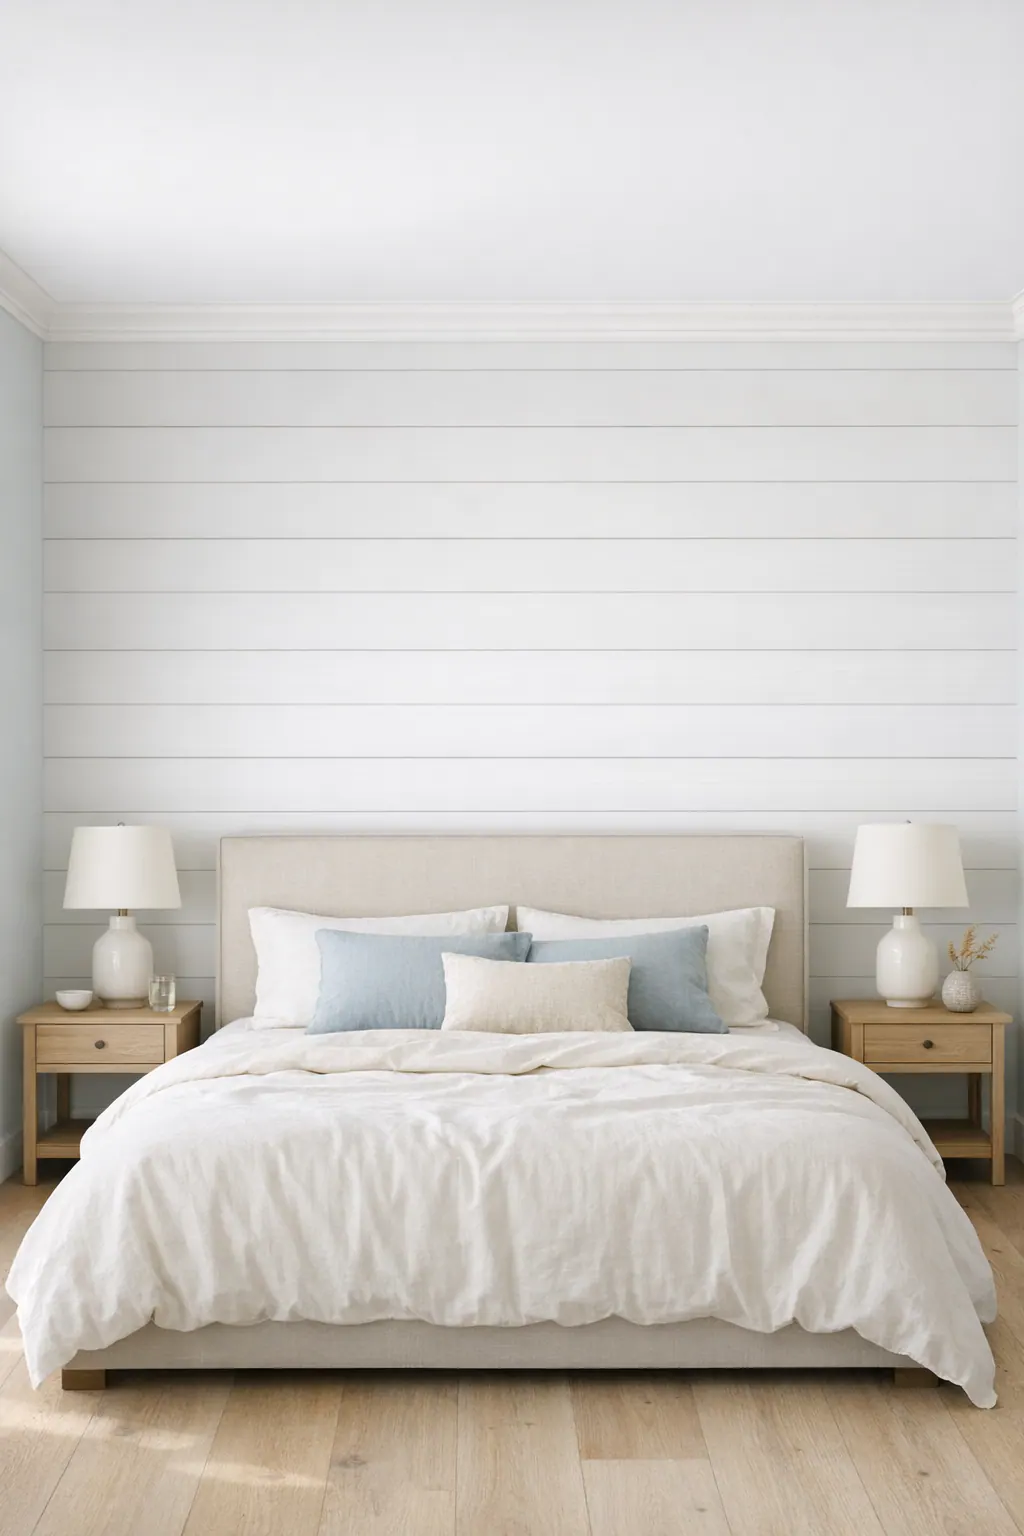
Kitchens call for more selective placement. A shiplap wall beyond the primary splash zone can soften hard finishes, but areas near sinks, cooking surfaces, and frequently wiped spills benefit from materials and finishes chosen for that exposure. In a bathroom or beside a laundry area, the question is not simply whether the boards look good: damp air, ventilation, and exposed cut edges make a smaller accent wall or a more moisture-tolerant panel choice the more sensible direction.
Rooms opening onto a covered lanai or often-open sliders deserve similar attention. Repeated humid air and changing conditions can make a stable, well-finished material and carefully sealed perimeter details more important than covering every available wall. A site-specific Siesta Key shiplap installation can keep the architectural effect while limiting paneling to the interior plane that will stay more protected.
Overhead work changes the visual and practical plan. A shiplap ceiling installation in Siesta Key can give an open gathering room definition, but board direction should support the room's proportions and transitions at beams, crown, and fan locations should be resolved cleanly.
At a fireplace, a restrained chimney-breast accent is often stronger than wrapping the entire room. Decorative shiplap must remain distinct from the firebox, hearth, mantel, and any heat-sensitive surround zone; the selected material, its placement, and required clearances should be planned around the specific appliance and surround requirements before installation begins.
How a Finish Carpenter Plans a Custom Shiplap Project
The best custom work begins with a conversation about what the room already has to say. A finish carpenter considers the home's trim language, ceiling height, window placement, and the desired coastal mood, whether that means a quiet, nearly seamless painted field or a more visible linear texture that anchors the room.
From there, the existing surface and surrounding details shape the plan. Drywall condition, baseboard depth, door casing, crown, beams, outlets, and return walls all affect where the panel field can begin and end. Keeping existing trim may call for carefully fitted termination boards; replacing or building out selected trim can create a more integrated, intentional edge.
Profile and direction are decided before cutting begins. Horizontal boards tend to broaden a wall, while vertical boards draw the eye upward; a narrow reveal reads more tailored and subtle, while a wider shadow line gives the treatment stronger definition. The scope should also identify which surfaces receive paneling, how corners and openings will be handled, and where transitions to unpaneled walls belong.
Paint is part of the carpentry plan, not an afterthought. Coordinating the sheen, color, filled fasteners, caulked paintable joints, and treatment of cut edges helps the finished surface read as one composed feature. Before installation, a shiplap installer in Siesta Key can review the proposed layout on site so board alignment, trim integration, and focal points are resolved on the wall, not improvised after the work is underway.
Plan Your Siesta Key Shiplap Walls or Ceiling
A few well-chosen visuals make the first conversation far more productive. Bring photos of the room from several angles, a few inspiration images that show the level of texture you prefer, and any paint colors or finishes already selected for nearby walls, cabinetry, or trim.
It also helps to name the decision that matters most to you. A horizontal panel field can make a feature wall feel broader, while a vertical layout gives the eye a taller path; a subtle reveal feels quieter than a pronounced shadow line. Note whether the surface is a dry interior wall, a ceiling near exterior openings, or an area that regularly experiences damp coastal air, since that exposure affects the material and finishing approach.
For a fireplace accent, share a photo of the firebox, mantel, hearth, and surrounding wall so the decorative treatment can be planned as a separate finish rather than assumed to fit every portion of the feature.
Reach out to discuss shiplap installation in Siesta Key for a wall, ceiling, or fireplace accent. A tailored on-site evaluation can turn your room photos, style references, panel direction, paint goals, and moisture considerations into a clean, cohesive installation plan.
Plan the next step
Compare the broader Shiplap Installation service.
Review the Siesta Key, FL service area for local planning context.
When you are ready, request a free estimate with the rooms, trim goals, city, and available photos.
FAQs
Should coastal shiplap run horizontally or vertically?
Horizontal shiplap visually widens a room and works well on long living-room walls. Vertical shiplap draws the eye upward, making it a strong option for lower ceilings or behind a tall headboard.
Can shiplap be installed on ceilings in humid coastal homes?
Yes, shiplap can define broad or vaulted ceilings when boards are installed in straight courses with clean transitions at beams, crown, and fan locations. In humid coastal areas, use a stable, moisture-tolerant material where exposure is higher and allow for normal expansion and contraction.
Is MDF shiplap a good choice for a Florida beach house?
MDF can provide a smooth painted finish and crisp profile on a protected interior feature wall. It is not a strong choice near open sliders, laundry areas, bathrooms, or other damp locations because unsealed MDF edges can swell and lose their profile when exposed to moisture.
Can shiplap be used around a fireplace?
Shiplap can be used as a restrained accent on the chimney breast or surrounding wall to frame a fireplace without covering the entire room. Decorative paneling must remain separate from the firebox, mantel, hearth, and heat-sensitive surround areas, with placement planned around the appliance’s required clearances.
What should I look for in a professional shiplap installation?
Look for balanced board layout around windows, doors, outlets, trim, and focal points, plus a straight starter course and consistent narrow reveals. A finish-level installation also includes secure backing, neatly filled and sanded fasteners, sealed cut edges, and deliberate transitions to baseboards, casing, and crown.