

Trim Repair and Replacement for Siesta Key Homes
A blistered finish, dark stain, widening joint, or loose piece of casing is a useful checkpoint: it may be a surface flaw, or it may show that water has reached the trim or the surface behind it. In Siesta Key homes, trim at window and door openings, roof-edge boards, baseboards, and decorative molding helps finish transitions while covering vulnerable edges exposed to rain, humidity, salt air, aging paint, and failed caulk.
Trim repair in Siesta Key should begin with more than filling a crack and applying fresh paint. An evaluation can separate a cosmetic defect, such as a shallow ding or isolated paint failure, from localized deterioration that may be repairable. Soft, swollen, crumbling, or distorted molding calls for a closer look at the extent of damage and nearby surfaces before deciding whether a targeted repair will hold or a section should be replaced.
A clean result also depends on details that remain visible after the work is done: matching the existing profile so new molding does not stand out, preparing joints for neat caulk lines, and sanding, priming, and painting for a smooth finish. Addressing both the damaged trim and the apparent path for moisture gives the repair a more durable starting point than a surface-only touch-up.
Signs Your Trim May Need Repair or Replacement
A fingertip test often reveals more than a fresh coat of paint. Wood that feels soft, flakes away, compresses under light pressure, or has swollen past its original edge deserves attention. Cracks that keep reopening, peeling or bubbling paint in the same spot, dark water marks, and molding that has pulled loose can all be signs that the issue reaches beyond the visible finish.
- Often superficial: a single scuff, nail hole, shallow scratch, or small patch of paint loss on trim that remains firm, flat, and securely attached. These defects may be limited to finish preparation and repainting.
- Worth a closer look: recurring blistering, a raised or wavy face, split end grain, crumbling corners, or a joint that has separated. These conditions can indicate localized deterioration and help determine whether wood trim repair is practical.
- More concerning: casing that moves when gently touched, broad soft areas, persistent staining, or distortion around a window or door. In these cases, the surface behind and beside the molding should be assessed rather than simply covered with patch material.
Open seams and failed caulk are especially easy to overlook because they can begin as a thin line at a joint or along an exterior edge. Caulk is meant to bridge small gaps; when it splits, shrinks away, or repeatedly separates, water can reach exposed edges and the area behind the trim. Caulk failure repair should therefore include looking at why the joint opened, not just applying a new bead over old, loose material.
For damaged molding repair in Siesta Key, useful details to note are whether the problem returns after painting, whether staining follows a seam, and whether adjoining siding, wall surface, or window and door edges show wear too. Those clues do not prove hidden damage, but they help distinguish a finish touch-up from a condition that may call for a more thorough repair or replacement decision.
Why Exterior Trim Fails in Siesta Key’s Coastal Environment
On a barrier-island home, exterior trim is exposed from several directions at once. Wind-driven rain can work into outward-facing seams and unfinished end cuts, while high humidity can keep those areas from drying quickly. Salt air may leave residue on painted surfaces, and strong sun can age paint films and sealant at the same joints that need to shed water.
Window and door casing deserve close attention because their edges meet wall finishes, flashing details, and openings that receive direct weather. Fascia is another common trouble spot: it sits at the roof edge, where runoff, gutter overflow, and exposed joints can concentrate wear. Corner boards face long vertical seams and broad weather exposure, so a small separation at an edge can become a repeated entry point for moisture.
The exposure path matters as much as the visible defect. For example, paint failing only on a sunny face may point to a finish that has weathered, while deterioration that begins at a horizontal joint, lower casing corner, or fascia end may suggest water is reaching an unprotected connection. A weak repair merely fills the damaged face. A more durable exterior trim repair removes deteriorated material where needed and addresses the open joint, failed bead, runoff pattern, or adjacent edge that allowed the damage to continue.
Coastal trim repair in Siesta Key should also account for how the finished surface will perform as a system. Clean, properly prepared joints give caulk a sound surface to bridge; primer helps protect repaired or new trim before paint; and sanding creates the even transitions needed for a finished appearance. The goal is not to assume every stain or split has the same cause, but to inspect the surrounding window trim, door trim, fascia, or corner board closely enough that the repair does not simply hide a route for future moisture exposure.
When Trim Can Be Repaired and When Replacement Makes More Sense
The size and depth of the defect usually matter more than how rough the paint looks from a few feet away. A small split, shallow surface deterioration, isolated dent, or slightly separated joint may be a repair candidate when the trim remains firm, holds its shape, and the surface behind it is sound. In those cases, the damaged area can be cleaned back to stable material, rebuilt or patched as appropriate, sanded smooth, and prepared for a paint-ready finish.
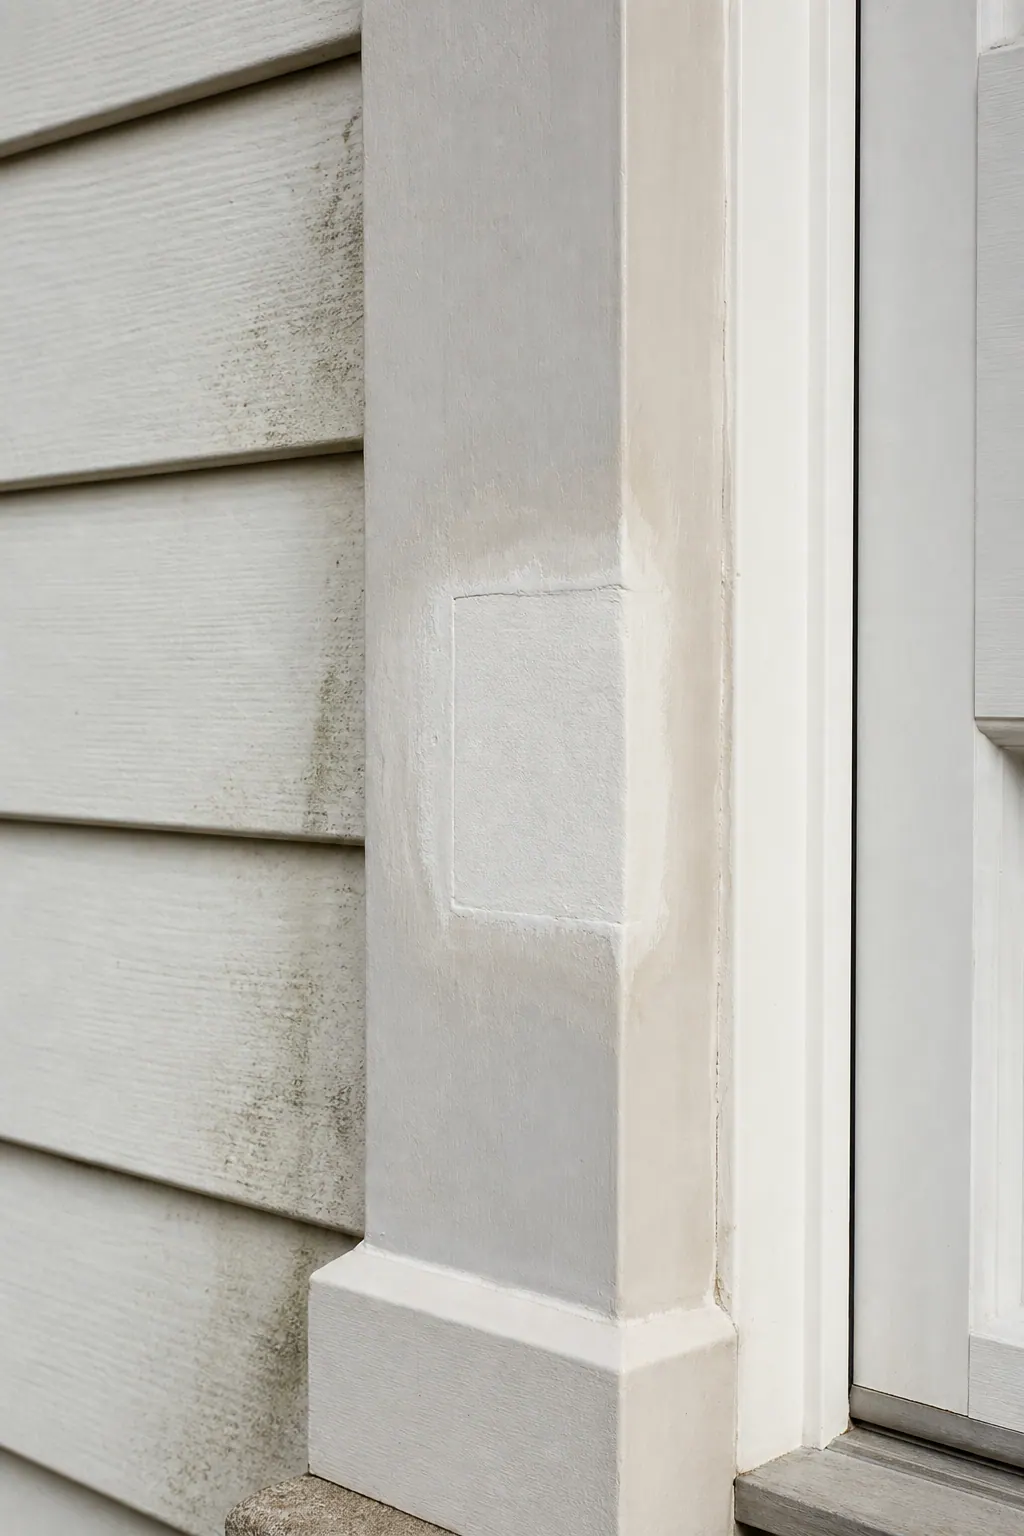
Repair is less convincing when deterioration is not confined to one small area. Persistent softness, crumbling wood, pronounced swelling, bowed or twisted boards, and molding that no longer sits flat can mean the piece has lost the integrity needed for a lasting patch. Trim replacement Siesta Key homeowners request is often the more sensible path when rot runs along a board, a casing corner has deteriorated beyond a localized section, or repeated repairs have failed in the same location.
- A potentially repairable condition: a narrow crack or open miter joint with solid material on both sides, no continuing movement, and no staining or softness at the adjacent wall edge.
- A replacement-worthy condition: a fascia board or window casing that compresses in multiple spots, has swollen edges, or shows deterioration continuing behind the visible face.
- A deeper-inspection signal: loose trim paired with staining, recurring blistering, or gaps at an adjoining wall, window, door, or roofline interface. The visible molding may not be the only affected component.
Before closing a repair or installing replacement trim, the moisture path needs attention. Replacing rotted trim without correcting an open joint, failed caulk line, runoff issue, or vulnerable edge can leave the new section exposed to the same conditions. When the damage suggests intrusion behind the molding, the adjacent backing, framing interface, and wall condition should be evaluated rather than covered over.
Ultimately, damaged molding repair in Siesta Key is a condition-based recommendation, not a one-size-fits-all call. An inspection can distinguish a stable piece that needs focused restoration from trim whose extent of damage makes replacement the cleaner, more reliable starting point.
Matching Existing Molding and Selecting Suitable Replacement Trim
A replacement section looks intentional only when it carries the same visual language as the trim beside it. That means comparing more than the face width: the thickness, curved or stepped edge detail, amount of reveal at the wall or jamb, joint locations, and paint sheen all affect whether new molding disappears into the original work or reads as an obvious patch.

For interior trim repair, baseboards, door casing, and crown molding call for slightly different checks. A baseboard must meet the flooring cleanly and maintain the same height around the room. Casing needs to preserve the reveal, the narrow, consistent edge of jamb or frame left visible beside the molding, while crown molding must follow the ceiling and wall angles without awkward breaks in its profile. A good molding replacement also places scarf joints, miters, and returns where they align with the existing layout rather than creating a conspicuous short segment.
Exterior pieces require the same profile discipline, but their position changes the selection. Window and door casing, fascia, corner trim, and decorative bands may be exposed to rain, sun, humid air, and open joint lines. The replacement choice should suit the location, the way the surrounding assembly is built, the detail being reproduced, and the planned paint system. A broad fascia board and a finely detailed exterior casing do not necessarily call for the same material or construction approach.
- Match the geometry: compare width, thickness, edge shape, and projection from the wall before cutting a replacement piece.
- Match the finish plan: patched or new sections should accept the intended primer and paint treatment so sanding, caulk lines, and sheen remain consistent.
- Match the exposure: select trim based on whether it is protected indoors, near a damp transition, or fully weather-facing outdoors, not on a one-material-fits-all assumption.
For trim repair Siesta Key homeowners can feel good about, the goal is not merely to fill an opening. It is to restore the line, proportion, joints, and painted appearance that make the repaired area belong to the rest of the home.
What a Complete Trim Repair Process Should Address
The work should proceed from the exposed condition to the finished surface, rather than treating a visible gap as a paint-and-caulk touchup. The damaged area is first examined alongside its edges and adjacent wall, jamb, siding, or fascia for open sealant, staining, recurring blistering, loose fasteners, and other visible signs that water may be reaching the assembly.
If a trim section is firm and the defect is shallow, preparation may involve cleaning, stabilizing the area, filling an appropriate localized void, and sanding the transition flush. Soft, crumbling, swollen, or distorted material calls for a different step: removing the unsound portion before rebuilding or fitting a matched replacement section. Caulk can close a properly prepared joint, but it cannot restore material that no longer holds its shape or provides a stable surface.
Once the repair or replacement piece is in place, the visible details deserve equal attention. Joints should sit in line with surrounding molding, transitions should feel smooth to the touch, and gaps intended for sealant should be clean and consistent rather than overfilled. This is where careful caulk failure repair helps preserve crisp edges without turning caulk into a substitute for sound trim.
The final preparation creates the difference between a noticeable patch and a cohesive painted result. Sanding levels patched areas and joint lines; primer creates a uniform base over exposed or repaired surfaces; and paint-ready finishes allow the topcoat to lie cleanly along the molding's profile. Paint blending can still vary: older paint, sun-faded elevations, prior touchups, and a worn or uneven sheen may make a newly painted section read differently from the surrounding finish.
Schedule a Trim Evaluation for Your Siesta Key Property
If you have noticed soft spots, recurring cracks, stains, swelling, loose casing, or caulk joints that keep opening, request a trim evaluation for your Siesta Key property. The useful question is not simply whether the surface can be repainted; it is whether the molding remains sound and whether a nearby seam, edge, or adjoining surface may be allowing moisture to reach it.
An assessment can help separate a localized defect from deterioration that extends beyond the visible area. Firm trim with limited surface damage may suit a focused repair, while distorted or crumbling sections may call for removal and a carefully matched replacement. Exterior concerns around windows, doors, fascia, and siding deserve the same attention as interior baseboards and casing where staining or separation is present.
For trim repair Siesta Key homeowners can request an inspection-informed recommendation that considers the existing profile, condition of adjacent surfaces, and the preparation needed for clean caulk lines and a paint-ready finish. Reach out to discuss the trim concerns you are seeing and arrange an assessment.
Plan the next step
Compare the broader Trim Repair and Replacement service.
Review the Siesta Key, FL service area for local planning context.
When you are ready, request a free estimate with the rooms, trim goals, city, and available photos.
FAQs
What causes exterior trim to rot in Siesta Key homes?
Wind-driven rain, high humidity, salt air, strong sun, aging paint, and failed caulk can expose exterior trim to moisture. Water commonly enters through open seams, unfinished end cuts, lower casing corners, fascia ends, and joints around windows and doors.
How do you know if failed caulk has damaged the trim underneath?
Look for caulk that has split, shrunk away, or repeatedly separated, especially when paired with dark stains, bubbling paint, soft wood, or recurring cracks. A thin open seam can allow water behind the trim, so the joint and adjacent wall, jamb, siding, or fascia should be inspected.
Can a contractor match the profile of existing molding?
Yes, replacement molding can be matched by comparing its face width, thickness, edge shape, projection, reveal, joint locations, and paint sheen. Baseboards must also match floor height, casing must preserve the jamb reveal, and crown molding must follow existing wall and ceiling angles.
Can water-damaged trim be repaired, or does it need to be replaced?
Firm trim with a small split, shallow deterioration, isolated dent, or slightly separated joint can often be cleaned, patched, sanded, primed, and painted. Replacement is usually the better choice when wood is soft in multiple areas, crumbling, swollen, bowed, twisted, loose, or deteriorated behind the visible face.
What should you look for when choosing replacement trim for a coastal Florida home?
Choose trim based on its location, weather exposure, surrounding assembly, existing profile, and planned primer and paint system. Exterior window casing, fascia, corner trim, and decorative bands need materials and construction suited to rain, sun, humidity, salt air, and exposed joint lines.