
Wainscoting and Wall Paneling Designed for Casey Key Homes
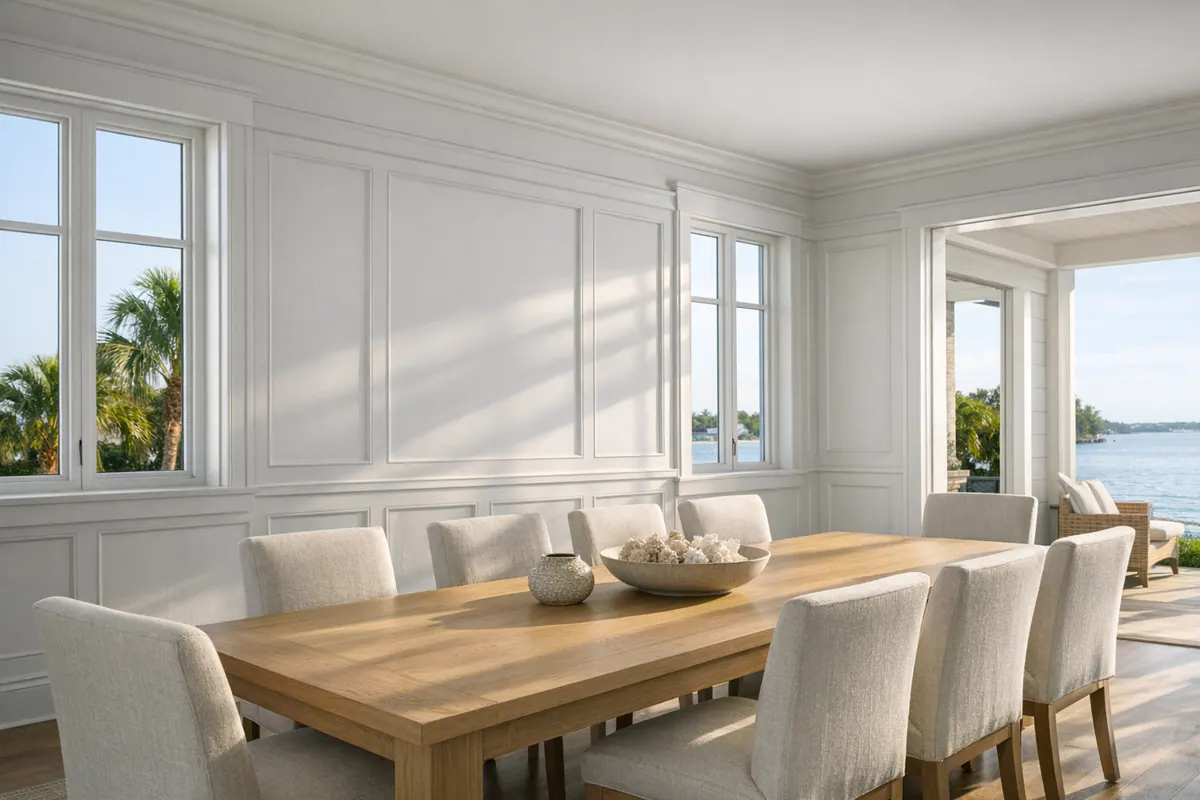
Begin with the wall elevation, not a stock panel count. A vaulted ceiling, a broad pocket-door opening, or a long waterfront-facing wall changes how the composition needs to break, especially where strong daylight will reveal every line and transition. Wainscoting is a lower-wall treatment, typically organized beneath a cap or chair rail; full-height paneling carries that structure up the entire elevation. For wainscoting Casey Key homes, the layout should respond to ceiling height, wall length, openings, existing casings, and the way light moves across the painted surface.
A standard pattern can look undersized beneath a tall ceiling, awkwardly interrupted by wide openings, or overly busy on a wall that faces the water. Custom wall paneling Casey Key projects resolve those conditions intentionally. A long living-room wall may need wider, fewer panels to avoid a picket-fence effect, while a dining room with substantial door and window casings may call for rails and profiles that visually belong with the existing trim.
That planning separates finish carpentry from a decorative template. Each elevation is treated as a composition: where panels begin and end, how corners turn, whether a built-in joins the layout, and how cap moldings meet door casings. The paint finish makes those decisions visible. Straight lines, consistent reveals, clean joints, and smooth transitions help the finished work sit quietly alongside coastal light, views, and furnishings.
Choosing the Right Wall Paneling Style for the Room
Style choice starts with the mood the room needs to carry. Recessed-panel wainscoting places the panel field back from its surrounding rails and stiles, creating shadow lines without much projection. That restrained depth suits tailored coastal and transitional interiors, especially dining rooms, entries, and studies where existing casings are clean-lined. It can also give a bedroom structure without making the walls feel formal. A good fit has panel profiles that echo the door and window trim; a weak fit pairs delicate contemporary casings with overly ornate panel details.
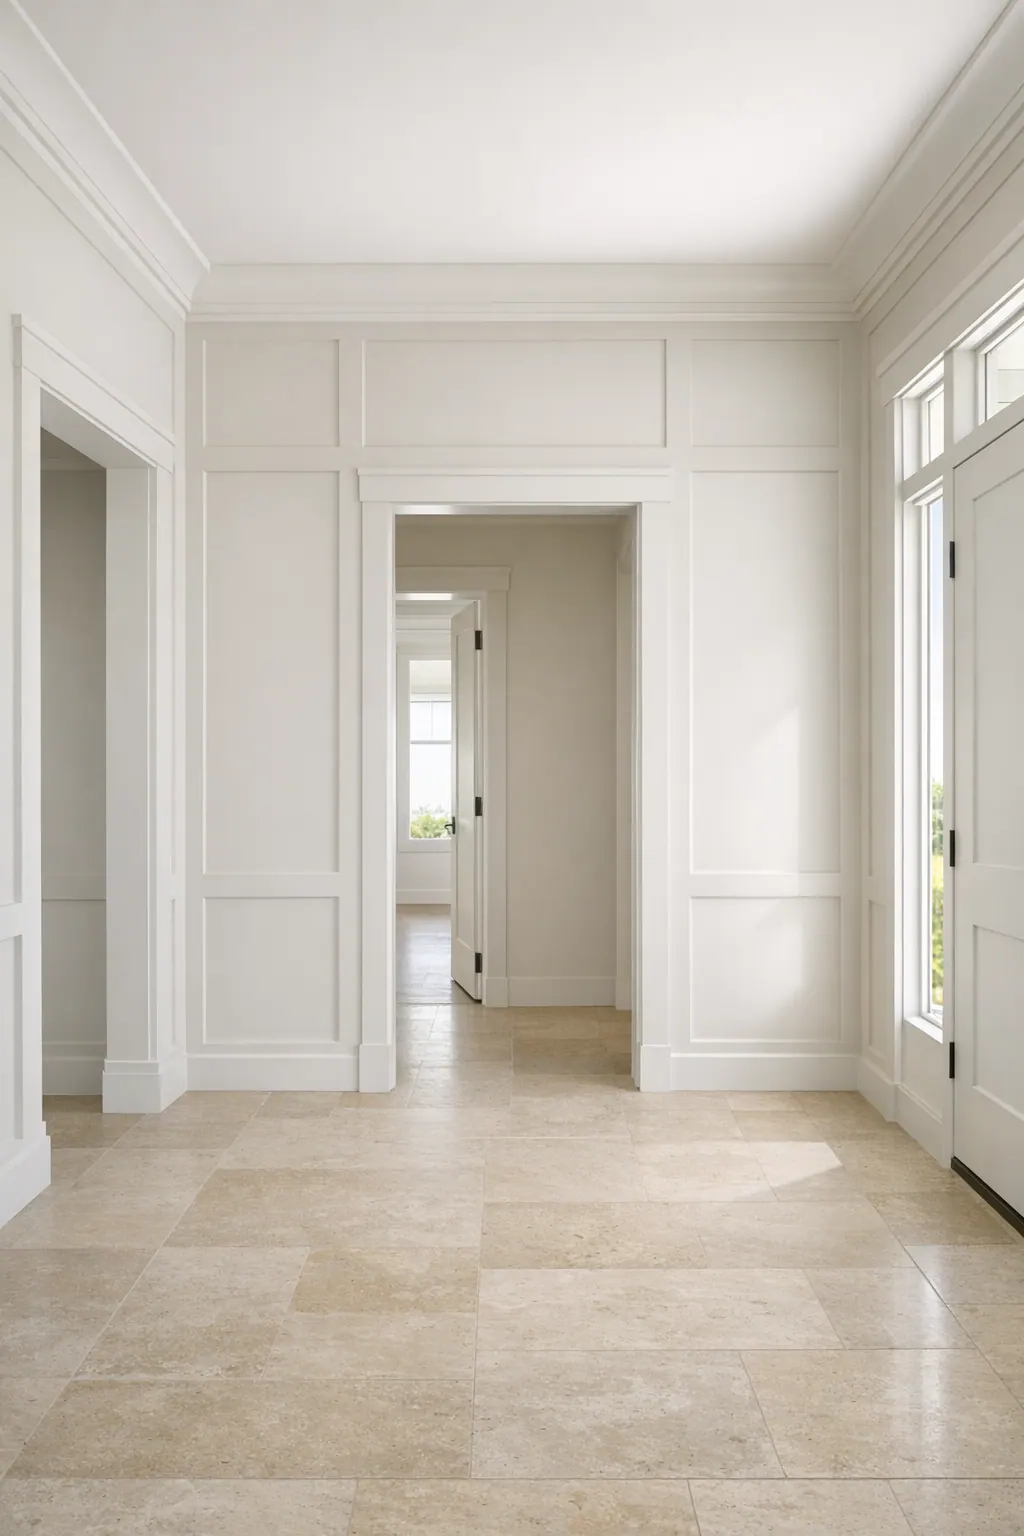
Raised panel wainscoting projects the center panel forward of its frame, so it produces deeper shadow and a more traditional, formal character. It is often most convincing in a dining room, stair hall, or study with substantial baseboards, crown molding, and furnishings that can hold their own visually. In a compact room or beneath a low ceiling, however, its additional relief can feel heavy. The practical takeaway is simple: choose raised panels when the home already has enough trim presence to support them, rather than using them to create formality by force.
Full-height picture-frame molding uses applied rectangular or square frames over the wall surface. It is decorative wall paneling with a graphic, orderly rhythm rather than the built-up depth of a traditional panel system. On a broad living-area elevation or a tall stair wall, larger frames can make a painted wall feel composed while leaving room for art, sconces, or a restrained furniture plan. Too many narrow boxes, particularly behind busy furnishings, can make the elevation read as a grid instead of a backdrop.
Board-and-batten relies on vertical battens, typically set between a base detail and a horizontal cap, to emphasize height and create a simpler, more relaxed character. It works well in bedrooms, mudroom-adjacent spaces, casual entries, and coastal-inspired rooms where the goal is vertical order rather than ornament. Wider batten spacing feels calmer; close spacing can become visually busy. Custom wainscoting should therefore follow the scale of the room and its furniture: a low lounge, wide console, or large bed calls for a layout that feels intentional behind it, not a pattern chopped into unrelated fragments.
Proportion Is What Makes Custom Wainscoting Look Original to the Home
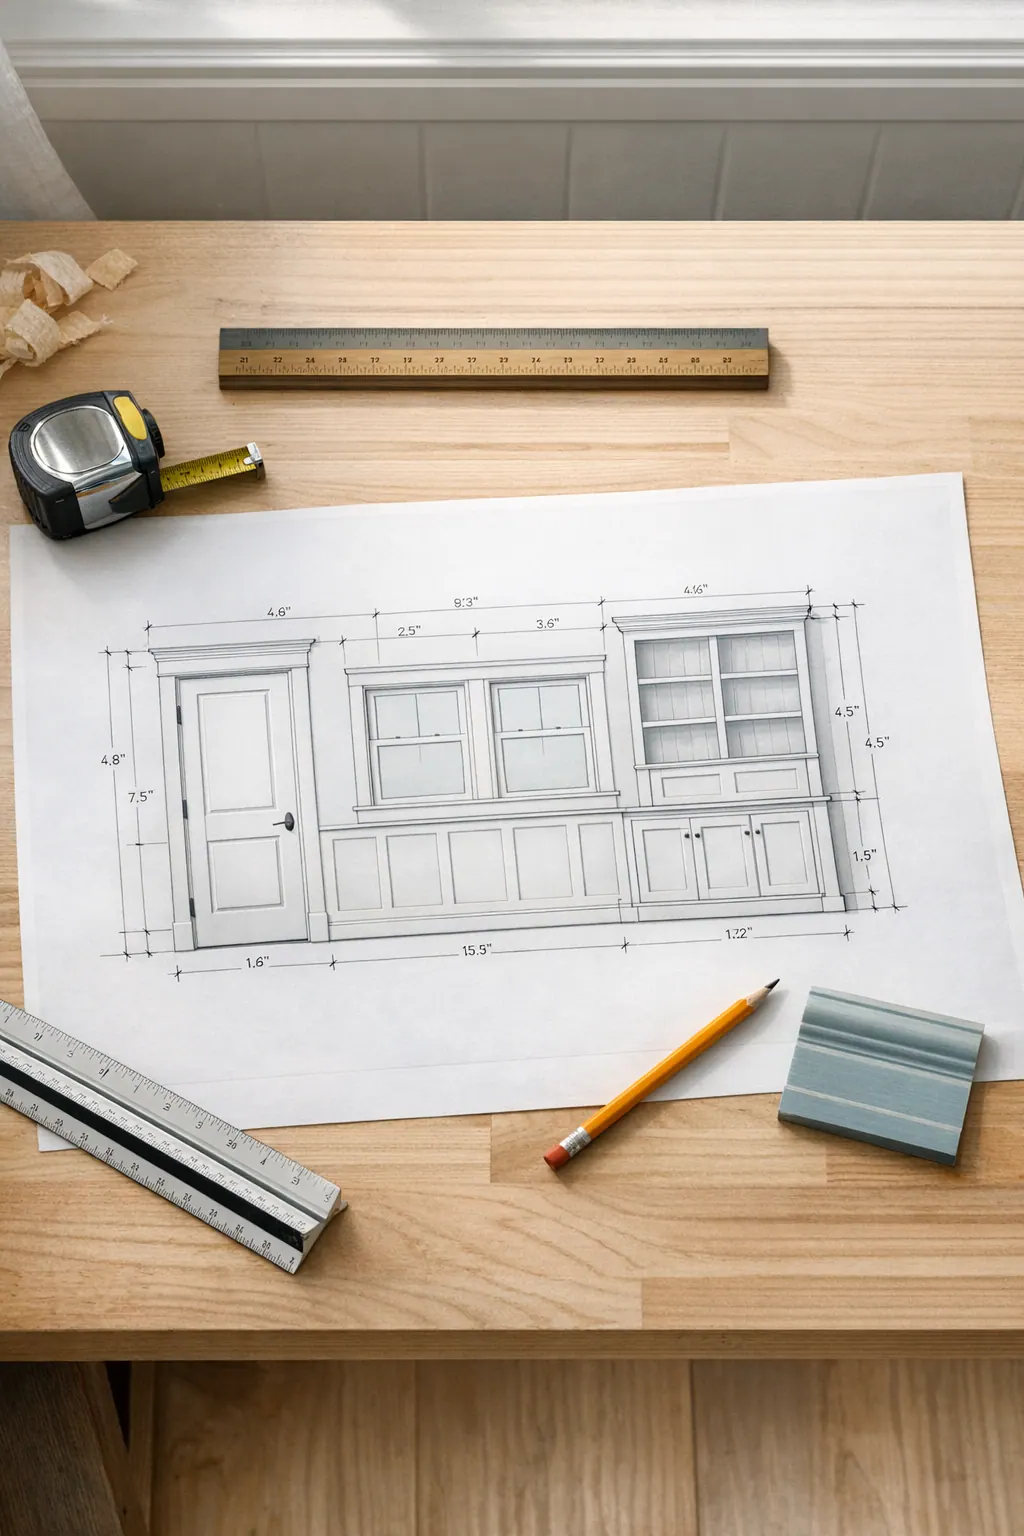
A balanced layout begins on paper, or on a measured digital elevation, not with the first piece of molding. Each wall is drawn to its actual width and height, with door casings, windows, corners, fireplaces, and built-ins marked in place. That view lets the carpenter test panel count, spacing, and termination points before committing to a pattern that only works in the middle of the wall.
Wainscot height is set in relation to the room, not by a universal measurement. A lower cap can keep a room with modest ceilings open, while a taller treatment may better suit a generous foyer or living room with substantial openings and furnishings. The chair rail or cap molding establishes the top line of the composition, so it needs to relate cleanly to nearby window sills, door casing details, and mantel elements rather than appearing to cut across them at an arbitrary level.
Within that field, the rails are the horizontal framing members and the stiles are the vertical ones. Their widths, along with the spaces between panels, control whether the work reads calm and substantial or busy and undersized. On a wide wall, a few appropriately broad panels often look more resolved than many narrow ones. Consistent gaps are important, but identical panel widths are not always the goal; visual balance around fixed architectural features matters more than forcing a mathematical grid.
That distinction becomes especially clear on an asymmetrical elevation. An off-center window, a fireplace return, or cabinetry that occupies part of a wall may make equal divisions impossible. Instead of leaving a skinny end panel that looks accidental, a finish carpenter can center a panel group on the principal sightline, use a wider border at a corner, allow a built-in to serve as the natural endpoint, or adjust adjacent panel widths in small increments. For wainscoting in Casey Key homes, this measured approach gives the wall a deliberate rhythm from the doorway and across the room, not just when viewed straight on.
Material Selection and Paint-Quality Finishing for Coastal Interiors
Material choice should follow the wall's conditions and the level of detail the design asks of it. There is no single "best" substrate for paint-grade wall paneling: an interior feature wall, a bath-adjacent corridor, and a room with substantial exterior exposure may call for different decisions.
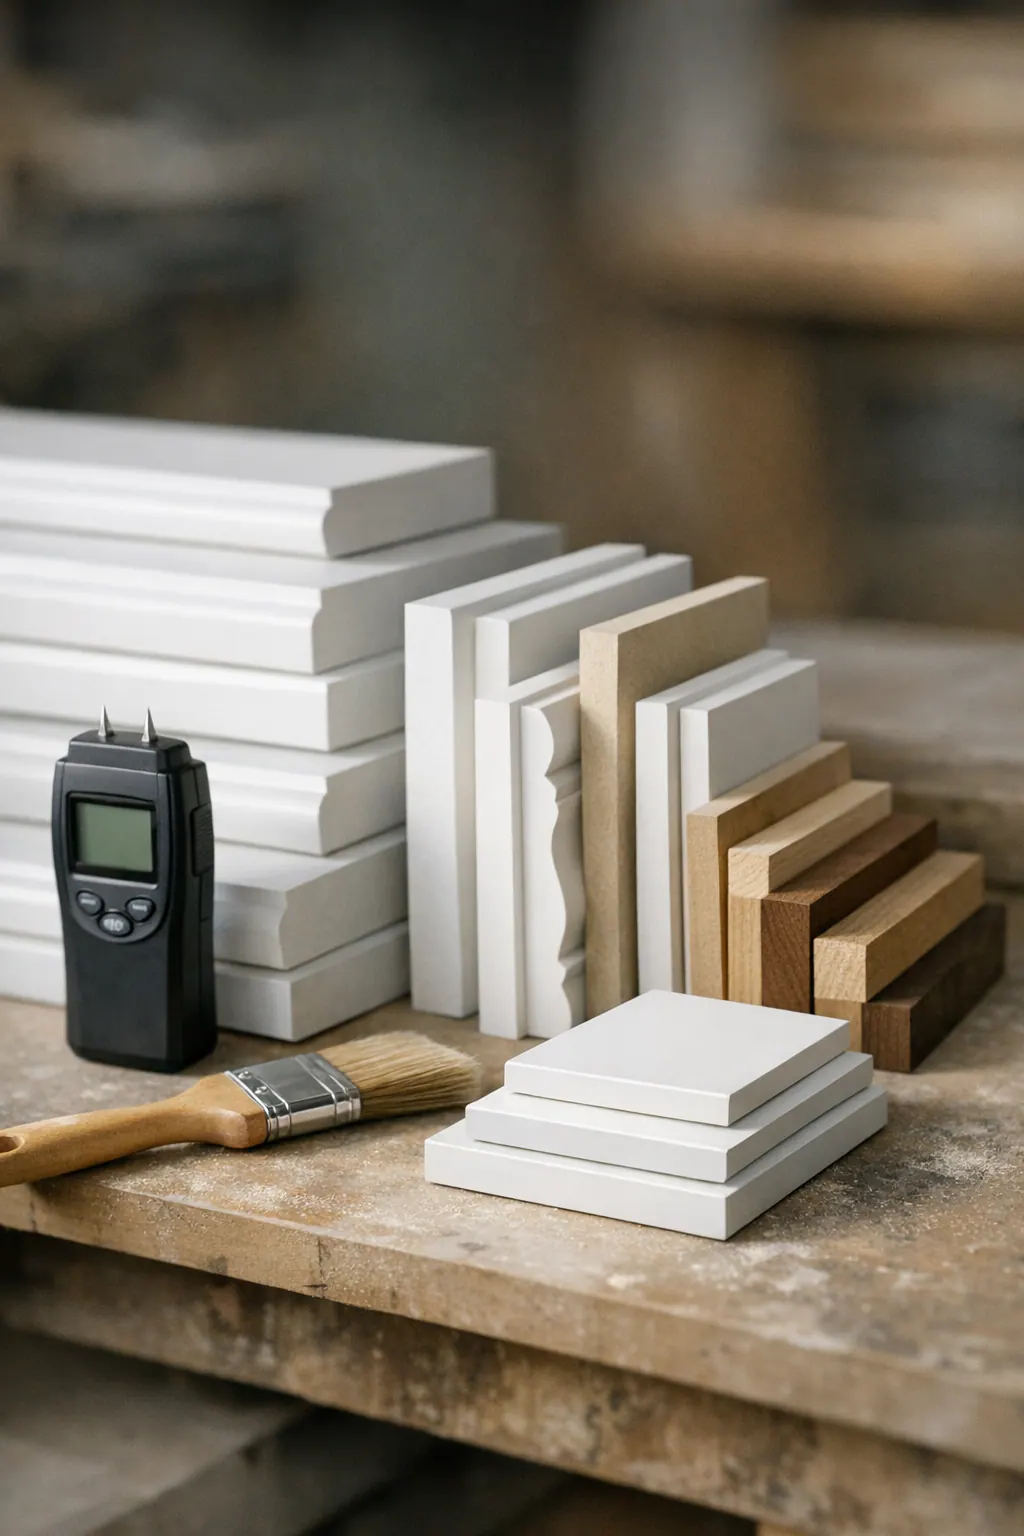
MDF is often considered for broad, flat painted components and crisp machined profiles because it creates a uniform visual field without wood grain telegraphing through the finish. Poplar is a practical choice for many rails, stiles, caps, and built-up trim details where clean edges and custom shaping matter. Hardwood may be selected when a design calls for more substantial solid-wood components or particular edge and joinery details. The useful takeaway is not to specify a material by habit, but to match it to the profile, substrate, room conditions, and intended paint result.
In a coastal home, moisture-aware selection matters most where interior conditions, nearby wet areas, exterior-wall exposure, or ventilation make movement and finish stress more relevant. That conversation should include the existing wall surface as well as the paneling itself, since a refined installation depends on how the new work meets the building.
Paint-quality finishing makes those choices visible. Tight joints, eased edges, and transitions that land flush with existing baseboards, casings, crown, and cabinetry prevent the paneling from reading as a separate addition. Caulk should fill small paintable transitions in a controlled line, not leave rounded beads or smeared edges. Careful priming and sanding between stages create a continuous surface, while one coordinated paint system gives the paneling and surrounding trim a consistent sheen and color. In natural light, weak work often shows up as open seams, shadowy joint lines, rough profile edges, or uneven gloss; high-detail coastal home finish carpentry reads cleanly from both across the room and up close.
Integrating Paneling Around Doors, Windows, Built-Ins, and Architectural Features
Those clean painted transitions depend on resolving every interruption in the wall before trim is installed. At a door or window, the panel field should end at the casing's outside edge or turn back with a deliberate return detail; the cap molding should meet the casing at a planned height rather than die into its face. A rail that runs into a casing halfway across, or a two-inch leftover strip beside it, makes the work feel applied after the room was finished.
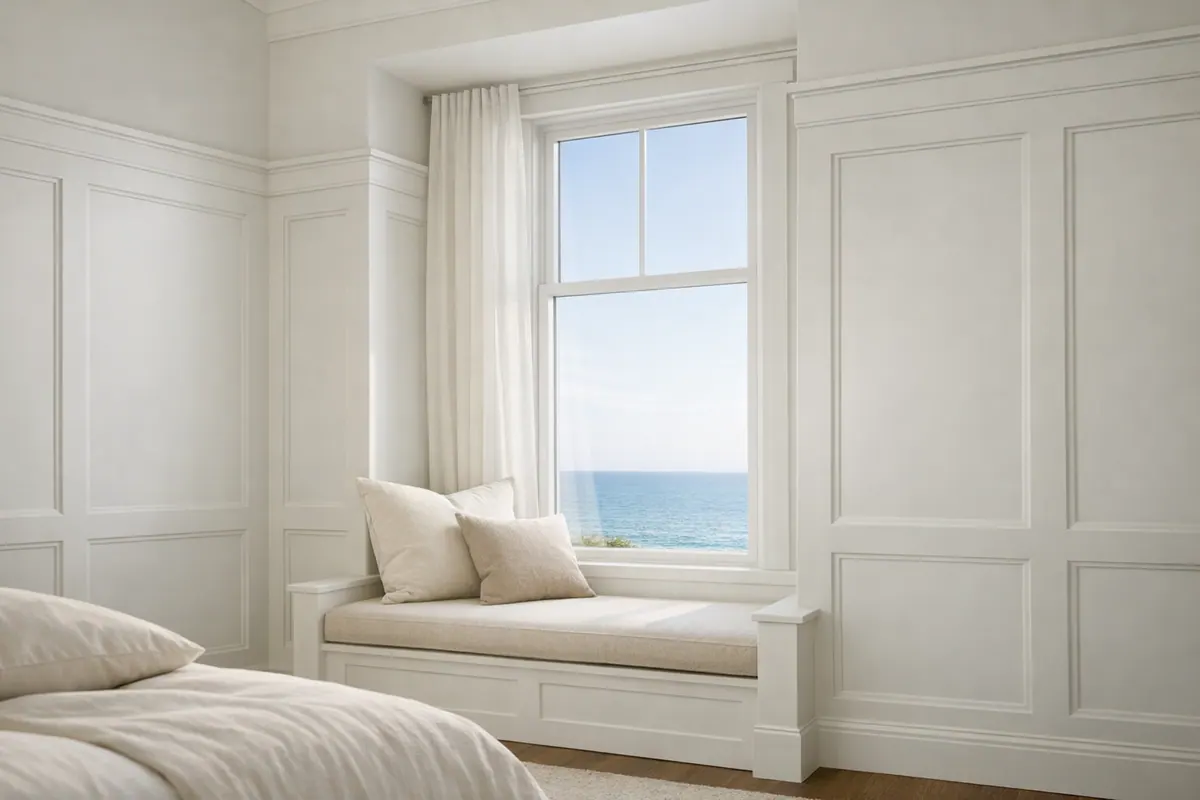
Complex elevations benefit from field measurements and a coordinated drawing before fabrication. A fireplace surround can establish the centerline for matching panel groups, while built-in cabinetry can become a deliberate endpoint for the cap molding, lower rail, and baseboard transition. On a stair wall, the sloping stringer changes the geometry: panels may step with the stair for an angular rhythm, remain in a level lower-wall field, or end at a landing. Each choice changes the visual effect, but none should leave clipped panels at the stair edge.
Arched openings require their own decision. The rectangular pattern can stop at the arch's straight legs, preserving a crisp panel grid, or a related upper detail can follow the curve when the existing trim language already uses arches. Around cabinetry, fireplace trim, baseboards, and casings, custom millwork should align in projection and scale; stacking a thick new cap against a thin existing casing creates an obvious mismatch.
Outlets, switches, thermostats, and access panels belong on the measured elevation from the start. A strong layout keeps a device within a panel field or at a planned rail location, while preserving a removable access panel without cutting through the middle of a stile. In wall paneling Casey Key homes, these small alignments let the rails, stiles, cap molding, and surrounding architecture read as one composed surface.
How to Recognize High-Detail Finish Carpentry
The best way to judge the work is to look past the overall pattern and inspect how it holds together at normal viewing distance and up close. On a strong elevation, panel widths feel intentional from corner to corner, end panels are sized as part of the composition rather than left as narrow remnants, and the horizontal lines continue at a consistent height across adjacent walls, openings, and built-ins.
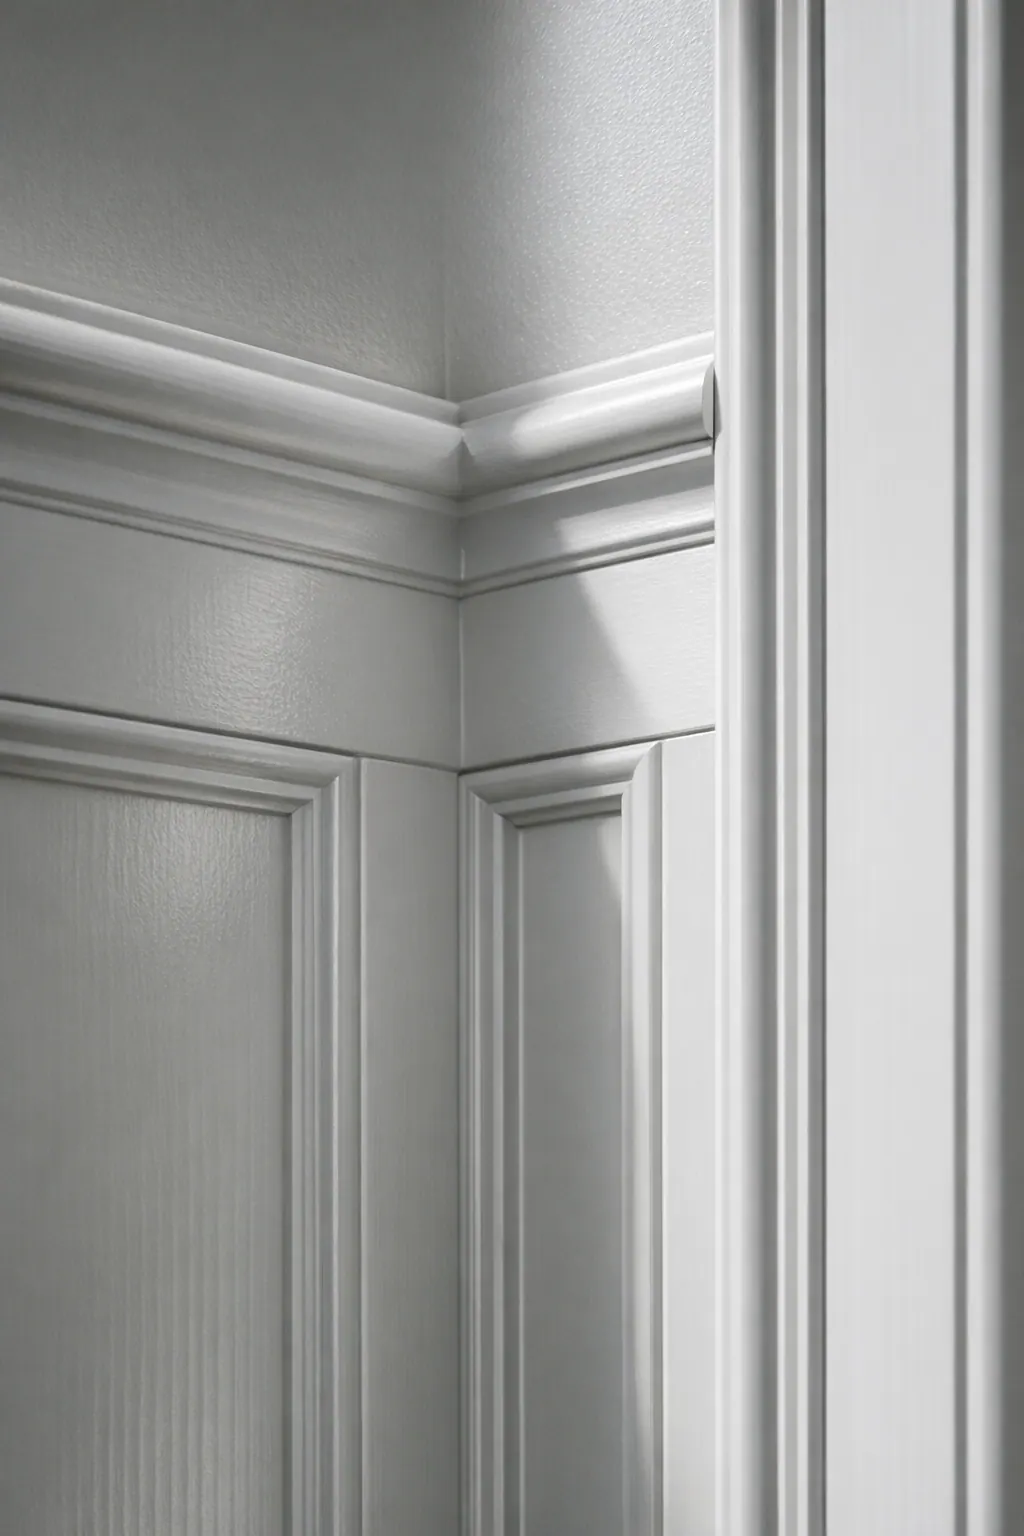
Reveals, the small, deliberate shadow gaps or offsets between members, should be uniform. So should the relationship between profiles: a cap, casing, baseboard, and panel molding can differ in shape, but their scale and projection should look related rather than layered by accident. Crisp transitions at corners and casing edges show that the carpenter resolved the pieces before paint, instead of relying on a heavy bead of caulk to hide a poor fit.
Paint preparation is equally revealing. Seams should be controlled, nail work filled and sanded, edges eased where appropriate, and the painted surface smooth without swollen joints, open miters, or a wavering caulk line. Caulk has a useful role in closing fine paintable transitions; it should not be the material that creates a straight line where the millwork does not.
When comparing a finish carpenter in Casey Key, ask to see both wide room views and close-up photographs. Wide shots reveal balance and alignment; close-ups reveal joint quality, paint readiness, and how new paneling meets original trim, cabinetry, and architectural details. A measured elevation, sample assembly, or layout discussion before installation is also a useful sign that the visual decisions are being made deliberately rather than improvised on the wall.
Planning a Custom Wainscoting or Wall Paneling Project
Before a profile is chosen or a paint sample is approved, define the project room by room. Decide which spaces receive treatment, whether the intent is a lower wainscot or a full-height composition, and how formal or relaxed the architecture should feel. A dining room may call for a more structured elevation than a casual bedroom; adjoining spaces should relate without becoming identical.
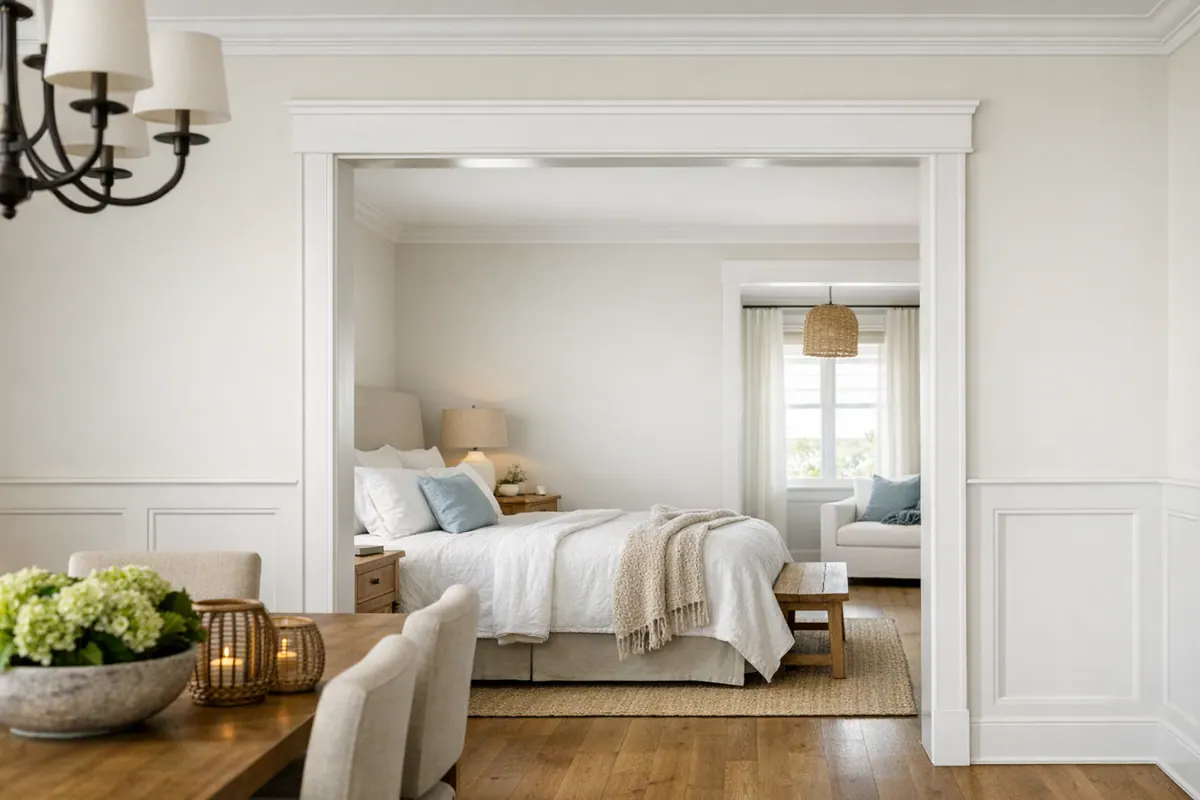
Bring existing conditions into the conversation early: trim worth preserving, casings that need revision, planned cabinetry, furniture scale, and the desired paint direction. Paint can make paneling recede into the wall color or give the framing more presence through contrast, so that choice affects profile scale and the amount of visual activity the room can carry.
A measured wall elevation should be part of the scope, showing actual openings, built-ins, devices, corners, and intended panel limits before materials are cut. It also gives the homeowner a clear basis for discussing trim integration, material approach, surface preparation, and finishing expectations.
For custom wall paneling in Casey Key, share examples that resemble the room's architecture and ask how the layout would change for your particular walls. The strongest result comes from a finish carpenter who treats design, fabrication, installation, and paint coordination as one connected process, not a sequence of decisions made after the pattern is underway.
Plan the next step
Compare the broader Wainscoting and Wall Paneling service.
Review the Casey Key, FL service area for local planning context.
When you are ready, request a free estimate with the rooms, trim goals, city, and available photos.
FAQs
What is the difference between wainscoting and full-height wall paneling?
Wainscoting is a lower-wall treatment installed beneath a cap or chair rail. Full-height wall paneling carries the same framing structure from the baseboard to the ceiling across the entire wall elevation.
What is the difference between raised-panel and recessed-panel wainscoting?
Recessed-panel wainscoting sets the panel field back from the rails and stiles, creating restrained shadow lines suited to coastal and transitional interiors. Raised-panel wainscoting projects the center panel forward, creating deeper relief and a more formal, traditional appearance.
How high should wainscoting be in a room with tall ceilings?
Wainscot height should be set according to the room’s ceiling height, wall proportions, openings, and furnishings rather than a universal measurement. Taller treatments suit generous foyers and living rooms, while a lower cap helps rooms with modest ceilings feel open.
Can custom wall paneling be installed around windows, doors, built-ins, and outlets?
Yes, custom paneling can be planned around doors, windows, fireplaces, cabinetry, outlets, switches, and access panels. The panel field should end at a casing edge or use a deliberate return, while devices should land within a panel field or at a planned rail location.
How do I choose a finish carpenter for custom wall paneling in Casey Key?
Look for a carpenter who creates measured wall elevations showing openings, built-ins, corners, devices, and panel limits before materials are cut. Review both wide room photos for layout balance and close-up photos for tight joints, consistent reveals, smooth paint preparation, and clean transitions to existing trim.