
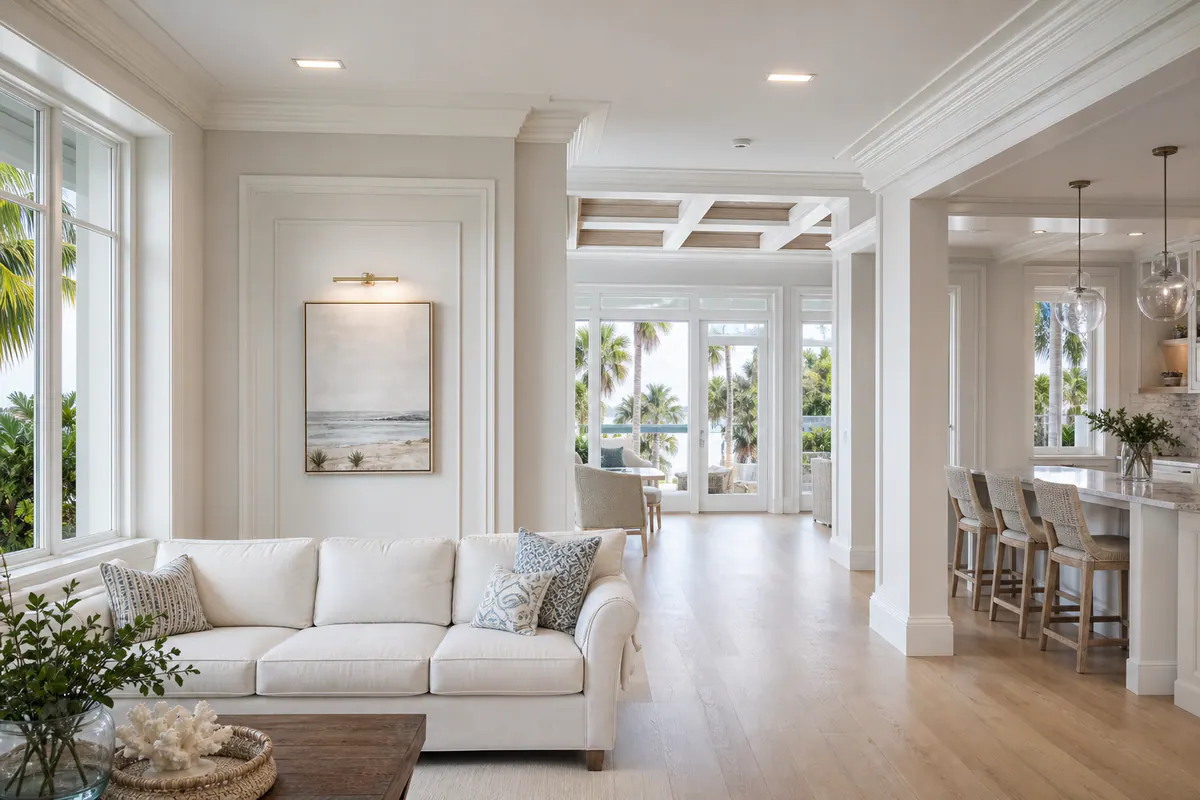
A Coordinated Trim Package for a More Finished Casey Key Interior
Rather than treating baseboards as a stand-alone replacement, whole home trim Casey Key planning considers the lines that connect every room. Baseboards ground the walls at the floor, casings frame doors and windows, crown resolves the wall-to-ceiling edge, and panel details can give selected spaces a more tailored presence. Designed together, these elements make an interior feel intentional rather than assembled in stages.
A coordinated package does not mean every room receives identical molding. A clean-lined living area might use a restrained baseboard and square, eased casing, while a dining room or primary suite can carry a more layered crown or wall treatment from the same visual family. The important checkpoint is proportion: casing widths, baseboard height, reveals around openings, and transitions at hallways should relate to one another and to the scale of the room. An oversized profile beneath a low ceiling or an ornate casing beside a minimal door can interrupt that rhythm.
For Casey Key residences, a thoughtful trim plan also accounts for how spaces are used. Main living areas, entries, baths, laundry rooms, and renovated rooms with existing floors or built-ins may need different details at their edges, yet the finished result should still read as one home. Crisp returns, aligned joints, and deliberate transitions are the small finish-carpentry decisions that separate a coordinated interior trim upgrade from a collection of isolated updates.
What a Whole-Home Trim Package Can Include
A useful scope begins with the elements that will appear throughout the residence, then adds detail where a room can support it. Baseboards create the finished meeting line between wall and floor; their height and top edge affect whether a room feels crisp and contemporary or more traditionally composed. A full home baseboard installation in Casey Key may also include shoe molding or a carefully planned return at door jambs where existing flooring leaves little room for adjustment.
Door and window casings frame openings and conceal the joint between the wall surface and the jamb. They can be a simple flat stock with a subtle eased edge, or a built-up assembly with backband and a more formal head detail. Crown molding finishes the upper perimeter of a room, softening or sharpening the wall-to-ceiling transition depending on its profile. It is often most effective in main living spaces, entries, dining rooms, and suites with enough ceiling height for the detail to read clearly rather than crowd the ceiling plane.
- Panel molding uses applied rails and stiles to form painted wall frames, adding measured rhythm to a foyer, hallway, dining area, or feature wall.
- Wainscoting covers the lower portion of a wall with panels, boards, or sheet material; it creates a stronger architectural band and can be paired with a cap rail.
- Chair rail is a horizontal molding that divides the wall visually, often serving as the upper edge of wainscoting or a paint-color transition.
- Reveal details are intentional narrow shadow gaps, often used around openings, ceilings, or built-ins for a clean-lined contemporary look without ornate molding.
These are design tools, not automatic inclusions. A living room may warrant panel molding and crown, while a bath or laundry room may use a simplified casing-and-baseboard approach that works cleanly around tile, cabinetry, and splash-prone edges. The final custom interior trim Casey Key scope should respond to the home's architecture, the finishes already in place, each room's use, and where the homeowner wants visual emphasis.
Selecting Profiles That Fit the Home’s Architecture and Proportions
Scale is what makes a profile feel tailored instead of merely decorative. A tall, open living room can carry a deeper baseboard and a more substantial casing because there is enough wall area above and beside the openings; the same assembly can look crowded beside low ceilings, narrow windows, or compact bedroom doors. Flooring matters as well: a slim, clean base profile may keep wide-plank flooring visually open, while a taller, more articulated base can give a formal stone or tile floor a deliberate perimeter.

For coastal-contemporary interiors, square-edge stock, lightly eased edges, and reveal details usually preserve the calm, horizontal-and-vertical lines of the architecture. A square edge reads crisp and graphic; an eased edge softens that look with a small rounded break at the corner; a reveal uses a controlled shadow line to separate planes without adding ornament. These choices work especially well with flush or flat-panel doors, large glass openings, and restrained paint palettes.
Traditional and transitional rooms can support more layered compositions. A stepped casing, for example, builds outward in measured planes, while a backband adds a raised outer layer around a simpler casing. Paired with a shaped base cap or a crown profile, these details introduce depth and formality without requiring every wall to become ornate. The important distinction is proportion: a broad casing should relate convincingly to the door jamb and head height, not overwhelm the opening.
- Match the governing lines: Keep baseboard height, casing family, door reveals, and major room-to-room transitions consistent wherever spaces connect directly. That continuity is a defining feature of luxury trim packages in Casey Key homes.
- Vary with purpose: A foyer or dining room may step up to panel detail or a fuller crown, while secondary rooms retain the same base and casing language in a quieter profile.
- Judge samples at scale: Small molding chips can hide how much visual weight a profile carries. Full-length samples or elevation drawings make it easier to assess the relationship between custom baseboards, door heights, window proportions, and ceiling planes before the profile is selected.
A strong selection feels intentional at thresholds: the trim may simplify, but it should not abruptly switch design languages. Oversized moldings in a low-ceiling room or unrelated casing shapes across an open plan are warning signs that the package is being chosen piece by piece rather than composed for the residence.
Choosing Trim Materials and Finishes for a Coastal Home
Material choice should follow the finish plan and the conditions at each interior edge, not a one-material rule for the entire residence. In a conditioned living room, a paint-grade product may support long, crisp runs of baseboard and built-up casing. Near a frequently used exterior entry, a bath vanity, or a laundry appliance, the specification should account for the possibility of damp air, tracked-in moisture, and occasional splashing.
Paint-grade MDF is a dense, smooth manufactured fiberboard commonly selected when an opaque painted finish and detailed, consistent profiles are the priority. It can make a clean choice for decorative wall treatment, crown, and stable conditioned-room trim where its edges and cuts can be properly sealed. The practical tradeoff is repair planning: a damaged corner or moisture-affected edge may call for replacement rather than the localized sanding and patching often possible with wood.
Finger-jointed pine uses shorter wood sections joined into longer lengths, making it a useful paint-grade option for straightforward baseboards, casings, and trim assemblies. It brings real-wood workability to scribed transitions and field adjustments, but the joints, cut ends, nail holes, and exposed profiles need a disciplined primer-and-paint sequence for a uniform result. It is not the same visual proposition as clear stain-grade lumber.
Poplar is another paint-oriented hardwood option, often chosen where a carpenter expects detailed milling, custom returns, or localized repairs. Its firmer feel can suit high-touch areas such as door casings and built-in details, while its natural color variation generally makes it a paint material rather than a reliable choice for a transparent, furniture-like finish.
When visible grain is central to the design, selected stain-grade woodwork should be specified as a finish system, not simply called "wood trim." Species, grain selection, color matching, sample approval, and the location of seams all affect the final appearance. A stained beam wrap or library casing can be a deliberate focal point; using unrelated wood tones at every opening can dilute that effect.
- Living areas and bedrooms: prioritize the intended paint or stain appearance, profile detail, and repair approach.
- Baths, laundry rooms, and splash-prone zones: simplify vulnerable details, plan sealed cut ends and joints, and select products specifically suited to that location.
- Every room: put primer, caulk, paint sheen, exposed-end treatment, and touch-up expectations in writing. The finished performance of a whole-home trim package depends on the product specification, sealing, installation conditions, and actual exposure after move-in.
Planning Around Existing Floors, Doors, Windows, and Built-Ins
The best starting point is a field measure, not a catalog. Floors are checked for their finished height and variation, door jambs for width and plumb, windows for available wall space and return depth, and built-ins for the points where new trim must stop, wrap, or align. A whole house trim replacement Casey Key project can retain existing doors and flooring; the design simply has to make their dimensions part of the new layout.
At the floor, baseboard height should suit both the room and the existing finish. A taller base can give a stone or tile perimeter more presence, while a simpler, lower profile may preserve the visual openness of continuous wood flooring. Where an existing floor edge is irregular, a small shoe molding can bridge a modest gap; it should read as an intentional layered detail, not a patch for a poorly selected baseboard.
Existing openings set real limits on casing. A wide casing needs enough wall beside the jamb to avoid crowding a nearby corner, cabinet, or adjacent opening. If a full-width casing cannot fit, the package may use a narrower matching profile or a planned termination block, a square or shaped transition piece that gives the casing and baseboard a clean place to end. The goal is a deliberate hierarchy, not a squeezed-in molding.
Window returns, cabinet end panels, and built-in bookcases also deserve a room-by-room drawing or mockup. A painted sample beside the wall color, flooring, and door finish can expose an undertone conflict before installation begins. On uneven plaster, out-of-square corners, or bowed walls, careful scribe work shapes a trim edge to the surface rather than relying on an oversized caulk line. That measurement-and-approval stage is where interior finish carpentry Casey Key work turns existing constraints into resolved details.
Why Finish-Carpentry Execution Determines the Final Result
Close inspection tells the story. Casing margins should hold a consistent reveal, the narrow, intentional line between the jamb and trim, so an opening reads evenly from top to bottom. Outside corners need tightly aligned miter joints, while inside corners are often coped: one profile is shaped to nest against the face of the adjoining piece. Both approaches are meant to keep the molding profile continuous rather than leaving a visible split at the corner.
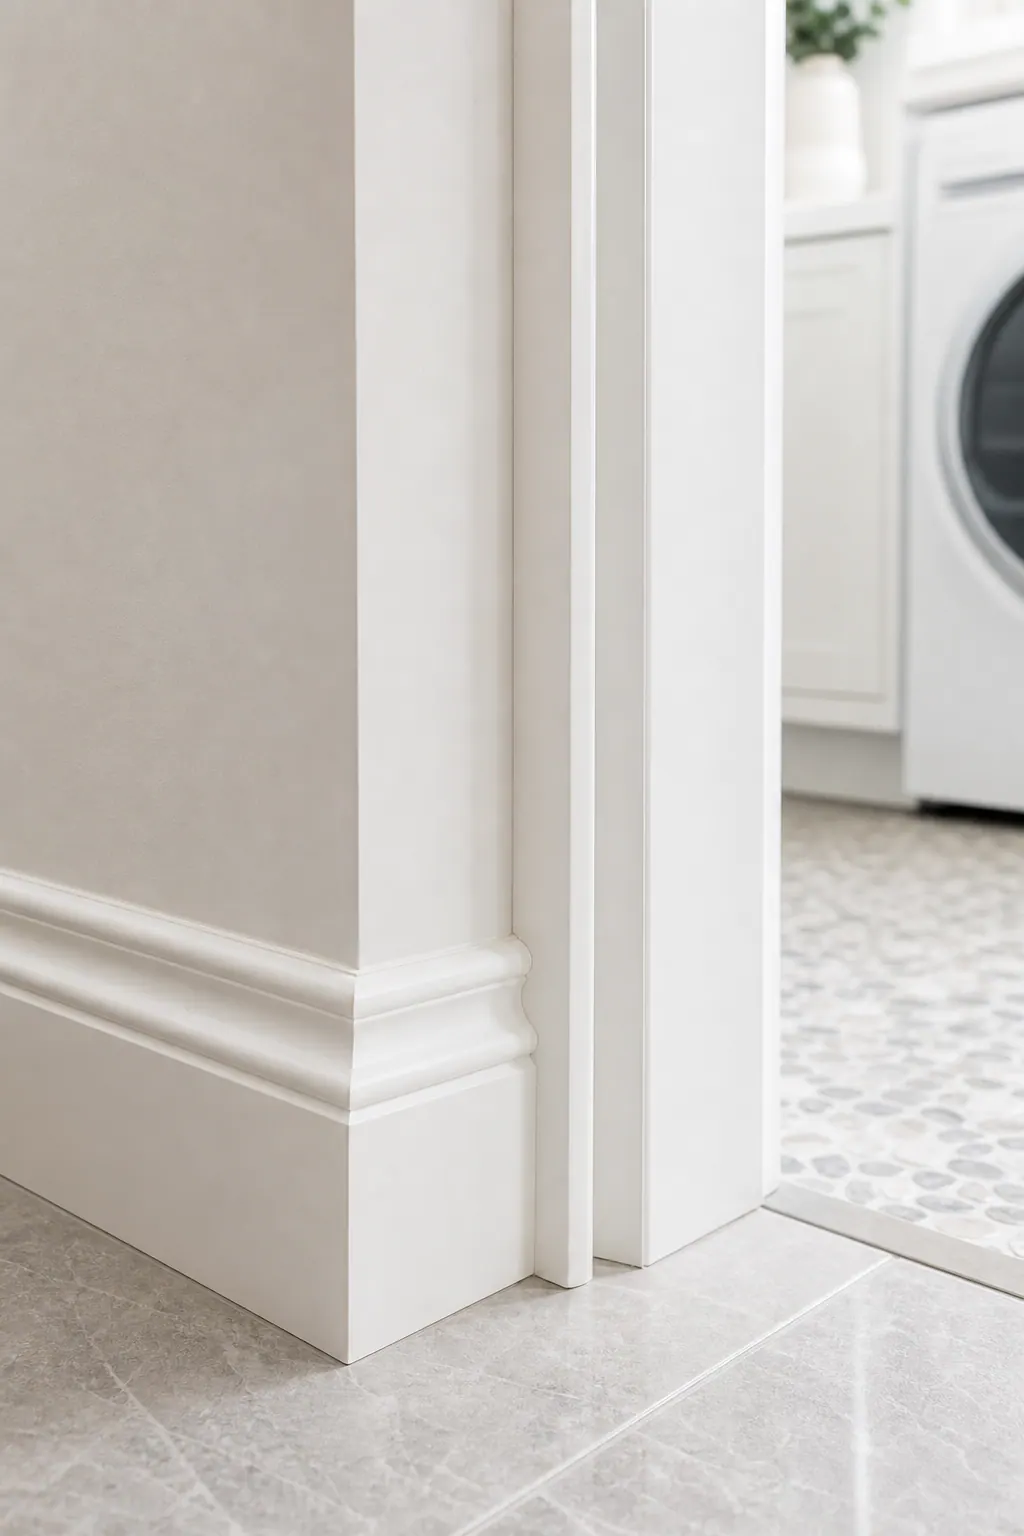
Layout comes before fastening. Long baseboard runs are planned so joints land discreetly, returns finish exposed ends cleanly, and transitions align across connected rooms. Fasteners must hold the trim firmly without damaging the finished face; filled nail holes, prepared seams, and restrained caulking then create a paint-ready surface. Caulk is useful for the small wall-to-trim line that movement and imperfect walls can expose, but a broad caulk bead is a weak substitute for a properly fitted edge.
A practical interior finish carpentry Casey Key process starts with a consultation and detailed measurements, followed by profile samples or mockups for approval. Materials are ordered only after those decisions are set. In occupied or furnished rooms, floors, countertops, doors, and nearby furnishings should be protected before cutting and installation begin. Each room is then installed against the approved layout, with attention paid to corners, casing reveals, baseboard-to-floor contact, and termination details.
Before final paint, a punch review should look closely at inside and outside corners, joint lines, filled fastener locations, and any transition where trim meets tile, cabinetry, or an existing finish. Final paint coordination matters because installation and painting are related but distinct scopes: the carpenter leaves properly prepared trim, while the painter primes and finishes it to the selected sheen. That handoff is what allows the profile work to read as clean architecture rather than a collection of added pieces.
Plan a Custom Whole-Home Trim Upgrade for Your Casey Key Residence
Your first meeting should produce decisions, not a generic molding menu. During a residence walkthrough, the team can measure openings and wall runs, review ceiling heights, floors, doors, cabinetry, and paint direction, then compare profile samples against the rooms they will serve. That makes it possible to choose a clean, simplified family for a contemporary great room while assigning more protective, application-appropriate details at an entry, bath, or laundry edge.
A custom whole-home trim package Casey Key scope should also make the next steps clear: itemized areas, selected materials, finish responsibilities, and a schedule for ordering, installation, and punch review. Ask to see relevant coastal and custom-residential portfolio work, especially close views of corners, transitions, and painted finishes. The result is not a preset package, but trim relationships tailored to your home and installed with the precision they deserve.
Plan the next step
Compare the broader Whole-Home Trim Packages service.
Review the Casey Key, FL service area for local planning context.
When you are ready, request a free estimate with the rooms, trim goals, city, and available photos.
FAQs
What is included in a whole-home trim package in Casey Key?
A whole-home trim package can include baseboards, door and window casings, crown molding, panel molding, wainscoting, chair rails, and contemporary reveal details. The scope is tailored by room, with more detailed treatments often used in entries, living areas, dining rooms, and primary suites.
Should baseboards, door casings, and crown molding match throughout the house?
They should share a consistent visual family, including related proportions, casing styles, baseboard heights, and transition details. Rooms can use simpler or more elaborate versions of that family without abruptly changing design language.
What trim profile works best for a coastal contemporary home?
Coastal contemporary homes typically suit square-edge stock, lightly eased edges, and narrow reveal details. These profiles complement flush or flat-panel doors, large glass openings, restrained paint palettes, and clean horizontal and vertical architectural lines.
Can baseboards and trim be replaced without changing existing floors or interior doors?
Yes, trim can be replaced while retaining existing floors and doors when the layout is based on detailed field measurements. Baseboard height must account for finished floor variation, while casing width must fit available wall space around jambs, cabinets, corners, and adjacent openings.
Is MDF a good choice for baseboards in a humid coastal home?
Paint-grade MDF works well for smooth painted trim in stable, conditioned rooms when all edges and cuts are properly sealed. In baths, laundry rooms, exterior-entry areas, and splash-prone locations, use products suited to moisture exposure and specify sealed cut ends and joints.