
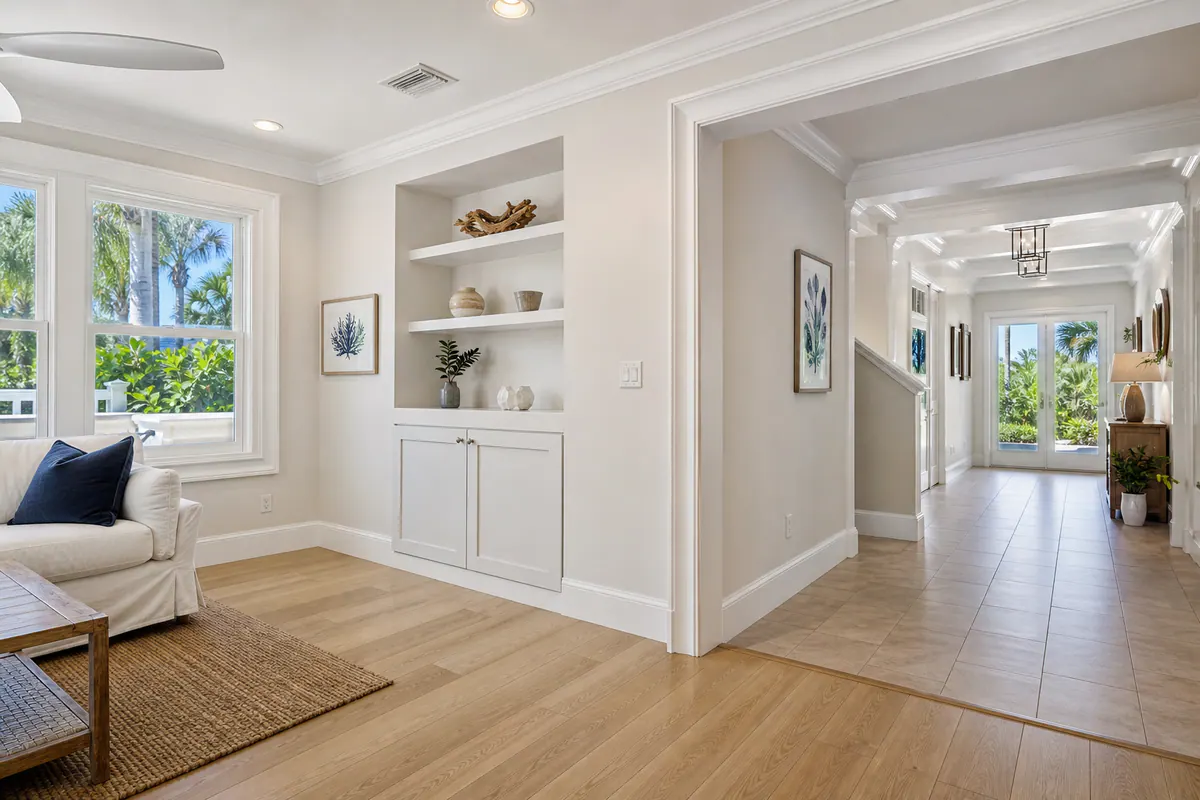
For many Englewood homeowners, trim looks best when it is planned as one interior finish rather than a series of isolated baseboard fixes. A coordinated whole-home trim plan considers the visual line from room to room: baseboard height and profile, door and window casing style, paint color and sheen, and the way trim meets each flooring surface.
Signs that a broader plan may be worthwhile include one room with ornate casing beside a simpler profile, scuffed or swollen-looking baseboards in selected areas, touch-up paint that no longer blends, or gaps left where new flooring meets older trim. A cosmetic refresh can focus on appearance alone; replacement tied to a renovation or damaged components calls for a clearer room-by-room scope.
Whole home trim Englewood FL projects also benefit from assigning materials and finishes to the conditions of each space. Bathrooms, laundry areas, entries, and rooms near slab-level flooring may need a different moisture-conscious approach than dry living spaces, while the visible profile and paint finish can still remain consistent. The goal is not to make every piece identical, it is to make each transition look intentional.
What a Whole-Home Trim Package Can Include
A package begins with a scope, not a preset bundle. Some trim packages in Englewood, FL focus on replacing baseboards throughout the home, while others carry the same profile and finish around floors, doors, windows, and ceilings.
- Baseboards cover the joint where wall and flooring meet, creating a finished lower edge and a consistent visual line from room to room.
- Shoe molding or quarter round is a smaller piece installed at the baseboard's bottom edge. It can neatly cover a narrow flooring-edge gap after a floor update, but it may look unnecessarily bulky when flooring already meets the wall cleanly.
- Door casing frames each doorway, covering the gap between the jamb and wall. Matching its width and profile to the baseboard creates a more deliberate look without requiring identical pieces.
- Window casing performs the same finishing role around window openings. It may be included where existing windows have visible trim, while homes with drywall-wrapped openings may not need it.
- Crown molding bridges the wall-to-ceiling transition. It can add definition in living rooms, dining rooms, or taller spaces, but lower ceilings or clean-lined interiors may look better without it.
- Transition details address places where flooring, casing, and baseboards meet, such as a tile entry, a stair wall, or an open doorway, so the finish does not stop abruptly.
Paint-ready finishing can be part of the scope as well: preparing installed trim for a uniform final color and sheen rather than leaving each room with a different touch-up result. A useful trim schedule identifies the chosen profile, height, material, room locations, and intended finish for every component. That is a stronger planning signal than selecting pieces one room at a time.
Not every full home baseboard installation in Englewood needs crown molding, shoe molding, or new casings. The right package preserves elements that already fit the design and adds only the pieces needed to make the completed rooms feel resolved.
Choose Between Full-House Installation and a Phased Upgrade
The timing decision often comes down to how much change is already happening around the trim. A full-house installation can make sense when flooring is being updated across several rooms, damage or mismatched pieces appear throughout the home, or the goal is one uninterrupted baseboard and casing profile. Completing the work in one coordinated project also lets the same paint color and sheen carry through the finished spaces, rather than trying to blend new work into several older touch-ups.
A phased interior trim replacement is practical when remodeling is naturally occurring room by room, when certain spaces need attention first, or when spreading the investment over time better fits the household. The tradeoff is that each completed room must remain part of the larger plan. Replacing a bathroom baseboard today and a bedroom baseboard later can still look intentional, but only if both selections follow the same established direction.
- Full-house work: Best suited to a broad renovation, widespread wear, or a homeowner who wants a unified result without temporary profile changes between rooms.
- Phased work: Lets priorities drive the sequence, such as finishing a remodel first, while preserving the option to extend the design later.
- A reusable trim schedule: Record the profile, height, material choice, paint color, sheen, casing details, and rooms still to be completed. This turns later work into a continuation rather than a new design decision.
Transitions deserve the closest attention in a phased plan. A hallway leading to updated bedrooms, an open living area beside an untouched dining space, and a shared doorway between two rooms make differences in baseboard height or casing shape especially visible. For whole house trim replacement in Englewood, a strong plan identifies those meeting points before the first room is finished, then keeps samples or exact product details available for the next phase.
Compare Trim Materials for Humidity, Splashes, and Daily Use
Material selection is where a shared profile can still adapt to the demands of each room. A painted living room, a laundry room with occasional splashes, and an entry exposed to wet shoes do not have to use identical stock; they do need a deliberate plan for appearance, transitions, and finish.
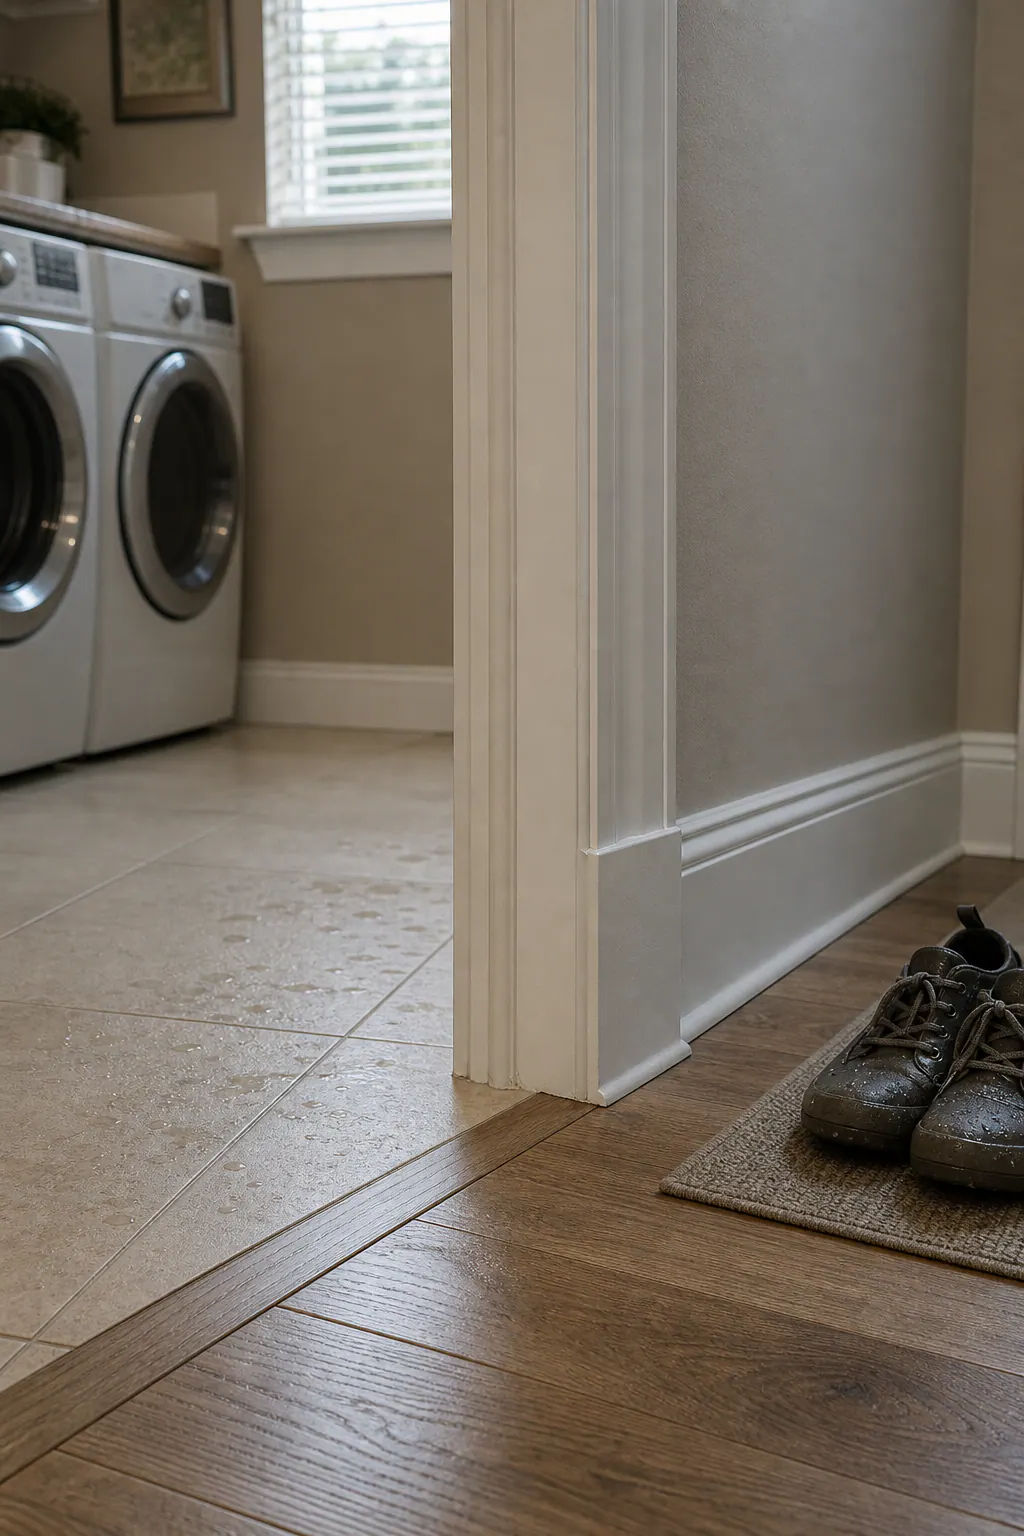
- MDF: A smooth, paint-grade trim choice that suits dry bedrooms, living areas, halls, and other interior spaces where a crisp painted finish matters most. It is commonly available in many baseboard and casing profiles, but its vulnerability is moisture exposure: swelling at an unsealed edge, joint, or damaged face can be difficult to disguise. It is not a stain-grade option because it has no visible wood grain.
- PVC or composite: PVC trim is a paint-oriented choice for bathrooms, laundry rooms, kitchens, entries, and areas near exterior doors where splashes or damp conditions are more likely. It avoids the grain and stain look of wood, and its profile selection may be narrower than common MDF or wood moldings. It can also show dents or impact marks, so a moisture-conscious choice is not automatically the toughest choice for every busy location.
- Finger-jointed pine: This painted-wood option joins shorter pine pieces into longer lengths, making it useful when the project calls for a wood substrate and broad profile availability. It can work well in dry spaces, but it still needs a complete paint finish and thoughtful placement away from recurring water exposure. Compared with MDF, it may show wood movement and joint details more readily over time.
- Solid wood: Solid wood is the natural choice when visible grain and a stained or clear-coated finish are central to the design. Species, grain variation, and movement are part of its character, so it is best reserved for spaces where that look justifies the added selection and finishing attention. Painted solid wood can also be appropriate, particularly when matching existing woodwork is more important than using a uniform manufactured material.
A useful room-by-room signal is simple: dry living spaces can prioritize profile availability and the intended finish, while bathrooms, laundry rooms, entries, and slab-level areas deserve greater attention to moisture exposure. Kitchens fall between those extremes; trim away from the sink may be treated like a dry room, while areas likely to receive repeated mopping or minor splashes call for a more moisture-conscious selection.
Even moisture-resistant trim cannot solve an active leak, standing water, or a damp wall. Clean installation still matters: leave appropriate room for material movement, fasten securely, finish cut edges as needed, and seal joints or wall connections where the design and exposure call for it. Promptly addressing water at its source protects the trim package as well as the surfaces behind it.
Create a Cohesive Profile, Casing, and Paint-Finish Plan
The visual decisions become easier when each trim element is treated as part of the same composition. Start with the baseboard: its height establishes the strongest horizontal line in a room. A taller baseboard can give rooms with higher ceilings more presence, while a modest height can keep lower ceilings and smaller rooms from feeling crowded. Carrying one primary trim profile through connected halls and open living areas usually creates a calmer result.
For a traditional look, preserve the existing character with shaped baseboards and wider, more detailed door and window casing. A contemporary approach uses flatter boards, square edges, and simpler casing for clean wall transitions. Transitional trim sits between them: a straightforward baseboard with a softened edge or a lightly stepped casing can work beside both paneled and simpler interior doors without looking locked into one period.
Casing should relate to both the baseboard and the doors it frames. Wider casing gives openings more visual weight; narrower casing recedes and can suit compact rooms or modern doors. The reveal, the small, intentional strip of door jamb left visible inside the casing, should remain consistent from opening to opening. That repeated line is a small detail that makes the work look measured rather than pieced together.
View profile samples beside the actual flooring, wall color, doors, and daylight before committing. Warm wood-look floors can support warm white or softly tinted trim, while cool gray flooring and crisp white walls often suit a cleaner profile. Dark doors may call for casing with enough width to frame them deliberately. At room openings, match heights and shapes wherever sightlines connect; abrupt molding transitions are most noticeable in hallways and open-plan spaces.
Write the decisions into a trim schedule: baseboard height, profile name or sample, casing width, trim color, sheen, and any room exceptions. Satin or semi-gloss paint can be easier to wipe clean, but increased sheen also highlights uneven caulk lines, unfilled fastener holes, and surface flaws. A cohesive finish depends on controlled caulk lines, clean coping or miter work where needed, and uniform paint coverage, not simply on choosing the same color.
Plan for Flooring, Existing Casings, and Finishing Details
Before removal begins, walk each room with the existing conditions in view. Note which flooring stays, where tile, laminate, or wood ends at a wall, whether door and window casings remain, and any damaged drywall, uneven walls, or moisture-affected areas. New baseboards can often work with existing flooring, but they cannot reliably hide every irregular edge, old adhesive line, or gap left by a previous profile.
At tile and hard-surface floors, decide whether the baseboard alone will cover the perimeter edge or whether shoe molding is needed to follow small floor variations. Shoe molding is the narrow finishing piece installed at the baseboard's bottom edge; it can soften a minor gap without changing the main profile, but it adds another visible line. If existing casings stay, their thickness and style should be measured so new baseboards terminate cleanly against them rather than creating an awkward step.
A clear scope for baseboard replacement in Englewood should identify removal and disposal, wall patching, trim fitting, joints, caulking, paint preparation, and final touchups. Measure openings, runs, and transition points before ordering, then lock the selections into the trim schedule. For phased work, retain a labeled profile sample and paint details so future rooms continue the same finished line instead of introducing mismatched wall transitions.
Start With a Whole-Home Trim Plan for Your Englewood Home
Bring a simple room list to the on-site assessment, marking which spaces are included now and which, if any, belong in a later phase. A full-home scope carries the same selections through the house; a phased scope identifies the first rooms and preserves the details needed to match later work. Flag bathrooms, laundry areas, entries, and slab-level rooms where moisture exposure may call for different material choices or room-specific finishing details.
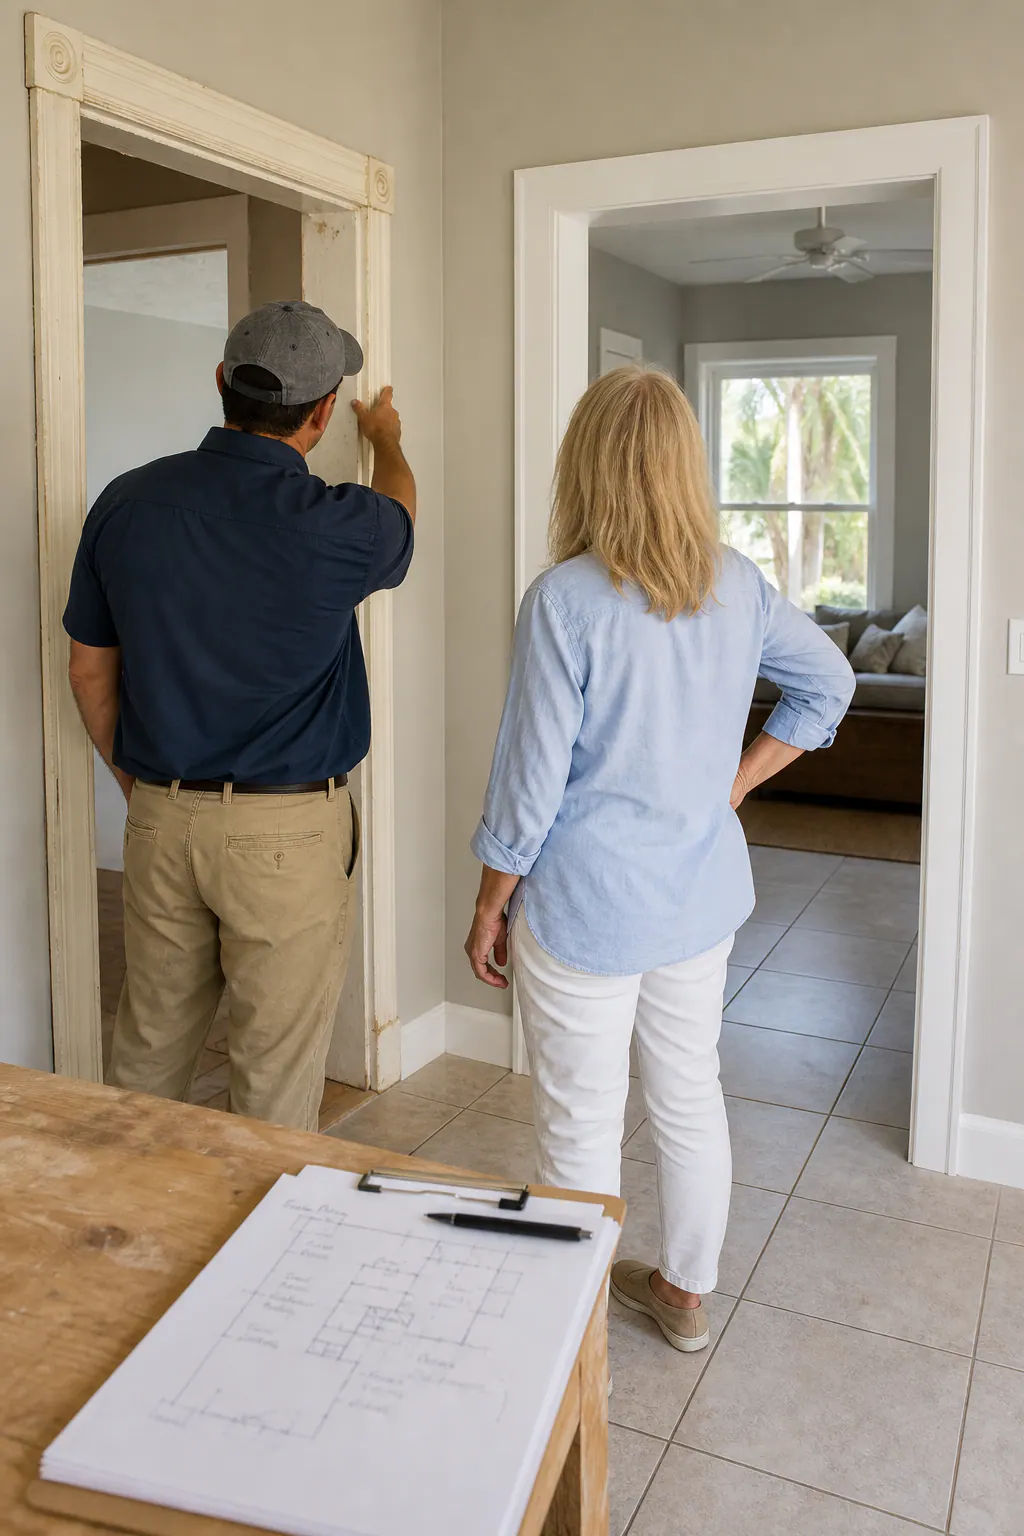
- Photograph existing casings, flooring edges, and trim details worth retaining.
- List the components wanted in each room: baseboards, casings, shoe molding, crown, or selective replacement.
- Collect a preferred profile sample or style reference, plus paint color and sheen choices.
- Request a written trim schedule or proposal identifying included components, materials, profiles, finishes, room exceptions, preparation responsibilities, and phased-work transition points.
A tailored whole home trim Englewood FL plan should respect the finishes already working in your home while making clear where you want a cleaner update, greater day-to-day durability, or a more unified look.
Plan the next step
Compare the broader Whole-Home Trim Packages service.
Review the Englewood, FL service area for local planning context.
When you are ready, request a free estimate with the rooms, trim goals, city, and available photos.
FAQs
What is included in a whole-home trim package in Englewood, FL?
A whole-home trim package can include baseboards, door and window casing, shoe molding or quarter round, crown molding, and flooring transition details. A written trim schedule should identify the profile, height, material, room locations, paint color, and sheen for each component.
Can new baseboards be installed without replacing flooring?
Yes, new baseboards can usually be installed with existing flooring. Before installation, measure floor edges, tile transitions, old adhesive lines, and gaps because baseboards cannot reliably hide every irregular edge left by a previous profile.
How do I match door casings and baseboards throughout my home?
Choose a primary baseboard height and profile, then select casing that relates in width and style without needing to be identical. Keep the door-jamb reveal consistent at every opening, and match trim heights and shapes where hallways or open rooms share sightlines.
Is PVC or MDF better for baseboards in bathrooms and laundry rooms?
PVC or composite trim is better for bathrooms, laundry rooms, entries, and areas near exterior doors because it is more moisture-conscious. MDF provides a smooth paint-grade finish for dry bedrooms, halls, and living areas, but it can swell at unsealed edges, joints, or damaged faces when exposed to moisture.
Should I replace baseboards throughout the house at the same time or upgrade room by room?
Full-house replacement works best during broad flooring updates, widespread damage, or when you want one uninterrupted profile, paint color, and sheen throughout the home. A phased upgrade works when remodeling room by room, but retain the exact profile, height, material, paint color, sheen, and casing details so later rooms match.